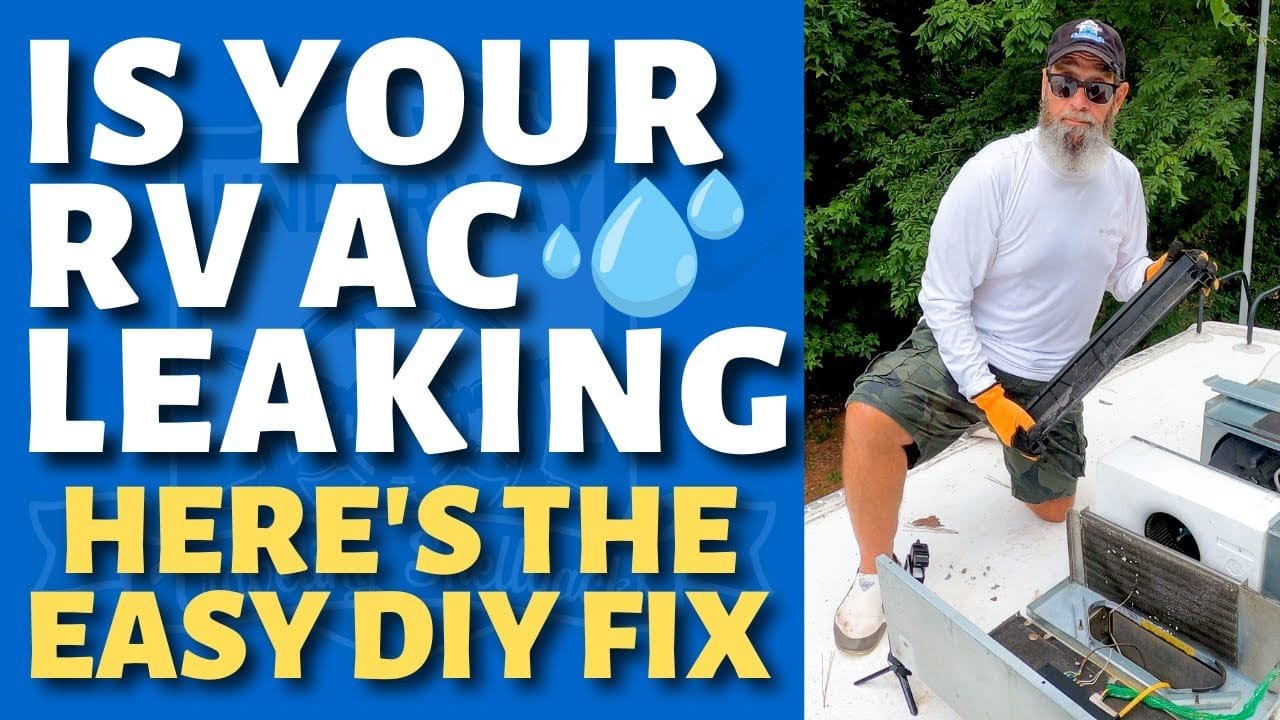
Your RV air conditioner should cool the air, not drip water inside. If you notice water leaking, it can be frustrating and concerning.
Understanding why this happens is key to solving the issue. RV air conditioners are crucial for comfort during trips. But when they start dripping water inside, it signals a problem. This can be due to various reasons, such as a clogged drain, poor installation, or even a malfunctioning unit.
Knowing the causes helps you address the issue quickly, preventing further damage. In this blog post, we’ll explore the common reasons your RV air conditioner drips water inside and provide solutions to fix it. Stay cool and worry-free on your travels by understanding and resolving this common issue.
Common Causes Of Water Dripping
A clogged drain line or blocked filter often causes water to drip inside an RV air conditioner. Ensuring regular maintenance helps prevent this issue.
Water dripping inside your RV from the air conditioner can be frustrating. It can damage the interior and create an uncomfortable environment. Understanding the common causes can help you fix the problem effectively.
Clogged Drainage System
A clogged drainage system is a frequent cause of water dripping inside. The air conditioner removes moisture from the air, which then needs to drain away. If the drain gets clogged, water has nowhere to go. It starts dripping inside the RV instead. Inspect the drainage system regularly. Check for blockages and clean it out. Keeping it clear will prevent water buildup.
Improper Installation
Improper installation can also cause water to drip inside your RV. If the air conditioner is not installed correctly, it may not drain properly. This can lead to water seeping into the RV. Ensure that the air conditioner is level. An uneven installation can cause drainage issues. Check the seals around the unit as well. Poor sealing can allow water to leak inside. Proper installation is crucial. If you’re unsure, consult a professional. They can ensure the unit is installed correctly and functioning properly. “`
Identifying The Source Of The Leak
Dealing with a leaking RV air conditioner can be a real headache. The first step to solving this issue is identifying the source of the leak. This will help you understand what needs fixing to stop the water from dripping inside your RV.
Inspecting The Unit
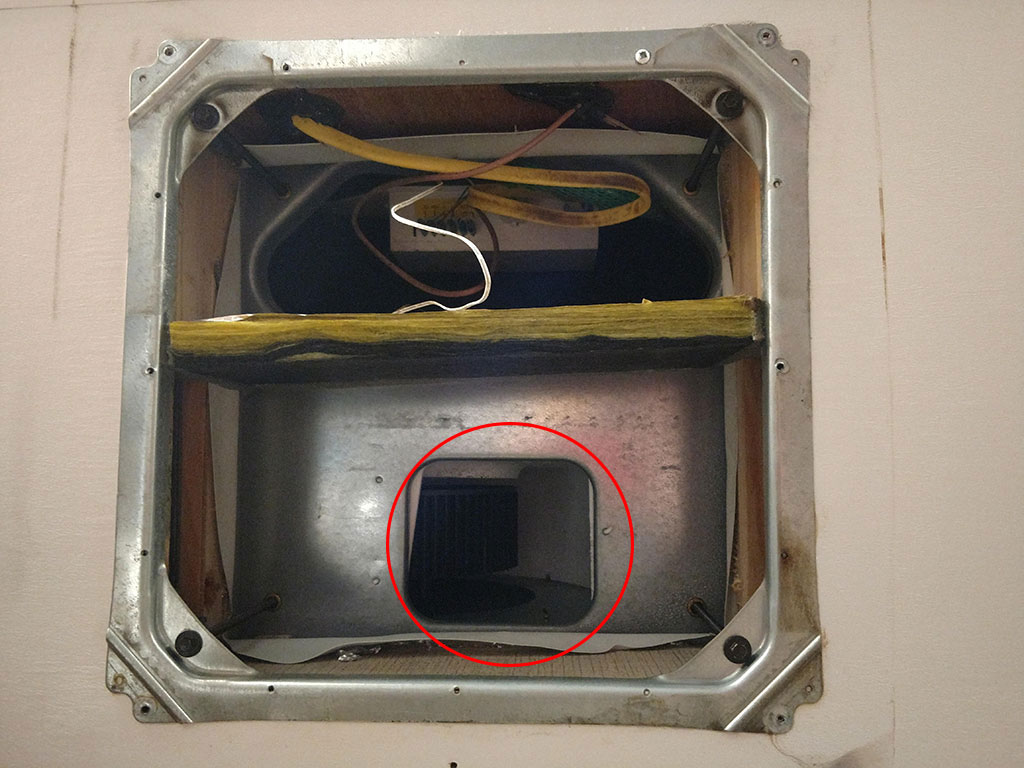
Begin by thoroughly inspecting the air conditioning unit. Look for any visible signs of damage or wear. Check the outer casing for cracks or holes. These can allow water to seep in and cause leaks.
Next, examine the drain pan. Ensure it is not clogged or overflowing. A clogged drain pan can cause water to back up and drip inside your RV. Clean it if necessary.
Also, inspect the drainage system. Verify that the drain lines are clear and free from obstructions. A blocked drainage system can lead to water accumulation and leaks.
Checking The Seals
Another common cause of leaks is damaged or worn seals. Start by checking the seal around the air conditioner. Make sure it is intact and not cracked or broken.
If the seal is compromised, it can allow water to enter the interior of your RV. Replace any damaged seals to prevent leaks.
Additionally, inspect the gaskets and rubber components. These parts can wear out over time and cause leaks. Replace any worn or damaged gaskets to ensure a proper seal.
Remember, regular maintenance and inspection can help you prevent leaks and keep your RV air conditioner functioning properly.
Maintenance Tips
Regular maintenance of your RV air conditioner can prevent water dripping inside. Here are some essential tips to keep your AC in top shape.
Regular Cleaning
Cleaning your RV air conditioner ensures it works efficiently. Follow these steps:
- Remove the AC cover.
- Use a soft brush to clean the filters.
- Wipe the coils with a damp cloth.
- Check the vents for any blockages.
Cleaning should be done at least once a month. This helps prevent dust buildup, which can cause water leakage.
Routine Inspections
Inspecting your air conditioner regularly can catch issues early. Here is a simple checklist:
- Check for any loose screws or bolts.
- Inspect the seals for any cracks or wear.
- Ensure the drain pan is not clogged.
- Look for any signs of rust or corrosion.
Routine inspections help in identifying potential problems before they become major issues. Aim to perform these inspections every three months.
By following these maintenance tips, you can keep your RV air conditioner in good condition and avoid water dripping inside.
Diy Fixes
Is your RV air conditioner dripping water inside? This common issue can be annoying and potentially damaging. Fortunately, you can fix it yourself with a few simple steps. Let’s explore some DIY fixes to help you solve this problem quickly.
Unclogging The Drain
A clogged drain pan is a frequent cause of water leaks. Over time, dirt and debris can block the drain hole, preventing water from flowing out. Here’s how you can unclog the drain:
- Turn off the air conditioner and disconnect the power.
- Remove the cover of the air conditioner to access the drain pan.
- Locate the drain hole, usually found at the bottom of the pan.
- Use a small brush or a piece of wire to clear any debris from the hole.
- Flush the drain pan with a mixture of water and mild detergent to ensure it is clean.
- Reassemble the air conditioner and restore power.
By keeping the drain pan clean, you can prevent water from leaking inside your RV.
Sealing Gaps
Another common issue is gaps around the air conditioner unit. These gaps can let warm air inside, causing condensation. To seal gaps, follow these steps:
- Inspect the area around the air conditioner for any visible gaps or cracks.
- Use a caulking gun to apply a bead of silicone sealant around the edges of the unit.
- Smooth the sealant with a damp finger or a caulking tool for a neat finish.
- Allow the sealant to dry completely before using the air conditioner.
Sealing these gaps ensures proper insulation and prevents condensation buildup.
By following these simple DIY fixes, you can stop your RV air conditioner from dripping water inside. Regular maintenance helps keep your air conditioner in top condition and your RV comfortable.
When To Seek Professional Help
Water dripping inside from your RV air conditioner usually signals a problem. Seek professional help to avoid damage and ensure safety. Prompt attention can prevent costly repairs.
When your RV air conditioner drips water inside, it’s often a minor issue. Sometimes, it’s something you can fix yourself. But other times, you need expert help. Knowing when to seek professional assistance is crucial. ###
Signs Of Serious Issues
If you see water pooling inside your RV, it’s a sign of a serious problem. Water stains on the ceiling or walls indicate a persistent leak. A musty smell suggests mold growth, which can harm your health. If the AC unit makes strange noises, it could be a mechanical problem. If simple fixes don’t work, it’s time to call a technician. ###
Choosing A Technician
Finding the right technician is important. Look for someone with RV-specific experience. Check online reviews and ask for recommendations from fellow RV owners. Make sure they are licensed and insured. Get a written estimate before any work begins. This ensures transparency and helps avoid unexpected costs. Knowing when to seek professional help can save you time and trouble. Keep an eye out for these signs and choose a qualified technician to fix your RV air conditioner.
Preventive Measures
An RV air conditioner dripping water inside can be frustrating. Proper preventive measures can save you from this annoyance. Let’s explore some crucial steps to prevent water drips inside your RV.
Proper Installation
Proper installation is key. Ensure your air conditioner is installed at the correct angle. This helps water drain outside. Follow the manufacturer’s instructions carefully.
- Check the installation manual
- Use the right tools
- Verify the unit’s tilt
Improper installation can cause water to pool inside. This leads to drips.
Regular Servicing
Regular servicing keeps your air conditioner in top shape. Schedule routine check-ups with a professional.
Clean the filters and coils often. This prevents blockages that cause water to back up.
| Service | Frequency |
|---|---|
| Filter cleaning | Every month |
| Coil inspection | Every 3 months |
| Drain pan check | Every 6 months |
Make a habit of these checks. This ensures your air conditioner works efficiently and avoids water leaks.
Tools And Materials Needed
When your RV air conditioner drips water inside, it’s frustrating and inconvenient. Understanding the tools and materials needed can make the repair process smoother. This guide will help you gather everything you need to fix the issue effectively.
Essential Tools
- Screwdrivers – A set of both Phillips and flat-head screwdrivers.
- Wrenches – Adjustable wrenches for various bolt sizes.
- Flashlight – To see inside dark spaces of the AC unit.
- Level – Ensures the AC unit is properly installed.
- Bucket – To catch any dripping water during the repair.
Recommended Products
| Product | Purpose |
|---|---|
| Air Filter | Replace old, clogged filters to improve airflow. |
| Sealant | Seal any gaps or cracks to prevent leaks. |
| Cleaning Solution | Clean the AC unit to remove dirt and debris. |
| Insulation Tape | Insulate any exposed pipes to prevent condensation. |
Credit: community.goodsam.com
Frequently Asked Questions
Why Is My Rv Ac Leaking Water Inside?
Your RV AC could be leaking due to clogged drain lines, low refrigerant, or improper installation. Regular maintenance can prevent these issues.
How Do I Stop My Rv Ac From Dripping?
To stop your RV AC from dripping, ensure drain lines are clear, check for leaks, and maintain proper refrigerant levels.
Can A Clogged Filter Cause Ac To Leak Inside Rv?
Yes, a clogged filter restricts airflow, causing ice buildup which melts and leads to water dripping inside your RV.
Is It Normal For Rv Ac To Drip Water Inside?
No, it’s not normal for an RV AC to drip water inside. This indicates a problem like clogged drains or low refrigerant.
Conclusion
Water dripping inside your RV from the air conditioner can be frustrating. Common causes include clogged drains, dirty filters, or improper installation. Regular maintenance helps prevent these issues. Check and clean filters, and ensure drains are clear. If the problem persists, consult a professional.
Addressing these concerns early can save time and money. Keep your RV cool and comfortable without the unwanted drips. Follow these simple steps to enjoy your travels with peace of mind.


