
RV transfer switches can sometimes cause headaches. This guide will help you troubleshoot common issues.
Dealing with an RV transfer switch problem can feel daunting. You rely on this switch to manage power sources seamlessly. When it fails, your RV experience can be disrupted. Understanding the basics of your transfer switch can ease the troubleshooting process.
This guide will walk you through common issues and solutions. From identifying the problem to fixing it, we’ll cover essential steps. You’ll gain confidence to handle switch troubles without stress. Let’s dive into making your RV trips smooth again.
Common Issues
Many RV owners face issues with their RV transfer switch. These problems can disrupt your power supply, making your travel uncomfortable. Understanding common problems can help you troubleshoot effectively.
Power Loss
Power loss is a frequent issue with RV transfer switches. Several factors can cause this:
- Faulty Wiring: Loose or damaged wires can cut off power. Check all connections for signs of wear.
- Circuit Breakers: Tripped breakers can halt power. Reset them to restore electricity.
- Overloaded Circuits: Too many devices can overload the system. Unplug some appliances to reduce the load.
Regular checks can prevent these issues. Ensure your wiring and circuit breakers are in good condition. Maintain a balanced load on your circuits.
Switch Not Engaging
Another common problem is the transfer switch not engaging. This can leave you without power. Here are some possible reasons:
| Issue | Description |
|---|---|
| Defective Switch: | The switch itself may be faulty. Test the switch to confirm. |
| Control Board Malfunction: | The control board may not send the correct signals. Inspect the control board for issues. |
| Low Battery Voltage: | Low voltage can prevent the switch from activating. Ensure your battery is fully charged. |
Addressing these issues can help your switch engage properly. Always check the switch, control board, and battery voltage regularly.
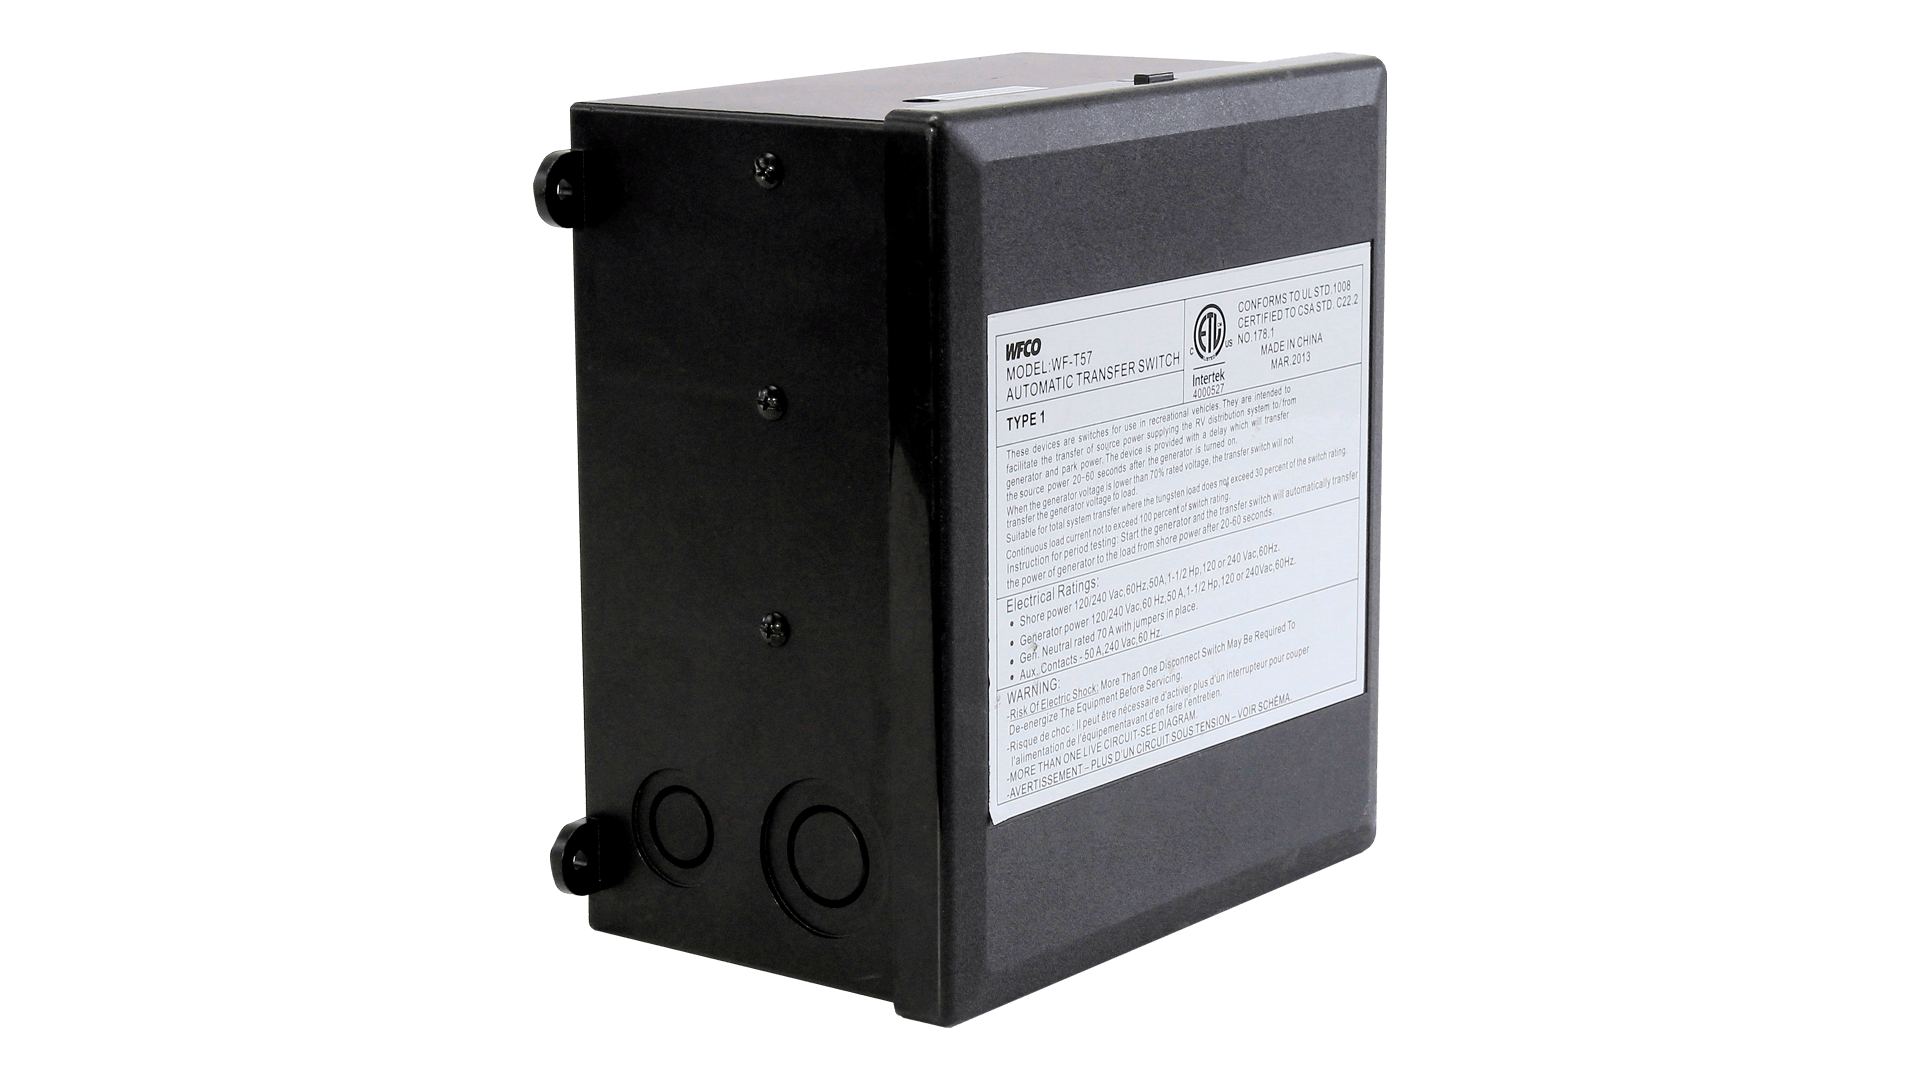
Credit: www.wfcotech.com
Tools Needed
When troubleshooting an RV transfer switch, having the right tools is essential. The process requires precision and accuracy. Below, we discuss two critical tools needed: a multimeter and screwdrivers. These tools help in identifying and fixing problems efficiently.
Multimeter
A multimeter is a vital tool for diagnosing electrical issues. It measures voltage, current, and resistance. You need a digital multimeter for accurate readings. Here are some steps to use a multimeter:
- Set the multimeter to the correct measurement type (voltage, current, resistance).
- Connect the multimeter probes to the relevant terminals.
- Read the displayed measurement and compare it with expected values.
Using a multimeter helps to pinpoint where the issue lies in the transfer switch. This tool ensures safety and precision in your troubleshooting.
Screwdrivers
Screwdrivers are necessary for accessing the transfer switch components. You need both Phillips and flat-head screwdrivers. Here is a table of screwdriver types and their uses:
| Type | Use |
|---|---|
| Phillips | Removing and securing screws with a cross pattern |
| Flat-head | Removing and securing screws with a single slot |
Ensure you have a set of screwdrivers with various sizes. This enables you to handle different screws in the transfer switch. Proper use of screwdrivers prevents damage to the components and allows for safe troubleshooting.
Safety Precautions
Dealing with an RV transfer switch requires proper safety measures. Without taking the right precautions, you risk injury or damage to your RV. This section covers essential safety steps to follow during troubleshooting.
Power Off
Before inspecting the transfer switch, turn off the main power supply. This is crucial to avoid electric shock. Ensure the RV is not connected to any external power sources. Double-check by using a voltage tester. Safety first.
Wear Protective Gear
Always wear protective gear while working on electrical components. This includes gloves and safety glasses. Gloves protect your hands from potential shocks. Safety glasses shield your eyes from debris or sparks. Never skip this step.
Inspecting Connections
Inspecting the connections in your RV transfer switch is essential. Poor connections can lead to serious issues. This step can prevent many problems. Follow these simple guidelines to inspect your connections effectively.
Check Wires
First, check all the wires. Ensure they are secure. Loose wires can cause the transfer switch to malfunction. Look for any signs of wear. Damaged wires need replacing immediately. Double-check the connections to the terminals. Ensure each wire is in its correct place.
Look For Corrosion
Corrosion can be a hidden enemy. Check the terminal connections for any signs of rust. Corroded connections can disrupt the electrical flow. Use a flashlight to see better. Clean any corrosion you find. Use a wire brush or a special cleaner. Ensure the area is dry before reconnecting. This simple step can save you from bigger issues.
Testing Voltage
Testing the voltage of your RV transfer switch can prevent many electrical issues. This process ensures that your RV gets the right power. In this section, we will discuss how to use a multimeter for testing voltage and how to interpret the readings effectively.
Using A Multimeter
A multimeter is an essential tool for testing voltage. Start by setting your multimeter to measure AC voltage. Ensure your RV is connected to a power source. Insert the black probe into the neutral slot and the red probe into the hot slot of the transfer switch. Note the voltage reading displayed on the multimeter.
Interpreting Readings
Understanding the readings on your multimeter is crucial. A typical RV should show a voltage between 110V and 120V. If the reading is below 110V, your RV may not receive enough power. Readings above 120V could indicate an overvoltage, which can damage appliances. Consistent readings outside this range require professional help.
Cleaning Components
Keeping your RV transfer switch in good condition ensures smooth operation. Regular cleaning can prevent many issues. This guide will help you clean your switch’s components.
Removing Dust
Dust can cause poor electrical connections. First, turn off the power. Use a can of compressed air. Hold it upright and spray. Focus on the corners and crevices. Use short bursts of air. Don’t tilt the can. This ensures no liquid comes out. Dust off all visible dirt. Be thorough but gentle.
Cleaning Contacts
Contact points are vital. They need to be clean for good connections. Use a soft, lint-free cloth. Dampen it with isopropyl alcohol. Wipe each contact carefully. Avoid using too much liquid. Let the alcohol dry. It evaporates quickly, leaving no residue. Check the contacts. They should look shiny and clean.
Replacing The Switch
Replacing your RV transfer switch can seem like a daunting task. But with the right guidance, it becomes manageable. A faulty switch can disrupt your power supply. So, it’s crucial to address it promptly. This section will guide you through choosing and installing a replacement switch.
Choosing A Replacement
First, identify the specifications of your current switch. Check the voltage and amperage ratings. Match these with your RV’s power system. Consult your RV manual for compatibility. Consider the brand and model for consistency. Quality matters too. Opt for switches with good reviews. Ensure the switch is durable and reliable.
Installation Steps
Before starting, disconnect the power. Safety first. Gather the necessary tools. A screwdriver, wire strippers, and a voltage tester are essential. Remove the old switch by unscrewing it. Take note of the wiring. You will need to reconnect these later.
Install the new switch by following the reverse process. Attach the wires to the corresponding terminals. Secure the switch in place. Double-check all connections. Turn the power back on and test the switch. Ensure everything works properly. If unsure, consult a professional electrician. Safety is paramount.

Credit: www.youtube.com
Preventive Maintenance
Regular preventive maintenance of your RV transfer switch ensures its longevity and smooth operation. Neglecting this crucial task can lead to unexpected breakdowns and costly repairs. By following these simple steps, you can keep your RV transfer switch in top shape and avoid common issues.
Regular Inspections
Conducting regular inspections is vital for identifying potential issues early. Check for any loose connections, signs of wear, or corrosion.
- Inspect the switch for any burnt marks or unusual odors.
- Test the switch’s operation by switching between power sources.
- Ensure that all wires are securely connected and not frayed.
Documenting your inspections can help track the condition of the switch over time. Using a simple table can be effective:
| Inspection Date | Condition | Action Taken |
|---|---|---|
| 01/10/2023 | No Issues | None |
| 15/10/2023 | Loose Wire | Tightened Connection |
Proper Storage
Proper storage of your RV and its components, including the transfer switch, is crucial. Store your RV in a dry, sheltered area to protect it from the elements.
- Disconnect the power supply to avoid any electrical issues.
- Cover the RV with a breathable cover to prevent moisture buildup.
- Check the transfer switch for any signs of moisture or dirt before storage.
Moisture can cause corrosion and electrical faults. Keeping the switch dry and clean ensures its longevity.
By following these preventive maintenance steps, you can enjoy a trouble-free RV experience. Regular inspections and proper storage are simple yet effective ways to maintain your RV transfer switch.

Credit: www.progressivedyn.com
Frequently Asked Questions
What Is An Rv Transfer Switch?
An RV transfer switch automatically switches between power sources. It ensures your RV gets power from the best available source.
How To Identify A Faulty Transfer Switch?
A faulty transfer switch may cause power interruptions. Check for unusual noises, burnt smells, or lack of power.
Why Does My Rv Transfer Switch Click?
Clicking sounds from an RV transfer switch indicate it is changing power sources. Frequent clicking may suggest an issue.
Can I Repair My Rv Transfer Switch Myself?
Basic checks can be done by yourself. However, for complex issues, it’s best to consult a professional technician.
Conclusion
Troubleshooting your RV transfer switch can seem daunting at first. Start simple. Check connections and fuses. Clean contacts to avoid issues. Test components systematically. Replace faulty parts promptly. Regular maintenance prevents future problems. Always consult your RV manual for guidance.
Seek help from a professional if needed. Proper care ensures your RV’s electrical system runs smoothly. Enjoy stress-free travels with a reliable setup.


