Finding the right spot for your RV battery disconnect switch is crucial. It ensures safety and easy access when needed.
RV enthusiasts often overlook the importance of a well-placed battery disconnect switch. This small device can save you from many headaches. It prevents battery drain and adds a layer of security. Knowing where to place this switch can make your RV adventures smoother.
Proper installation and location can extend the life of your battery. It also makes maintenance tasks simpler. In this blog, we will explore the best locations for your RV battery disconnect switch. This will help you make an informed decision. Stay tuned to discover practical tips and advice. Your RV experience will be better for it.

Credit: www.kohree.com
Introduction To Rv Battery Disconnect Switch
An RV battery disconnect switch is crucial for maintaining your RV’s electrical system. This small device plays a big role in managing your RV’s power. It helps to prolong battery life and ensures safety during storage or maintenance. Understanding its importance and functionality can make your RV experience smoother and safer.
Importance Of Disconnect Switch
The RV battery disconnect switch is vital for several reasons. It prevents battery drain when the RV is not in use. This helps in extending the lifespan of your battery. It also ensures that your RV is ready to go when you need it. By using the disconnect switch, you can avoid the hassle of dealing with a dead battery.
Safety is another key reason. The disconnect switch reduces the risk of electrical issues. It helps to prevent short circuits and other potential hazards. This is particularly important during maintenance or storage. A disconnected battery means less chance of electrical accidents.
Basic Functionality
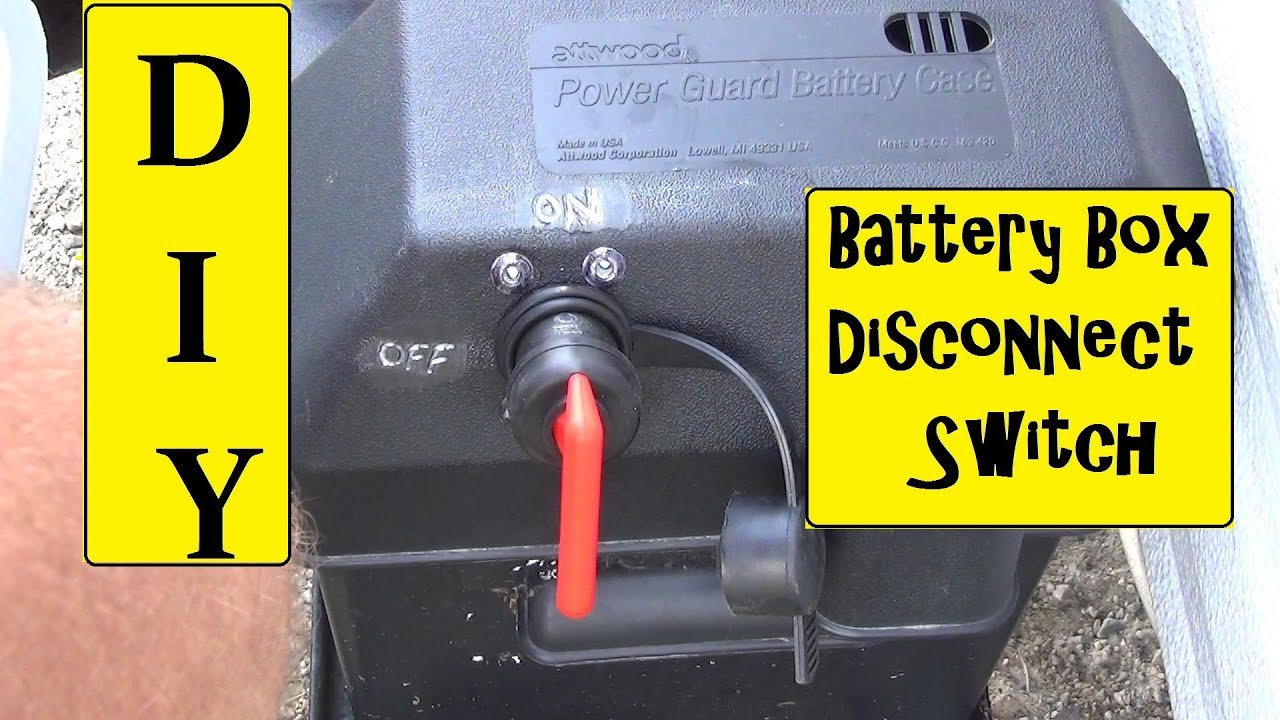
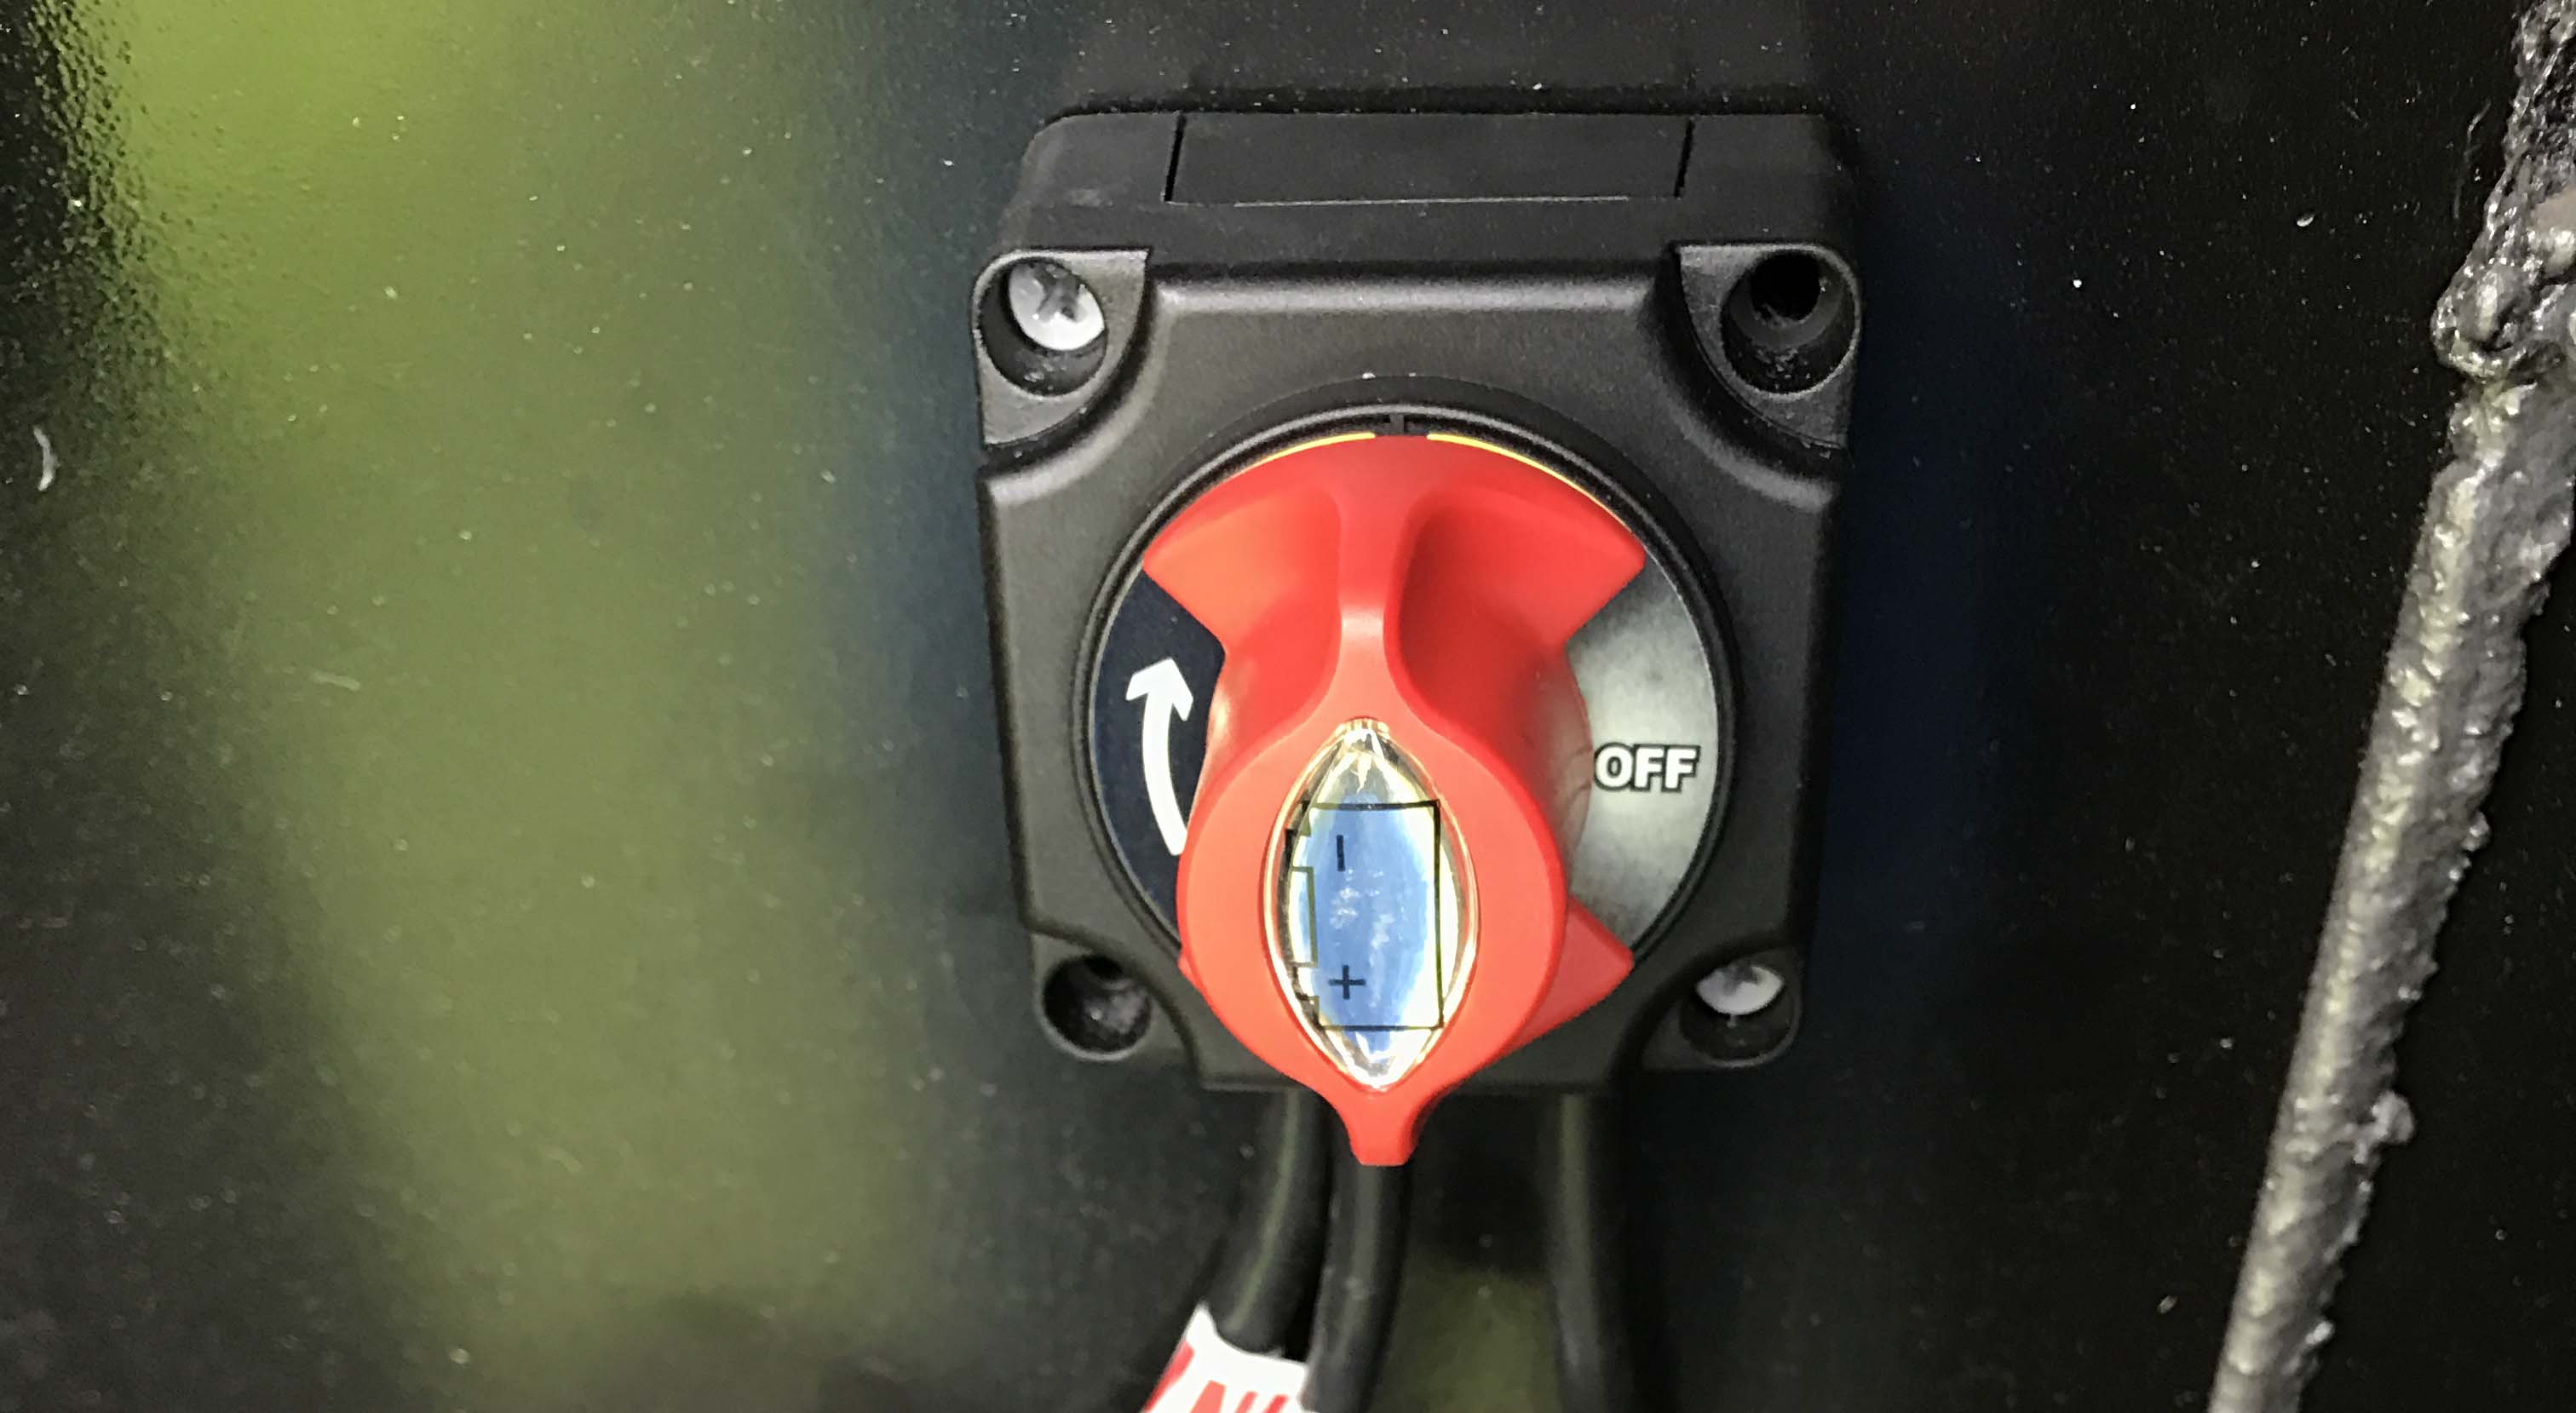
The RV battery disconnect switch is simple to use. It connects and disconnects the power from the battery to the RV. Turning the switch off disconnects the battery. This stops the flow of power, preserving the battery.
Turning the switch on reconnects the battery. This allows power to flow to the RV’s systems. The switch is usually easy to locate and operate. It’s often installed near the battery or in a convenient spot inside the RV. Knowing where it is and how to use it can save you a lot of trouble.
Credit: www.longwindingroads.com
Common Locations For Rv Battery Disconnect Switch
Finding the perfect spot for your RV battery disconnect switch can be crucial for both safety and convenience. Understanding common locations helps ensure you can quickly and easily access your switch. Here are some common places where you might find the battery disconnect switch in an RV.
Near The Battery Compartment
The near the battery compartment location is probably the most popular choice for placing a disconnect switch. It’s logical to keep it close to the battery for easy access. This spot ensures quick disconnection in emergencies.
- Easy access to the battery
- Convenient for maintenance
- Quick disconnection during emergencies
Often, RV manufacturers will install the switch in a compartment adjacent to the battery. This setup makes it straightforward for owners to locate and operate the switch.
Under The Hood
Some RVs have the battery disconnect switch placed under the hood. This location is common in motorhomes where the engine and battery are close together. Placing the switch here can offer several benefits:
- Protection from the elements
- Easy access during mechanical checks
- Centralized location for engine and battery components
While this spot can be convenient, it may require lifting the hood to access the switch, which can be less practical for some users.
Inside The Rv
Another common location for the RV battery disconnect switch is inside the RV itself. This placement is often chosen for its convenience and protection from the weather. Here are some of the reasons this location might be preferred:
- Easy access from inside the vehicle
- Protected from external elements
- Convenient for frequent use
Typically, the switch is installed near the control panel or entry door for easy reach. This setup allows RV owners to disconnect the battery without stepping outside, enhancing comfort and ease of use.
Factors Influencing Switch Location
The location of an RV battery disconnect switch is important. It affects the ease of use and overall safety. Several factors influence where you should place this switch. Key considerations include ease of access, safety, and weather protection.
Ease Of Access
Ease of access is crucial. The switch should be easy to reach. You may need to turn off the power quickly. Placing the switch in a convenient spot helps. Consider areas near the entry or the driver’s seat. These spots are often the best. They allow quick and easy access.
Safety Considerations
Safety is a top priority. Choose a location away from flammable materials. Ensure the switch is not near the fuel tank or propane lines. This reduces the risk of fire or explosion. Also, consider the height of the switch. It should be reachable but not too low. This prevents accidental activation by children or pets.
Weather Protection
Weather protection is important too. The switch should be in a dry area. Exposure to rain or snow can damage it. Place the switch in a sheltered spot. Inside a cabinet or under an awning works well. This ensures it stays in good working condition.
How To Locate Your Rv Battery Disconnect Switch
Locating your RV battery disconnect switch is important for maintenance and safety. This guide will help you find this switch in your RV. Follow these steps to locate it easily.
Consulting The Rv Manual
The RV manual is the best place to start. It contains detailed information about your RV. Look for the section on electrical systems. This section will often have diagrams. These diagrams show the exact location of the battery disconnect switch.
If you don’t have a physical manual, check online. Many manufacturers provide digital copies on their websites. Having the manual can save you time.
Inspecting Common Areas
If the manual doesn’t help, inspect common areas in your RV. The switch is often near the battery compartment. This area is usually on the exterior of the RV. Look for a small panel or door.
Inside the RV, check near the entry door. Some switches are located there for easy access. Another common spot is near the main control panel. This panel controls many of the RV’s systems.
Remember, the battery disconnect switch is usually clearly labeled. Look for a switch with a label that says “Battery Disconnect” or something similar.
Tips For Installing A New Disconnect Switch
Installing a new RV battery disconnect switch can improve the safety and lifespan of your battery. This guide will help you choose the right switch and install it properly. Follow these tips to make the process smooth and efficient.
Choosing The Right Switch
Selecting the right disconnect switch is crucial. Here are some factors to consider:
- Amperage Rating: Ensure the switch can handle your RV’s electrical load.
- Durability: Look for a switch with a weather-resistant design.
- Ease of Use: Choose a switch with a simple on/off mechanism.
Consider your RV’s specific needs. A high-quality switch will provide better performance and longevity.
Step-by-step Installation Guide
Installing a disconnect switch requires basic tools and some patience. Follow these steps for a successful installation:
- Gather Tools and Materials: You will need a wrench, screwdriver, wire cutters, and the new switch.
- Disconnect the Battery: Ensure safety by disconnecting the negative terminal first.
- Choose a Mounting Location: Find a spot close to the battery for easy access.
- Mount the Switch: Use screws to secure the switch in place.
- Connect the Wires: Attach the battery cable to the switch’s input terminal.
- Reconnect the Battery: Connect the negative terminal back to the battery.
- Test the Switch: Turn the switch on and off to ensure it works properly.
Following these steps will ensure a safe and effective installation. Proper installation can save you time and money in the long run.
Troubleshooting Common Issues
Having an RV can be an amazing experience, but sometimes issues arise with the RV battery disconnect switch location. Identifying and resolving these problems ensures your RV runs smoothly. In this section, we will explore common issues and provide simple solutions.
Switch Not Working
If the disconnect switch is not working, check the following:
- Loose Connections: Inspect all wires and connections. Tighten any loose parts.
- Corroded Terminals: Clean any corrosion on the terminals. Use a wire brush.
- Faulty Switch: Test the switch with a multimeter. Replace if necessary.
By addressing these issues, you can restore the functionality of your switch.
Battery Drain Problems
Experiencing battery drain can be frustrating. Here are some steps to fix it:
| Problem | Solution |
|---|---|
| Parasitic Draw | Check for devices left on. Disconnect or turn them off. |
| Faulty Wiring | Inspect for damaged wires. Replace if needed. |
| Aging Battery | Test the battery. Replace if it no longer holds a charge. |
Following these tips will help you maintain a healthy battery and avoid unnecessary drains.
Maintenance And Safety Tips
Maintaining your RV battery disconnect switch is crucial for your RV’s safety and longevity. Regular checks and proper usage can prevent potential issues and ensure a smooth journey. Follow these simple tips to keep your RV battery disconnect switch in top shape.
Regular Inspection
Inspect the battery disconnect switch monthly. Look for any signs of wear or damage. Check the switch connections for corrosion or dirt buildup. Clean connections with a wire brush if necessary. Ensure the switch moves smoothly without resistance. A stuck switch can signal underlying issues.
Proper Usage
Always turn off the battery disconnect switch when the RV is not in use. This prevents battery drain and extends its life. Make sure all appliances are off before activating the switch. Avoid using the switch while the RV is moving. This can cause electrical surges.
Teach all users the correct way to operate the switch. Incorrect usage can lead to accidents or damage. Keep a user manual handy for reference. Proper education ensures everyone’s safety.
Additional Resources And Tools
Finding the right RV battery disconnect switch location can be tricky. It involves understanding your RV’s electrical system and safety guidelines. This section provides additional resources and tools to help you. Here, you’ll find recommended products and helpful guides.
Recommended Products
Choosing the right products ensures your RV’s electrical system runs smoothly. Quality battery disconnect switches are essential. They help prevent battery drain during storage. Consider switches with clear on/off indicators. This helps avoid confusion and ensures safety. Look for products that come with detailed instructions. This can make installation easier.
Helpful Guides
Installing a battery disconnect switch can seem complex. Helpful guides break it down into simple steps. They offer tips on choosing the best location. Guides often include diagrams. These visuals can make the process easier to understand. Some guides provide troubleshooting tips. This can be useful if you encounter issues during installation.
Online tutorials are another great resource. Many are available in video format. Watching someone else perform the installation can be very helpful. It allows you to see the process in action. You can pause and replay sections as needed.

Credit: www.youtube.com
Frequently Asked Questions
Where Is The Rv Battery Disconnect Switch Located?
The RV battery disconnect switch is usually located near the battery compartment. It can also be found inside an electrical panel or near the main control panel. Check your RV manual for the exact location.
How Do I Use The Rv Battery Disconnect Switch?
To use the RV battery disconnect switch, simply turn it to the “off” position. This will disconnect the battery from the electrical system, preventing battery drain. When you need power again, turn the switch back to the “on” position.
Why Is The Rv Battery Disconnect Switch Important?
The RV battery disconnect switch is important for preventing battery drain when the RV is not in use. It helps extend the lifespan of your battery and ensures it’s ready when you need it.
Can I Install An Rv Battery Disconnect Switch Myself?
Yes, you can install an RV battery disconnect switch yourself with basic tools. Follow the manufacturer’s instructions carefully and ensure all connections are secure. If you’re unsure, consult a professional for assistance.
Conclusion
Finding the RV battery disconnect switch location is crucial for easy maintenance. Knowing its position can prevent unnecessary battery drain. It also aids in safety during repairs. Regularly checking the switch ensures your RV runs smoothly. Save time and avoid hassles by locating and using this switch correctly.


