Winter is just around the corner, and if you own an RV, it’s time to think about preparing your vehicle for the harsh cold. For those who love traveling in their RV during warmer months, winterizing it is a crucial step to protect your investment and ensure that you’re ready for the next adventure when the weather warms up again. In this guide, we’ll walk you through exactly how to winterize your RV to prevent costly damages and ensure that your RV stays in top condition during the off-season.
Why Winterizing Your RV Is Essential
RV owners know that these vehicles are designed to withstand a variety of conditions. However, freezing temperatures can cause serious issues, especially if your RV isn’t properly protected. Water systems, pipes, and tanks are particularly vulnerable to freezing and bursting in cold weather. Winterizing your RV prevents these problems and helps extend the life of your vehicle.
By properly winterizing your RV, you’re taking a proactive approach to:
Preventing damage: Freezing pipes and tanks can cause cracks, leaks, and extensive repairs.
Protecting appliances: Some appliances, such as your water heater, can be damaged by freezing temperatures.
Reducing maintenance costs: Winterizing now can save you a lot of hassle and expense when it’s time to get your RV back on the road.
Let’s dive into how you can prepare your RV for winter with simple steps that will keep it safe and ready for use when you need it again.
Step 1: Clean and Drain the Water System
One of the first and most important tasks in learning how to winterize your RV is addressing the water system. Water inside the RV can freeze and expand, potentially causing pipes to burst. Here’s how you can safely drain your water system:
1.1 Drain the Freshwater Tank
Empty the freshwater tank: Begin by draining the water from your freshwater tank. Make sure to open all the faucets to release any remaining water from the system.
Use the low point drains: Your RV should have low-point drains located at the lowest part of your plumbing system. These are the points where water tends to accumulate. Open these valves to drain any leftover water.
Flush the system: Turn on each faucet, shower, and toilet until no more water comes out. Don’t forget the outdoor shower, if you have one. This ensures that every bit of water is removed.
1.2 Drain the Water Heater
Turn off the water heater: Before draining the water heater, make sure it’s turned off to avoid any damage.
Drain the heater: Locate the drain valve on your water heater and let all the water drain out. If there is sediment in the tank, you may want to flush it as part of your annual maintenance.
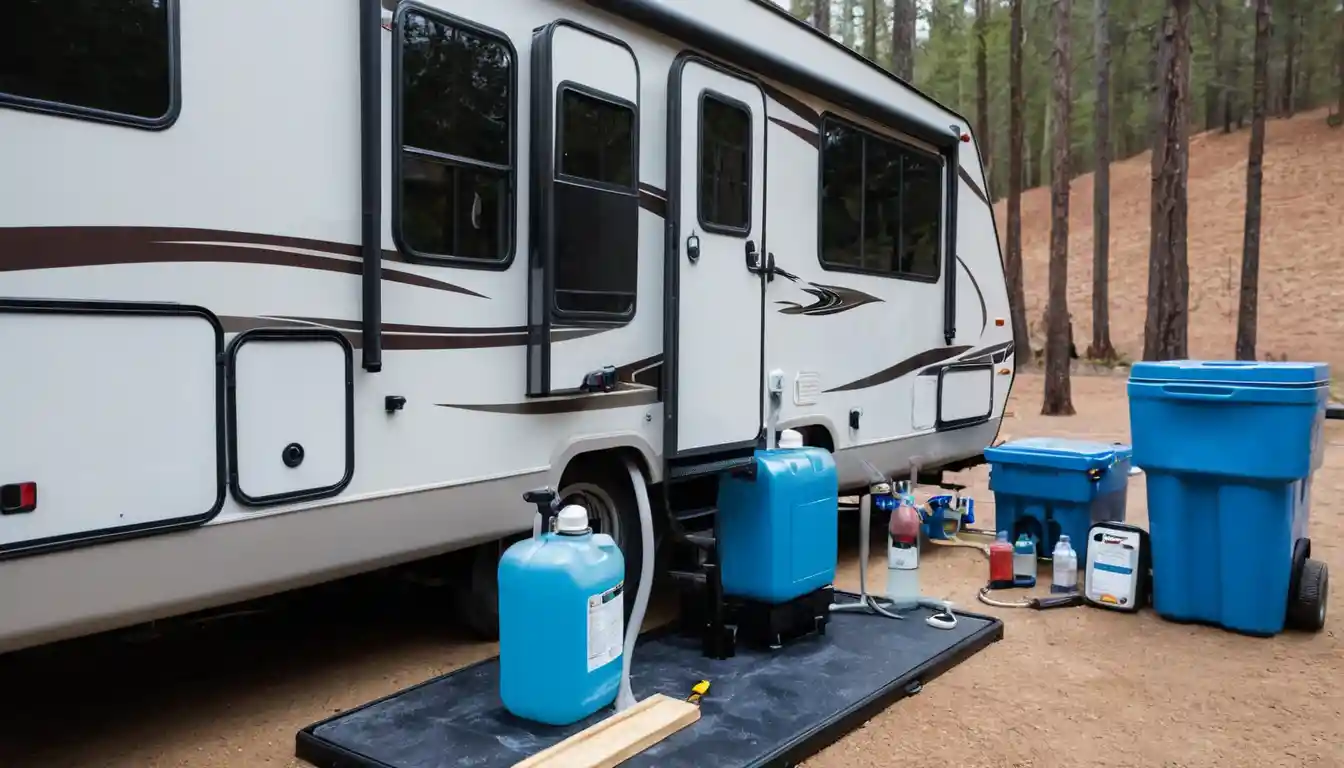
1.3 Add Antifreeze to the Plumbing System
Bypass the water heater: Many RVs have a bypass valve that allows you to avoid putting antifreeze into the water heater. This saves you from using unnecessary amounts of antifreeze.
Use RV-specific antifreeze: You can find RV antifreeze at most RV supply stores. It’s non-toxic and safe for your pipes. Pour the antifreeze into the freshwater tank and pump it through the system.
Activate the water pump: Turn on the water pump and allow the antifreeze to circulate through all of the faucets, showers, and toilets. You’ll know it’s working when pink antifreeze starts coming out of the faucets. Once it does, turn off the water pump.
Step 2: Protect the Holding Tanks
In addition to your water system, the holding tanks (black, gray, and freshwater tanks) must be protected from freezing.
2.1 Empty the Tanks
Dump the black and gray tanks: Use an RV dump station to empty the black and gray tanks. Make sure they’re fully drained so that no water is left behind.
Flush the tanks: If you have a tank rinser, use it to flush out the inside of the tanks. This will help remove any remaining waste or residue.
2.2 Add Antifreeze to the Holding Tanks
Pour antifreeze into the tanks: After draining, pour RV antifreeze directly into both the black and gray holding tanks to prevent any water left inside from freezing.
2.3 Insulate the Tanks
If you live in a region where temperatures dip well below freezing, consider adding tank heaters or insulation to further protect your tanks.
Step 3: Protect the RV’s Exterior
The exterior of your RV also requires attention to ensure it can withstand winter conditions.
3.1 Clean the Exterior
Before storing your RV for the winter, wash it thoroughly. Dirt, debris, and even bird droppings can cause damage to the exterior finish over time. Use RV-specific cleaners and waxes to protect the paint and keep your RV looking great.
3.2 Check for Leaks
Inspect the roof, windows, and seals for any signs of leaks. Winter weather can cause small gaps to expand, letting in moisture that could damage the interior. Replace or reseal any damaged or cracked areas before storing your RV.
3.3 Cover Your RV
If possible, consider using a breathable RV cover to protect your vehicle from the elements. This will shield it from snow, rain, and ice while allowing moisture to escape, preventing mold and mildew buildup.
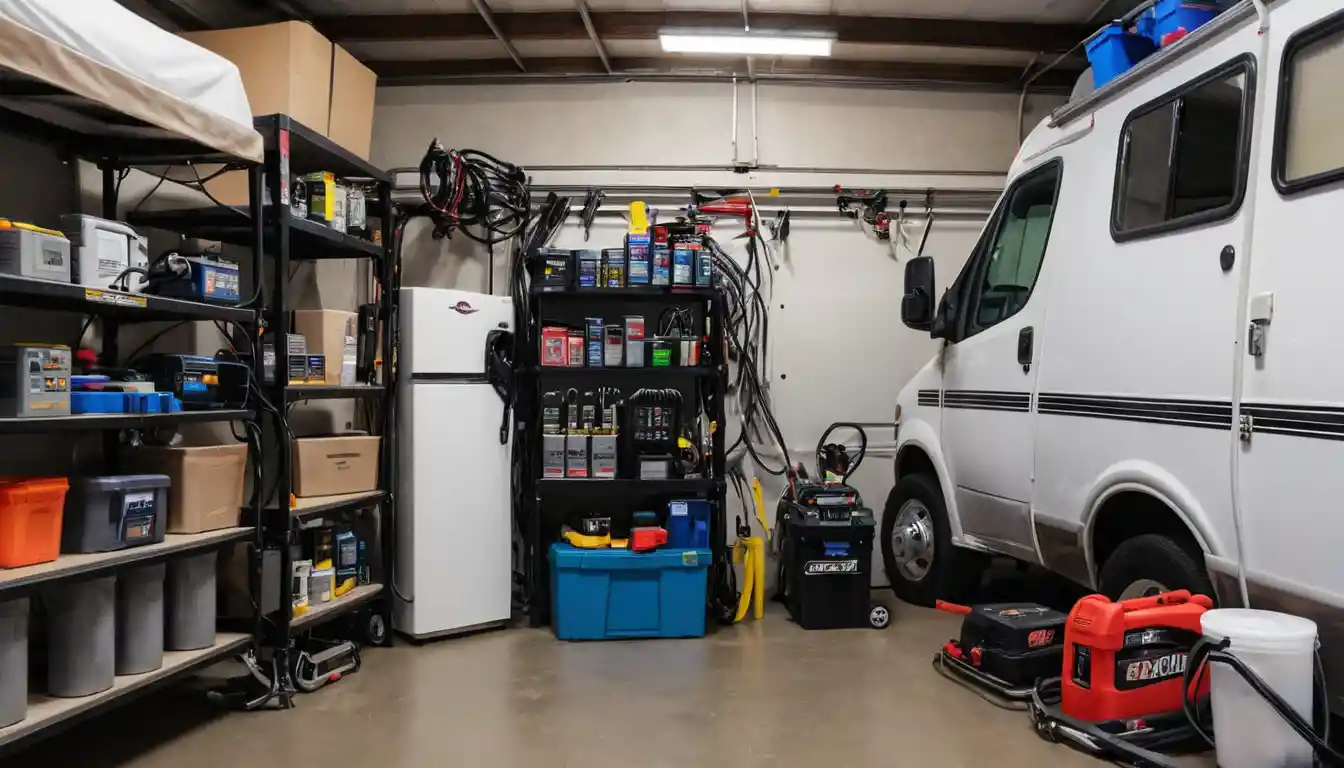
Step 4: Maintain the RV’s Battery
Your RV’s battery needs special care during the winter months. Cold weather can reduce the efficiency of batteries, and they may lose charge more quickly.
4.1 Disconnect the Battery
If you plan to store your RV for an extended period, it’s a good idea to disconnect the battery. This prevents any electrical draw that could deplete its charge.
4.2 Charge the Battery
Before disconnecting the battery, give it a full charge. If possible, remove the battery and store it in a cool, dry place. If you leave it in the RV, check it periodically to ensure it maintains its charge.
4.3 Use a Battery Maintainer
If you keep your RV in storage for months, consider using a battery maintainer or trickle charger. This device will keep the battery charged without overcharging it.
Step 5: Maintain the RV’s Tires
Your RV’s tires are crucial for safe and smooth travel. Cold weather can cause tires to lose air pressure and become damaged.
5.1 Inflate the Tires
Before storing your RV, ensure that all tires are properly inflated. Check the manufacturer’s recommended tire pressure and top them up if necessary.
5.2 Protect the Tires from UV Damage
If your RV is stored outdoors, the tires can suffer from prolonged exposure to UV rays. Consider using tire covers or placing the RV on blocks to reduce the pressure on the tires.
Step 6: Prevent Rodents and Pests
Winter months are when rodents and other pests are looking for a warm place to hide. You’ll want to make sure your RV is sealed up tight.
6.1 Seal Entry Points
Inspect the RV for any small holes or cracks where pests could enter. Use weatherstripping or silicone sealant to close these gaps.
6.2 Use Pest Deterrents
There are several pest deterrents on the market, including sprays, traps, and natural solutions like peppermint oil, which is known to repel rodents.
Step 7: Store Your RV Properly
Finally, after completing all the steps to winterize your RV, it’s time to store it properly.
7.1 Choose a Good Storage Location
If possible, store your RV in a covered or indoor space to protect it from the elements. If you must store it outside, ensure it is parked on a level surface and is protected from the wind.
7.2 Ventilation
Even when storing your RV, make sure it is well-ventilated. Leave the roof vents cracked open slightly to allow airflow and prevent moisture buildup inside the vehicle.
Frequently Asked Questions
How do I know if my RV is properly winterized?
To ensure your RV is properly winterized, check that all water systems, including pipes, tanks, and the water heater, have been drained and antifreeze has been added. Additionally, inspect the exterior for any leaks, clean and protect the tires, and seal any gaps to prevent pests.
Can I use regular antifreeze for my RV?
No, you should use antifreeze that is specifically designed for RVs. Regular automotive antifreeze can be toxic, whereas RV antifreeze is non-toxic and safe for use in plumbing systems.
Should I store my RV in a covered space?
Yes, if possible, storing your RV in a covered or indoor space is ideal. This will protect it from harsh weather conditions, like snow, rain, and ice. If storing it outdoors, make sure it is parked on a level surface and is shielded from wind.
What’s the best way to protect my RV’s tires during winter storage?
To protect your RV’s tires during winter, make sure they are inflated to the manufacturer’s recommended pressure. You can also use tire covers or place the RV on blocks to reduce pressure on the tires and protect them from UV damage.
How can I prevent rodents from getting into my RV during the winter?
To prevent rodents from entering your RV, seal any small cracks or gaps with weatherstripping or silicone sealant. You can also use pest deterrents like peppermint oil, traps, or sprays designed to keep rodents away.
Conclusion
Now that you know how to winterize your RV, it’s time to get started. Properly winterizing your RV will help prevent damage from the cold weather and ensure that your vehicle is ready to go when the spring arrives. Take the time to follow each step carefully, and your RV will thank you with years of reliable service.
Winterizing your RV doesn’t have to be overwhelming. Break the process into manageable tasks, and tackle them one by one. By being proactive and preparing for the cold weather, you’ll avoid costly repairs and ensure that your RV stays in top condition for the long haul.


