Connecting an external antenna to your RV can significantly boost your signal. This is essential for better reception and uninterrupted communication.
Many RV owners face challenges while trying to improve their signal strength. In today’s digital age, staying connected while on the road is crucial. Whether it’s for work, entertainment, or emergency purposes, a reliable signal is a must. Hooking up an external antenna to your RV can solve many connectivity issues.
This guide will help you understand the process step-by-step. Even if you are new to this, don’t worry. The instructions are simple and easy to follow. You’ll be enjoying a stronger signal in no time. Ready to get started? Let’s dive in and make your RV signal stronger and more reliable.

Credit: m.youtube.com
Choosing The Right Antenna
Choosing the right antenna for your RV can enhance your travel experience. A good antenna ensures you get the best signal reception while on the road. This guide will help you select the most suitable external antenna for your RV.
Types Of Antennas
There are different types of antennas available for RVs. Here are the most common ones:
- Omnidirectional Antennas – These antennas receive signals from all directions. They are ideal for areas with weak signals.
- Directional Antennas – These antennas focus on a specific direction. They are perfect for areas where the signal comes from one main source.
- Satellite Antennas – These antennas can receive satellite signals. They are great for those who want a wide range of channels.
Factors To Consider
Before buying an antenna, consider these important factors:
- Signal Strength – Check the signal strength in the areas you plan to visit.
- Mounting Options – Ensure the antenna can be mounted on your RV.
- Weather Resistance – The antenna should withstand various weather conditions.
- Price – Choose an antenna that fits your budget but still meets your needs.
By considering these factors and understanding the types of antennas, you can make an informed decision. This ensures you have a strong and reliable signal during your travels.
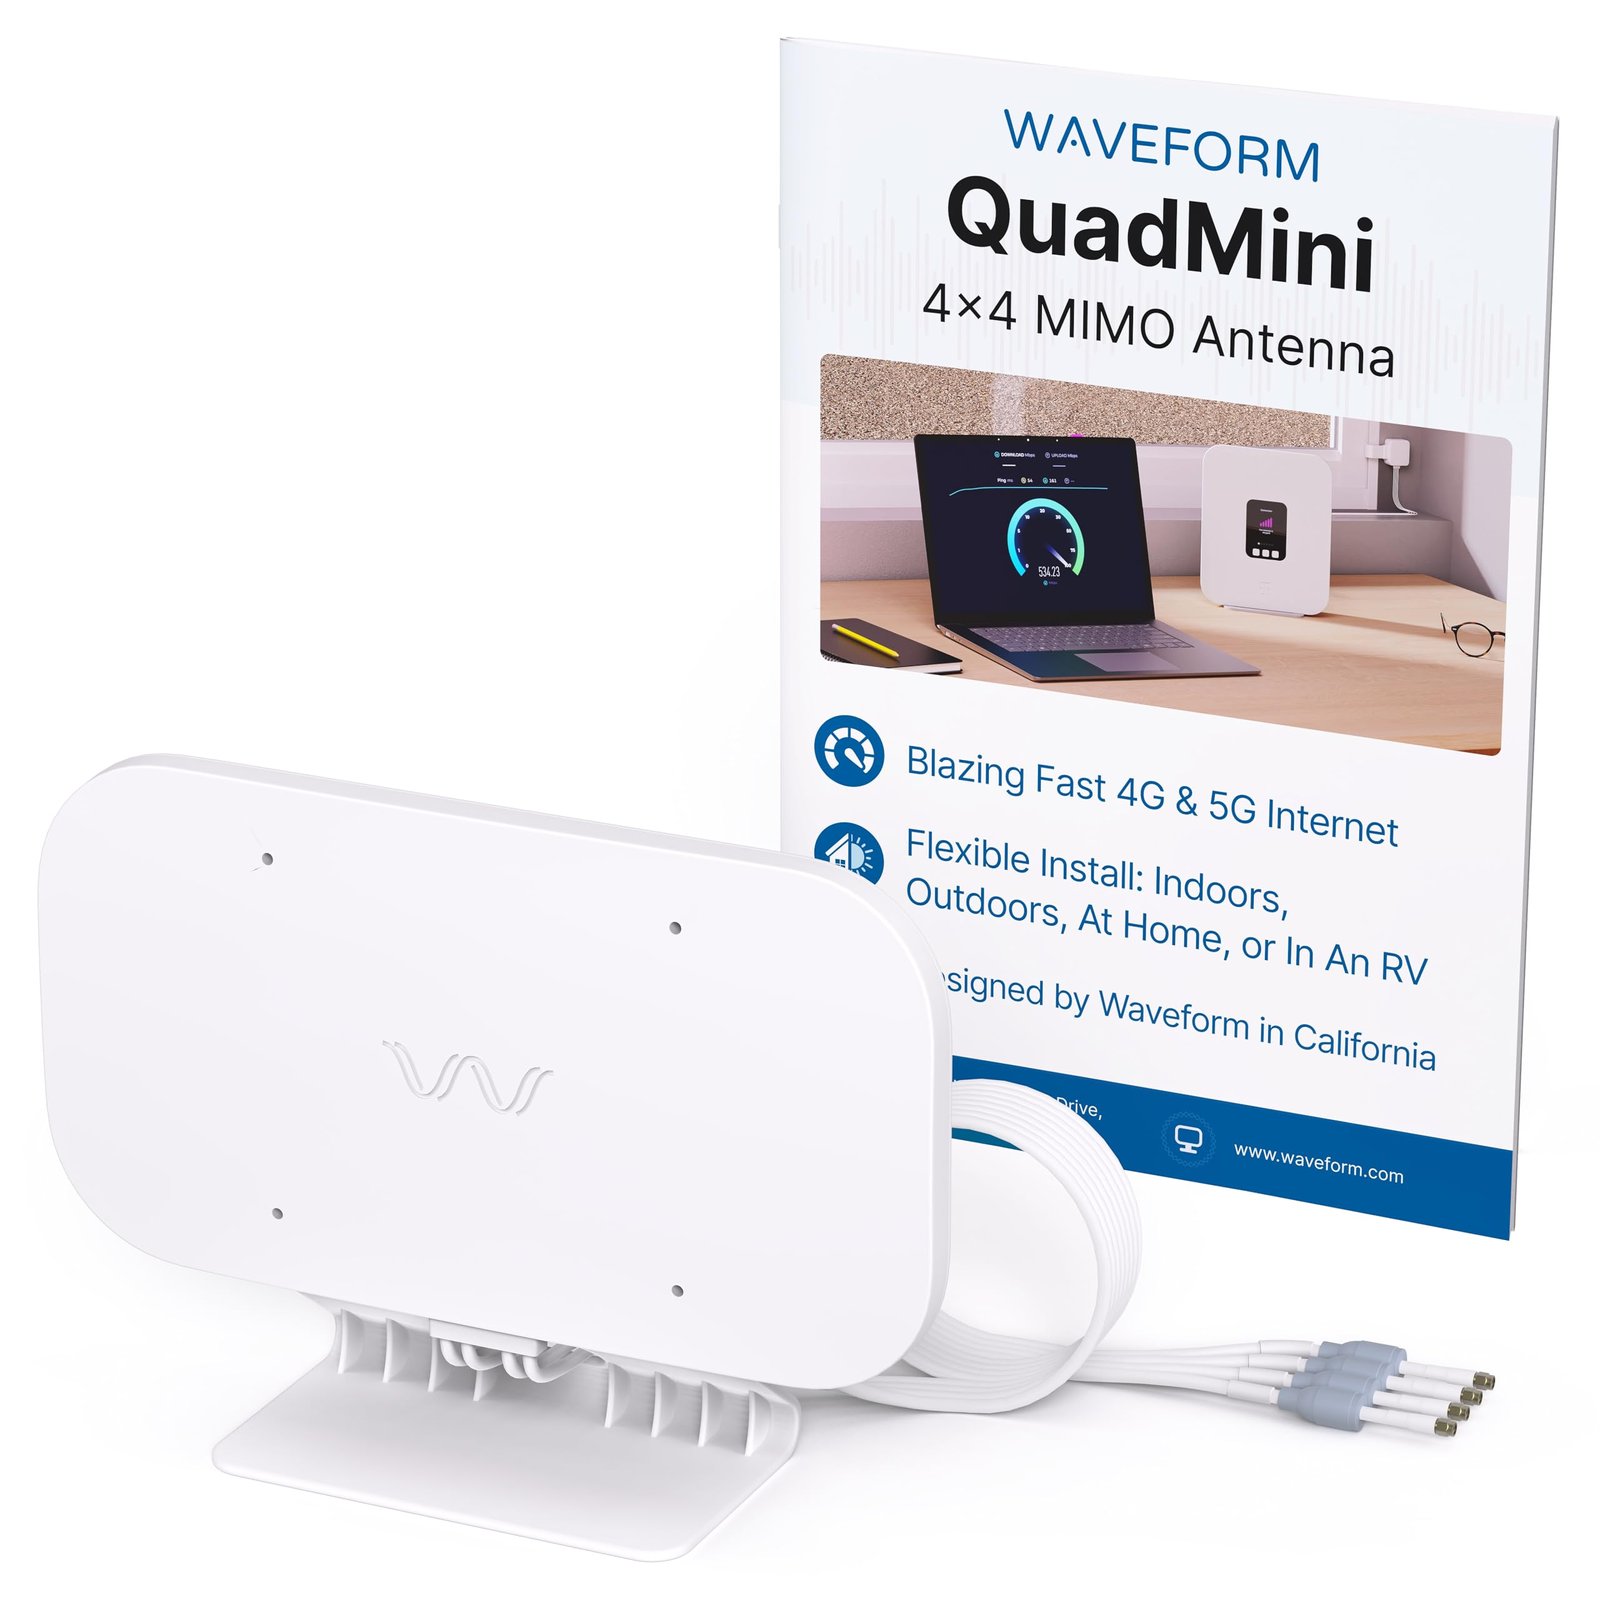
Credit: www.waveform.com
Gathering Necessary Tools
Gather tools like a coaxial cable, antenna mount, and signal booster. Ensure all equipment is compatible with your RV. This preparation simplifies the antenna hookup process.
Before starting the process of hooking up an external antenna to your RV, ensure you have gathered all the necessary tools. Preparation is key to a smooth installation. Having the right equipment will save time and avoid frustration.
Required Equipment
You will need a few essential items to get started. First, have a ladder. This will help you reach the roof of your RV. Next, get a drill with the correct bits. This is needed to secure the antenna. A screwdriver is also necessary for the installation process. Don’t forget the antenna itself. Make sure it is compatible with your RV. Finally, have a coaxial cable to connect the antenna to your TV or receiver.
Optional Accessories
While not necessary, some accessories can make the installation easier. A signal strength meter can help you find the best spot for the antenna. Cable clips can keep your wires organized. Weatherproof tape can protect your connections from the elements. An antenna mount might be useful if your RV does not have one. These optional accessories can enhance your setup and improve performance.
Locating The Best Spot
Locating the best spot for your RV’s external antenna can be tricky. This section will help you find the perfect location to ensure strong signals. By considering optimal placement and avoiding obstructions, you can enjoy clear reception.
Optimal Placement
First, think about the height. Higher spots usually provide better reception. Place the antenna on the roof or a raised mount. This helps to catch signals from far away towers.
Next, keep the antenna away from metal objects. Metal can block signals and reduce performance. Choose a spot free of large metal surfaces for the best results.
Avoiding Obstructions
Obstructions can weaken your signal. Trees, buildings, and hills can block reception. Try to find an open area with minimal obstacles. This helps to maintain a strong, clear signal.
Also, consider the direction of the nearest tower. Point the antenna towards it for improved reception. Use an app or website to find the tower’s location.
By following these tips, you can enjoy better TV and internet reception. Happy travels!
Installing The Antenna
Installing an external antenna on your RV can enhance your signal reception and provide a better TV viewing experience. It’s a straightforward process if you follow the right steps. Below, we will guide you through the mounting techniques and securing the antenna to ensure a stable and robust setup.
Mounting Techniques
There are various mounting techniques available for external antennas. The choice depends on your RV’s design and your specific needs.
- Roof Mount: This is the most common method. Ensure your RV roof is clean and dry before mounting. Use a drill to create pilot holes and secure the antenna with screws.
- Side Mount: Ideal if your roof is curved or you want easier access. Use brackets to attach the antenna to the RV’s side. Make sure the brackets are sturdy and the antenna is level.
- Pole Mount: This technique uses a telescoping pole for better height. Attach the pole to your RV’s ladder or bumper. Ensure the pole is secure and doesn’t wobble.
Securing The Antenna
Securing the antenna is crucial for maintaining signal strength and preventing damage. Follow these steps:
- Use Weatherproof Sealant: Apply sealant around the mounting points. This prevents water from seeping in and causing damage.
- Check Connections: Ensure all cables are securely connected. Loose connections can lead to signal loss.
- Tighten Screws: Regularly check and tighten screws. Vibrations from travel can loosen them over time.
- Use Guy Wires: For pole mounts, use guy wires for extra stability. Attach the wires to the pole and secure them to the RV.
Following these steps will help you install and secure your external antenna effectively. Enjoy a clearer and more reliable signal during your travels.
Connecting To The Rv
Connecting an external antenna to your RV can boost your signal strength. This means better TV reception. It’s a process you can do yourself with a few tools and steps. Follow these simple instructions to get started.
Wiring The Antenna
First, find a suitable spot for the antenna. Choose a place with minimal obstructions. The roof is often the best choice. Next, mount the antenna securely. Use brackets and screws for stability.
Then, run the coaxial cable from the antenna to the inside of the RV. Ensure the cable is not too tight. Avoid sharp bends. Secure the cable with clips. This prevents it from moving around.
Setting Up The Receiver
Now, connect the cable to the TV receiver inside the RV. Locate the input port on the receiver. Insert the cable firmly into the port. Make sure it is tight.
Turn on the receiver and the TV. Use the TV remote to scan for channels. This may take a few minutes. Once done, you should see a list of available channels. Adjust the antenna if needed for better reception.
Testing The Signal
After setting up your external antenna, it’s crucial to test the signal. Ensuring your RV gets the best reception will make your travels more enjoyable. This section guides you through checking signal strength and troubleshooting common issues.
Signal Strength Check
Start by using a signal meter or your device’s signal strength indicator. Look for the highest number of bars or the strongest signal percentage.
- Move your antenna to different positions.
- Rotate the antenna to find the best angle.
- Check the signal at different times of the day.
Keep track of the readings in a table for easy comparison.
| Position | Signal Strength |
|---|---|
| Position 1 | 70% |
| Position 2 | 85% |
| Position 3 | 90% |
Troubleshooting Issues
Sometimes, the signal may not be as strong as expected. Follow these steps to troubleshoot:
- Ensure all connections are tight and secure.
- Check for any obstructions around the antenna.
- Use a signal booster if the signal is weak.
- Verify that your antenna is compatible with your RV’s setup.
If the signal remains poor, consider consulting a professional. They can provide expert advice and solutions.
Maintenance Tips
Maintaining your RV’s external antenna is crucial for optimal performance and longevity. Proper care ensures your antenna delivers clear signals, providing you with the best entertainment and communication experience during your travels. Below are some essential maintenance tips to keep your antenna in top shape.
Regular Inspections
Performing regular inspections helps identify potential issues early. Check the antenna for any visible damage or wear and tear. Look for cracks, bends, or loose connections that could affect signal quality.
| Inspection Task | Frequency |
|---|---|
| Visual Check for Damage | Monthly |
| Check Connections | Bi-monthly |
| Inspect Mounting Hardware | Quarterly |
Cleaning The Antenna
Regular cleaning prevents the buildup of dirt and debris, which can interfere with signal reception. Use a soft cloth and mild soap to clean the antenna surface. Avoid harsh chemicals that can damage the antenna material.
- Turn off the antenna before cleaning.
- Use a soft, damp cloth for wiping.
- Dry the antenna with a clean, dry cloth.
By following these maintenance tips, you ensure your RV’s external antenna remains in excellent condition, providing you with reliable signal strength throughout your journeys.
Additional Boosting Options
Want to get a better signal for your RV? Sometimes, an external antenna alone won’t cut it. You might need some additional boosting options. These options can help you get a stronger and more reliable connection.
Using Signal Boosters
Signal boosters can make a big difference. They take weak signals and make them stronger. This is very useful in areas with poor reception. Place the booster inside your RV. It will improve the signal for all your devices.
There are many types of signal boosters available. Choose one that fits your needs and budget. Some boosters are designed for specific carriers. Others work with any carrier. Check the specifications before you buy one.
Enhancing Connectivity
Want to enhance connectivity even further? Consider using a Wi-Fi extender. A Wi-Fi extender can help spread the signal throughout your RV. Place it in a central location. This ensures the best coverage.
Another option is a mobile hotspot. Mobile hotspots create a Wi-Fi network from a cellular signal. This can provide a strong and stable connection. It is a great option for remote areas.
Make sure to check data plans and coverage areas. This helps you choose the best option for your needs. With the right tools, you can stay connected wherever you go.

Credit: www.amazon.com
Frequently Asked Questions
How Do I Connect An External Antenna To My Rv?
To connect an external antenna, locate the antenna input on your RV. Attach the coaxial cable from the antenna to the input. Secure connections to ensure optimal signal reception.
What Tools Do I Need To Install An Rv Antenna?
You’ll need a coaxial cable, a screwdriver, and the external antenna. These tools will help you securely connect and install the antenna.
Can I Use Any Antenna With My Rv?
Not all antennas are compatible with RVs. Ensure the antenna is specifically designed for RV use to get the best results.
Where Should I Place The External Antenna On My Rv?
Place the antenna in a high, unobstructed location. This positioning helps achieve better signal reception and improves overall performance.
Conclusion
Connecting an external antenna to your RV is straightforward. Follow the steps above to boost your signal. Better reception means clearer TV and happier trips. Ensure all connections are secure. Check your equipment regularly for the best performance. Enjoy your enhanced viewing experience.
Traveling becomes more enjoyable with reliable entertainment options. So, get your tools and start today.


