Draining your RV’s fresh water tank is essential for maintenance. It’s a simple process that ensures clean water for your travels.
Keeping your RV’s fresh water tank clean and empty when not in use is crucial. Over time, stagnant water can lead to unpleasant odors or bacteria growth. Regular draining prevents these issues and keeps your water supply fresh. In this guide, we’ll walk you through the straightforward steps to drain your RV’s fresh water tank.
Whether you’re prepping your RV for winter storage or just maintaining it, understanding this process will ensure your RV stays in top shape. Let’s dive in and make sure your tank is always ready for your next adventure.
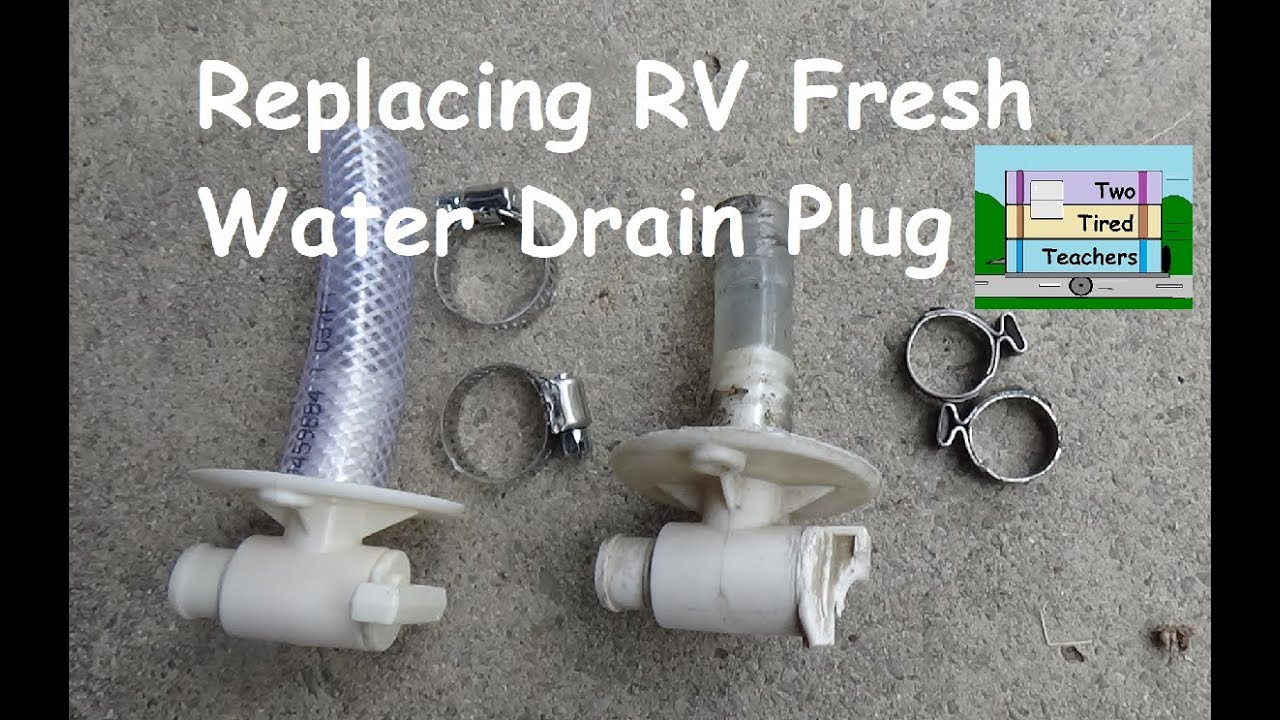
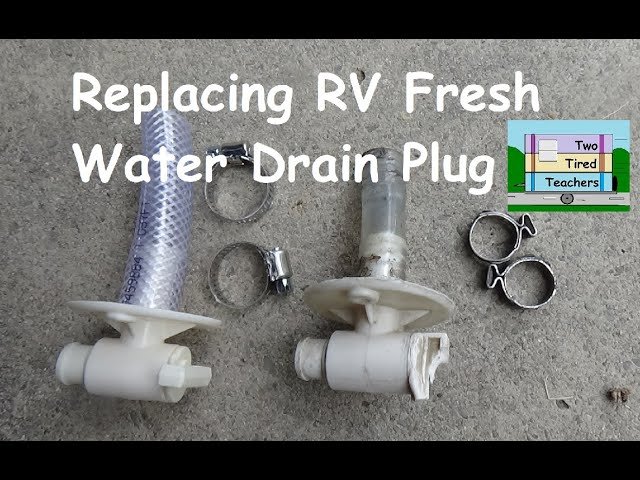
Credit: www.youtube.com
Preparation Steps
Before you drain your RV fresh water tank, it’s important to take a few preparation steps. These steps ensure the process goes smoothly and safely. Let’s break down what you need to do.
Gather Necessary Tools
First, gather all the necessary tools. You will need a hose, a bucket, and a wrench. Make sure you have gloves to protect your hands. Check if you need additional items based on your RV model.
Park On Level Ground
Next, park your RV on level ground. This makes draining easier and prevents uneven water flow. Ensure the parking brake is engaged. Safety first. Level ground also helps you access the drain valve without hassle.
Locate The Drain Valve
Draining your RV’s fresh water tank is a crucial maintenance task. The first step in this process is to locate the drain valve. This section will guide you through finding and identifying the drain valve.
Check Owner’s Manual
Your RV’s owner’s manual is your best friend. It contains detailed information on your specific model. Look for the section on draining the fresh water tank. It will provide precise instructions and diagrams.
Identify Drain Valve Location
The drain valve is usually located underneath the RV. It may be near the water tank itself. Inspect the underside of your RV carefully. Look for a valve or a small lever. This is the drain valve.
Turn Off Water Supply
Draining your RV fresh water tank is essential for maintenance. The first step is to turn off the water supply. This ensures no water flows into the tank while you drain it. Follow these simple steps to avoid any mess and ensure a smooth process.
Close Fresh Water Inlet
Locate the fresh water inlet on your RV. This is usually where you connect the hose to fill the tank. Turn the valve to the closed position. This prevents any new water from entering the tank during the draining process.
Turn Off Water Pump
Next, turn off the water pump. The water pump pushes water from the tank to your faucets and shower. Turning it off stops the flow of water. This step is crucial to prevent damage to the pump and ensure no water pressure builds up in the system.
Follow these steps to drain your RV fresh water tank efficiently. Turning off the water supply is an important step in the process. It ensures you can drain the tank without any issues.
Open Faucets
Opening the faucets is a crucial step in draining your RV fresh water tank. This ensures the water flows out smoothly and prevents any pressure buildup. Let’s break down the process step by step.
Relieve Pressure
Start by relieving the pressure in your RV’s water system. Turn on all the faucets, both hot and cold. This will allow any trapped air to escape. It helps the water drain faster and more efficiently. Remember to open the shower and sink faucets too.
Ensure Proper Drainage
After relieving the pressure, ensure proper drainage by keeping the faucets open. This will help the water flow out completely. Check that all the water has drained from the tank. If needed, slightly tilt your RV to aid the process. Once the tank is empty, close the faucets.
Open The Drain Valve
Draining the fresh water tank is essential for RV maintenance. Opening the drain valve is the first step. This step ensures the tank empties completely. Follow these simple steps for a smooth process.
Use Correct Tools
Using the right tools is vital. You might need a wrench or pliers. These tools help you grip the valve securely. Ensure the tools are clean and in good condition. A well-maintained tool makes the job easier.
| Tool | Purpose |
|---|---|
| Wrench | Loosen or tighten the valve |
| Pliers | Provide better grip |
Monitor Water Flow
After opening the valve, keep an eye on the water flow. Make sure the water is draining properly. If the flow stops suddenly, check for clogs. Clear any debris if needed. Continuous monitoring ensures the tank empties completely.
- Open the valve slowly.
- Watch for steady water flow.
- Clear any blockages promptly.
Once the tank is empty, close the drain valve securely. This prevents leaks and keeps your RV in good condition.
Flush The Tank
Flushing your RV fresh water tank is an important step. It ensures clean water for your travels. Let’s dive into how to do it right.
Use Fresh Water
First, fill your tank with fresh water. This helps rinse out the old water. Make sure the water is clean and potable. Open all the faucets inside your RV. Let the water run for a few minutes. This helps push out any remaining stale water. Repeat this process until the water runs clear.
Remove Residual Sediments
Next, focus on removing residual sediments. These can build up over time. Start by draining the tank completely. Then, refill it halfway with fresh water. Add a cleaning solution designed for RV tanks. Follow the instructions on the product label. Drive your RV around for a bit. This helps the solution mix and scrub the tank walls. Afterward, drain the tank again.
Finally, rinse the tank with fresh water. This removes any remaining cleaning solution and sediments. Your tank should now be clean and sediment-free.
Close The Drain Valve
After draining your RV fresh water tank, it’s essential to close the drain valve properly. This step ensures no water leaks out and your tank stays secure. Follow these simple steps to close the drain valve effectively.
Tighten Properly
First, locate the drain valve on your RV’s fresh water tank. Turn the valve clockwise to close it. Ensure it’s tight but not overly tight. Over-tightening can damage the valve.
Use a wrench if necessary, but be gentle. Hand-tightening is often sufficient. Check the valve to make sure it’s fully closed and no water can escape.
Check For Leaks
After closing the drain valve, inspect for leaks. Look around the valve area. Use a dry cloth to wipe the valve and check for any moisture.
If you notice any leaks, tighten the valve a bit more. Don’t force it, as this can cause damage. If the leak persists, the valve may need replacing.
Ensuring the valve is closed and leak-free keeps your RV’s fresh water tank secure. Regular checks can help avoid issues on your travels.
Refill The Tank
Refilling your RV’s fresh water tank is essential after draining it. Ensuring clean and safe water is vital for your health. Follow these steps to refill your tank correctly.
Use Clean Water
Always use clean water to refill your RV tank. Contaminated water can cause health issues. Connect a potable water hose to the water source. Make sure the hose is clean and free from any debris. Attach the other end of the hose to the RV’s fresh water inlet. Turn on the water source and fill the tank slowly. Watch the tank’s fill gauge to avoid overfilling.
Check Water Quality
It’s important to check the water quality before refilling your tank. Use a water testing kit to ensure the water is safe. Look for any unusual odors or colors in the water. If the water fails the test, find a different source. Always prioritize your health and safety.
Final Inspection
After draining your RV fresh water tank, it is essential to perform a final inspection. This step ensures everything works correctly. Check for leaks and test the water system. Let’s break it down.
Inspect For Leaks
Begin by checking all visible connections and pipes. Look closely. Use a flashlight if needed. Make sure there are no drips or wet spots.
- Check under the RV for any signs of water.
- Inspect around the water tank and connections.
- Listen for any unusual sounds like hissing.
If you find a leak, tighten the connections. If the leak persists, you may need to replace a part. This step is crucial to avoid water damage.
Test Water System
Next, test the water system. Turn on the water pump. Open each faucet one by one. This helps you ensure the system is working properly.
- Turn on the kitchen faucet. Let it run for a few seconds.
- Repeat this process with the bathroom faucet.
- Flush the toilet to check its water flow.
Observe the water flow. Ensure it is steady and strong. If the flow is weak, there may still be air in the system. Run the faucets a bit longer until the flow is consistent.
By performing these steps, you ensure your RV’s water system is in top shape. No surprises on your next trip.
Frequently Asked Questions
How Often Should I Drain My Rv Fresh Water Tank?
You should drain your RV fresh water tank every 2-4 weeks. Regular draining prevents bacteria buildup and maintains water quality.
What Tools Do I Need To Drain The Rv Fresh Water Tank?
To drain your RV fresh water tank, you will need a garden hose and a bucket. These tools help in directing the water flow safely.
Can I Drain My Rv Fresh Water Tank In Winter?
Yes, you can drain your RV fresh water tank in winter. Ensure you do it before freezing temperatures to prevent damage.
Where Is The Drain Valve Located On My Rv?
The drain valve is usually located underneath the RV. Check near the freshwater tank area or consult your RV manual for precise location.
Conclusion
Draining your RV fresh water tank is essential for maintenance. It prevents bacteria buildup. Follow the steps outlined to do it efficiently. Ensure all valves are open. Allow water to flow out completely. Check for leaks or damages during the process.
Regularly draining your tank ensures clean water on your trips. Keep your RV system in top shape. Practice these steps before each journey. Happy and safe travels!


