
To sanitize your RV water tank, you need the right amount of bleach. How much bleach should you add?
In this guide, you’ll learn the exact amount to ensure clean, safe water. Keeping your RV’s water system clean is important. Contaminated water can cause health problems. Bleach is a common, effective solution to sanitize the tank. But, adding too much bleach can be harmful, while too little won’t clean properly.
Understanding the correct amount of bleach to use will help maintain a healthy water system. This post will guide you through the process, ensuring your water tank remains free from harmful bacteria and safe for use.
Credit: www.youtube.com
Introduction To Rv Water Tank Maintenance
Keeping your RV water tank clean is crucial. It ensures safe drinking water and prevents health risks. Regular maintenance is essential for every RV owner.
Importance Of Clean Water
Clean water is vital for health. Contaminated water can cause illness. Regular cleaning keeps your water safe. It removes harmful bacteria and debris.
Common Issues With Rv Water Tanks
RV water tanks can develop problems. Common issues include bacteria growth and sediment buildup. These problems can affect water quality. Regular cleaning helps prevent these issues.
Credit: escapees.com
Why Use Bleach For Sanitization
Bleach effectively kills harmful bacteria in your RV water tank. Add 1/4 cup of bleach per 15 gallons of water. This ratio ensures proper sanitization.
Sanitizing your RV water tank is crucial. Clean water ensures your safety and health. Bleach is a powerful and effective sanitizing agent. It eliminates harmful bacteria and germs.
Benefits Of Bleach
Bleach kills bacteria, viruses, and mold. It ensures your drinking water is safe. Using bleach is cost-effective. It is also widely available. Bleach sanitizes quickly and efficiently. It leaves no harmful residue when used correctly.
Safety Precautions
Always handle bleach with care. Wear gloves to protect your skin. Use goggles to avoid eye contact. Do not mix bleach with other chemicals. Ensure proper ventilation when using bleach. Rinse the tank thoroughly after sanitization. Follow the recommended bleach-to-water ratio. “`
Determining The Right Amount Of Bleach
Using the right amount of bleach in your RV water tank is essential. It keeps your water clean and safe. Too much bleach can cause harm, while too little won’t effectively sanitize your tank. Let’s break down how to find the perfect balance.
Calculating Tank Capacity
First, you need to know your tank’s capacity. This information is usually in your RV’s manual. If you don’t have the manual, you can measure your tank.
- Length: Measure the inside length of the tank.
- Width: Measure the inside width of the tank.
- Height: Measure the inside height of the tank.
Multiply these three numbers to get the volume. Convert this volume to gallons. Here’s a simple formula:
Volume (cubic inches) = Length x Width x HeightTank Capacity (gallons) = Volume (cubic inches) / 231
Standard Bleach Ratios
Once you know your tank capacity, you can add the right amount of bleach. The standard ratio is 1/4 cup of bleach per 15 gallons of water. Let’s put this into perspective:
| Tank Capacity (gallons) | Bleach Needed (cups) |
|---|---|
| 15 | 1/4 |
| 30 | 1/2 |
| 45 | 3/4 |
| 60 | 1 |
It’s best to round up slightly for safety. For example, if your tank holds 50 gallons, use about 3/4 to 1 cup of bleach. This ensures the water is thoroughly sanitized.
Step-by-step Bleach Application
Maintaining the cleanliness of your RV water tank is crucial. Using bleach is an effective method to sanitize it. Follow this step-by-step guide to ensure your water tank remains clean and safe for use.
Preparing The Bleach Solution
First, you need to prepare the bleach solution. Bleach is a strong disinfectant, so use it carefully. The recommended ratio is one cup of bleach per 50 gallons of water.
Use a clean container to mix the bleach with water. Make sure the container is large enough to hold the entire solution. Do not use metal containers as bleach can react with metal.
| Water Tank Size | Amount of Bleach |
|---|---|
| 50 gallons | 1 cup (8 oz) |
| 100 gallons | 2 cups (16 oz) |
| 150 gallons | 3 cups (24 oz) |
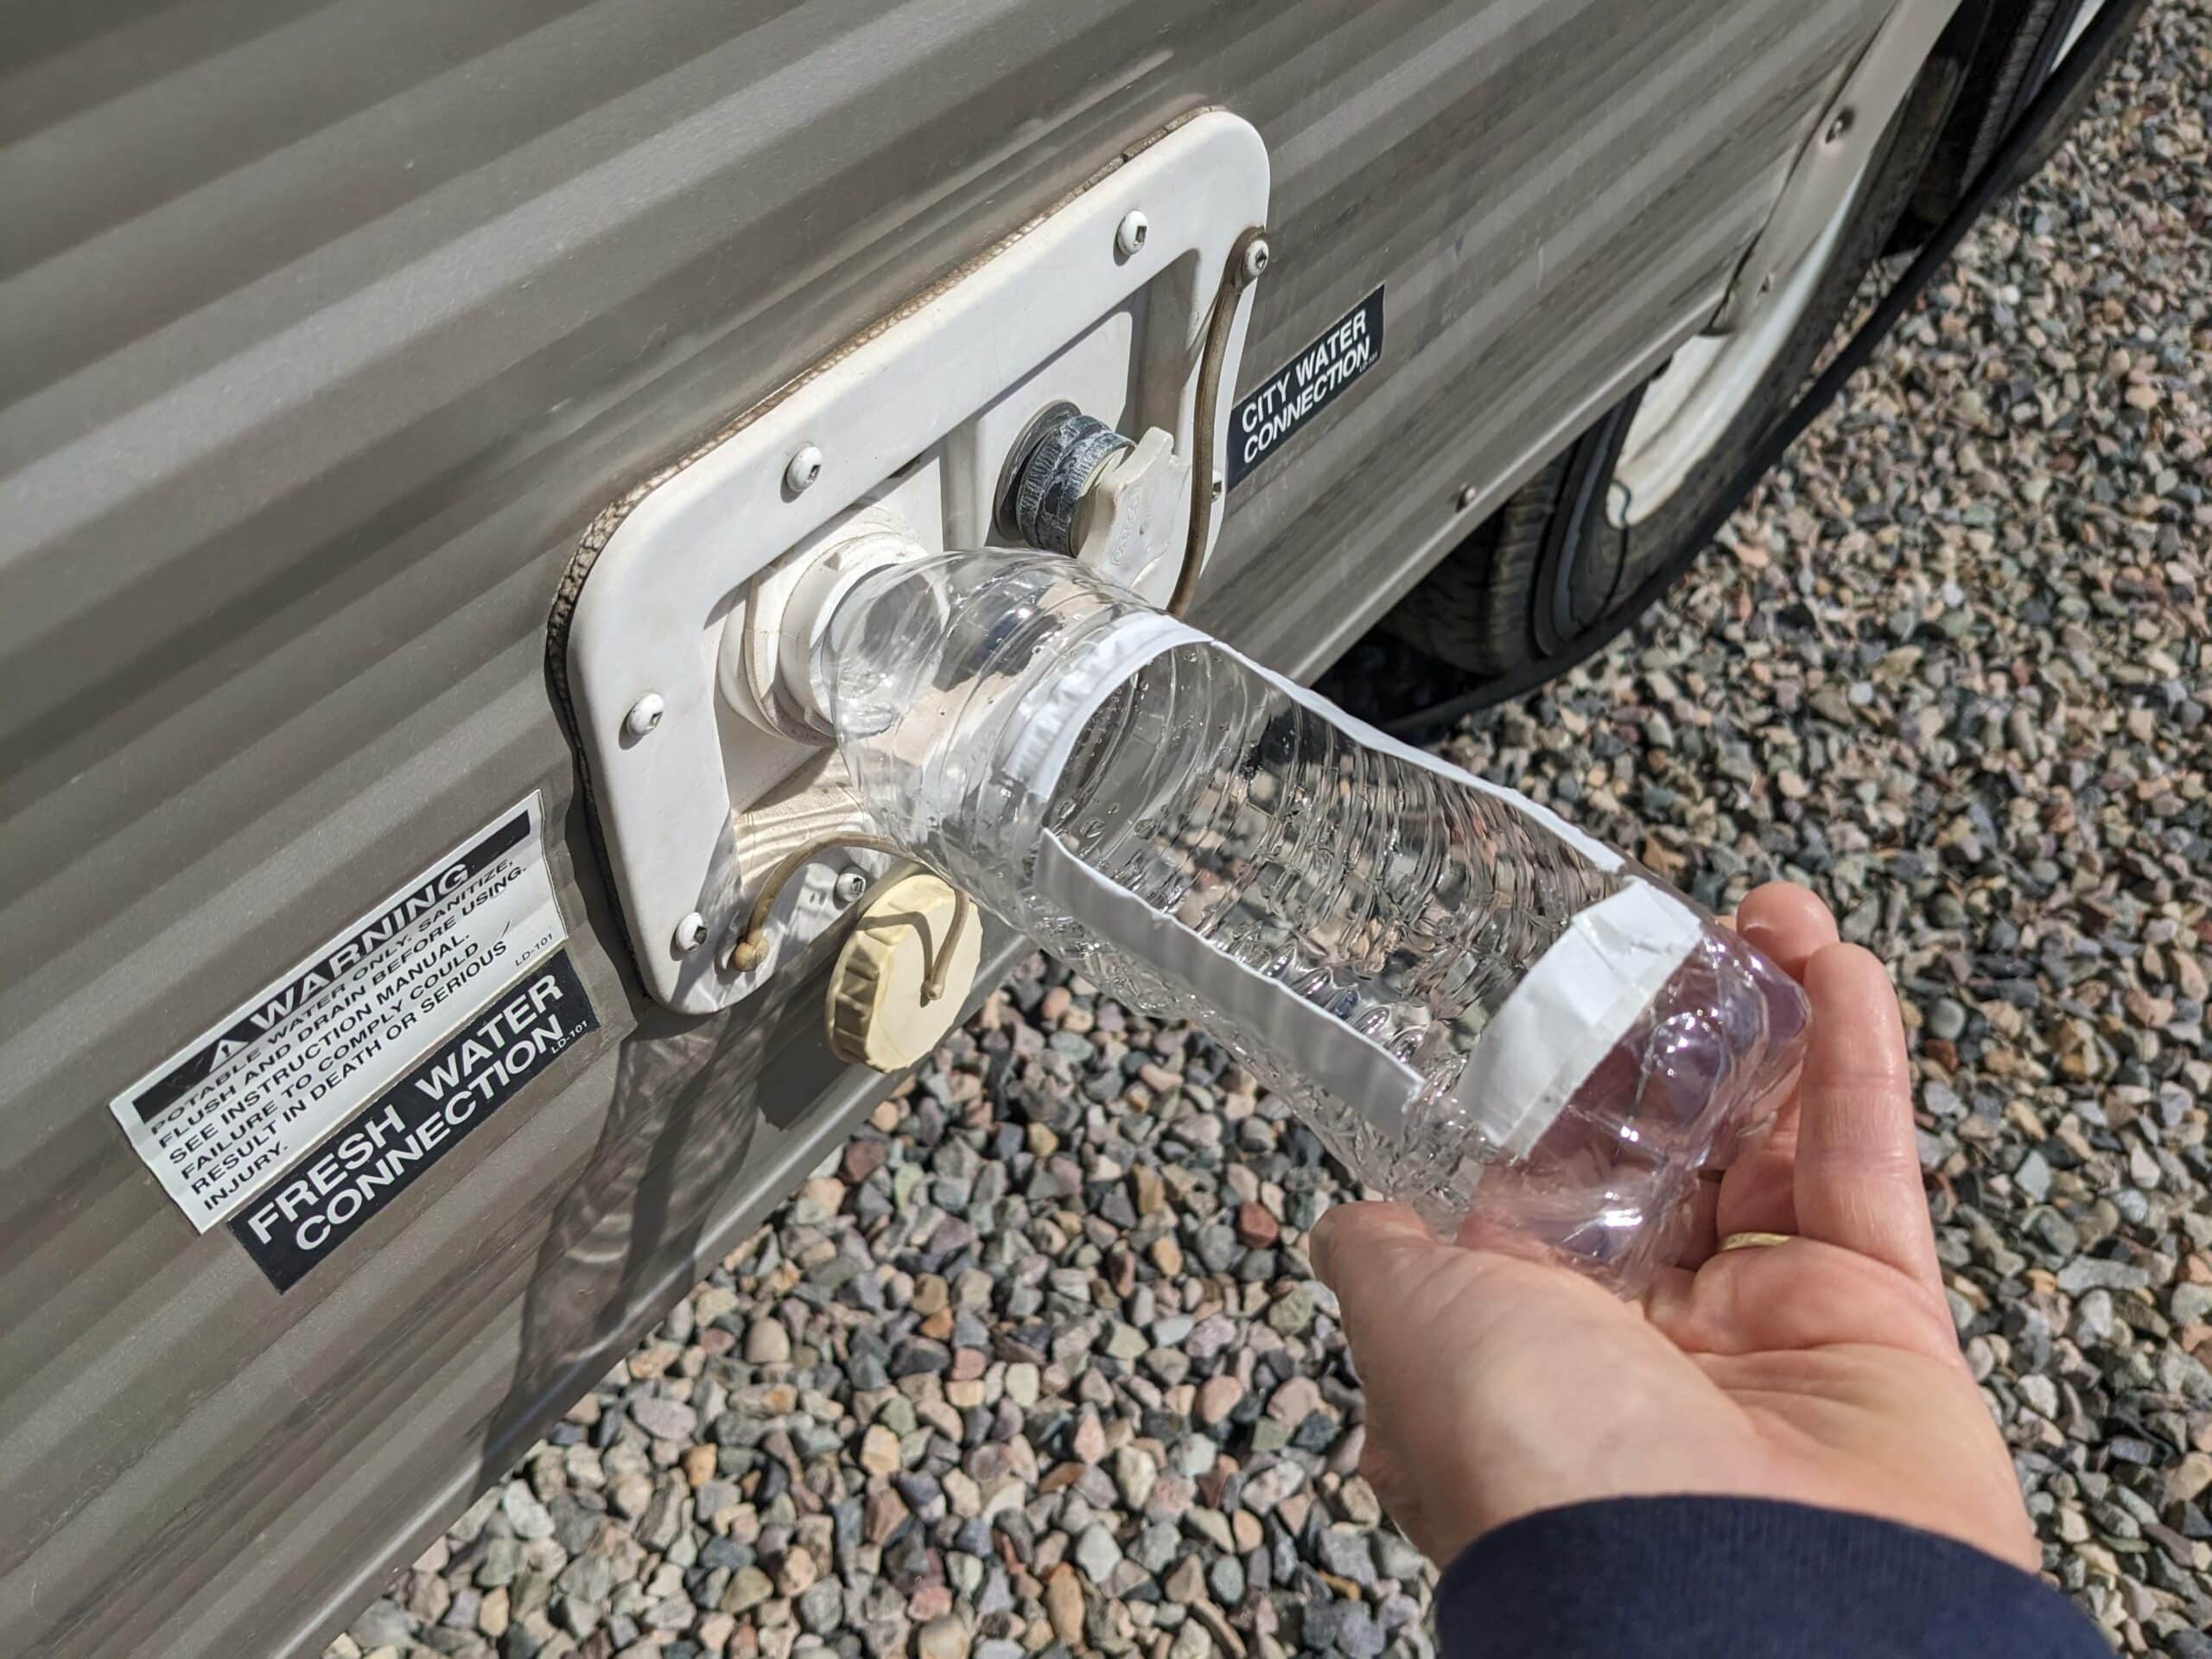
Adding Bleach To The Tank
Once the solution is ready, it’s time to add it to the tank. Follow these steps:
- Ensure the RV is parked on a level surface.
- Turn off the water pump and close all faucets.
- Pour the bleach solution into the fresh water tank.
- Fill the tank with fresh water to mix the solution thoroughly.
After adding the bleach solution, let it sit for at least 12 hours. This ensures the bleach effectively sanitizes the tank. Make sure all faucets are closed to keep the solution inside.
After 12 hours, drain the tank completely. Fill it with fresh water again to rinse out any remaining bleach. Repeat this rinsing process once or twice to ensure no bleach residue remains.
By following these steps, you can keep your RV water tank clean and safe. Regular maintenance will help you enjoy your travels with peace of mind.
Flushing And Rinsing The Tank
Maintaining the cleanliness of your RV water tank is essential for safe drinking water. Bleach is an effective method for disinfecting. Proper flushing and rinsing are crucial to remove any bleach residue. This ensures your water is safe and clean.
Initial Flushing Steps
Begin by draining the water tank completely. Open all faucets and let the water run out. This step removes any remaining water and bleach.
Next, close all faucets and fill the tank with fresh water. Add a small amount of bleach, about 1/4 cup for every 15 gallons of water. This helps to further disinfect the tank.
Let the bleach water sit for at least four hours. This ensures all bacteria and contaminants are killed. Then, open the faucets and let the water run out again.
Final Rinse Procedures
After the initial flush, fill the tank with fresh water again. This time, do not add any bleach. Open all faucets and let the water run for several minutes. This step helps to remove any remaining bleach residue.
Repeat the rinsing process if you still smell bleach. Fill the tank with fresh water and run it through the system again. Continue until the bleach smell is completely gone.
Finally, fill the tank with clean, fresh water. Your RV water tank is now ready for use. Enjoy safe and clean drinking water on your travels.
Testing Water Quality
Ensuring clean and safe water in your RV is crucial. Regular testing helps maintain water quality. This process involves several steps. Let’s explore the key aspects of testing water quality.
Using Water Test Kits
Water test kits are essential for monitoring water quality. These kits can test for various contaminants. Common tests include chlorine, bacteria, and pH levels. Follow the instructions on the kit carefully.
Here’s a simple guide to using a water test kit:
- Collect a water sample in a clean container.
- Dip the test strip or add the reagent as instructed.
- Wait for the recommended time.
- Compare the results with the provided color chart.
Always use a reliable test kit for accurate results.
Interpreting Test Results
Understanding test results is key to maintaining water quality. Most kits provide a color chart for comparison.
Here’s how to interpret common test results:
- Chlorine Levels: Ideal levels are between 0.2 to 0.5 ppm. High levels can cause health issues.
- Bacteria Presence: Any indication of bacteria means the water is unsafe. Immediate action is needed.
- pH Levels: Safe drinking water has a pH between 6.5 and 8.5. Levels outside this range can affect taste and safety.
Regular testing and proper interpretation ensure safe water for your RV travels.
Frequency Of Sanitizing Rv Water Tank
The frequency of sanitizing your RV water tank is crucial for ensuring a clean and safe water supply. Regular sanitization prevents bacteria and other harmful contaminants from thriving in your water system. But how often should you sanitize your RV water tank? Let’s dive into the details.
Seasonal Guidelines
Sanitizing your RV water tank at the start of each season is a good practice. This ensures that your water remains safe throughout your travels. Here’s a simple guideline to follow:
| Season | Sanitizing Frequency |
|---|---|
| Spring | Once at the beginning |
| Summer | Once in the middle of the season |
| Fall | Once at the beginning |
| Winter | Before winterizing the RV |
Signs Your Tank Needs Sanitizing
Sometimes, your tank might need sanitizing more frequently. Look out for these signs:
- Bad odor from the water.
- Water tastes strange.
- Visible sediments or discoloration in the water.
- Unexplained illness or stomach issues after drinking the water.
If you notice any of these signs, it’s time to sanitize your tank. Keeping your water tank clean is essential for your health and safety during your travels.
Alternative Methods For Water Tank Cleaning
Cleaning your RV water tank is essential for safe drinking water. While bleach is a popular method, there are alternative methods that can be just as effective. This section explores natural cleaning solutions and professional cleaning services.
Natural Cleaning Solutions
Using natural cleaning solutions is a great way to keep your water tank clean. These methods are both eco-friendly and safe. Here are some options:
- White Vinegar: Mix 1 gallon of water with 1 cup of white vinegar. Fill the tank with this solution and let it sit for 12 hours. Drain and rinse thoroughly.
- Baking Soda: Dissolve 1 cup of baking soda in a gallon of water. Pour it into the tank and let it sit overnight. Rinse well the next day.
- Hydrogen Peroxide: Use a mixture of 1 part hydrogen peroxide to 10 parts water. Fill the tank and let it sit for a few hours before rinsing.
Professional Cleaning Services
If you prefer a hassle-free option, consider hiring professional cleaning services. Professionals use specialized equipment to clean and sanitize your water tank. This ensures that all contaminants are removed. Here are some benefits:
- Thorough Cleaning: Experts can reach areas you might miss.
- Time-Saving: Cleaning is done quickly and efficiently.
- Safety: Professionals use safe and approved chemicals.
Hiring a professional can be more expensive, but it guarantees a clean and safe water tank.
Maintaining Clean Water In Your Rv
To maintain clean water in your RV, add 1/4 cup of bleach for every 15 gallons of water. This helps disinfect the tank and ensures safe drinking water. Regular sanitization prevents bacteria build-up.
Traveling in an RV offers freedom and adventure. But it’s crucial to maintain clean water in your RV. Contaminated water can cause health issues. Regular cleaning ensures safe drinking water.
Regular Maintenance Tips
Clean your RV water tank regularly. Start by draining the tank. This removes old water. Use a solution of bleach and water. Add one cup of bleach for every 60 gallons of water. Fill the tank with this solution. Let it sit for 24 hours. Drain and flush the tank with clean water.
Preventive Measures
Always fill your tank with clean, potable water. Use a water filter. This removes contaminants. Store your RV in a cool, dry place. Avoid leaving water in the tank for long periods. This prevents bacteria growth. Check your water tank and lines regularly. Look for cracks or leaks. Fix them immediately. “`
Frequently Asked Questions
How Much Bleach For Rv Water Tank?
Add 1/4 cup of bleach for every 15 gallons of water. This ratio ensures effective sanitization without harming the tank.
Can Bleach Damage My Rv Water Tank?
No, when used correctly, bleach will not damage your RV water tank. Follow recommended dilution rates to avoid any issues.
How Long To Leave Bleach In Rv Tank?
Leave the bleach solution in the RV water tank for at least 12 hours. This ensures thorough sanitization.
How To Flush Bleach From Rv Water Tank?
After sanitizing, drain the tank and refill with fresh water. Repeat the process until the bleach smell is gone.
Conclusion
Keeping your RV water tank clean is essential for safe travels. Use the correct amount of bleach to disinfect. Too little bleach won’t work effectively. Too much can be harmful. Follow the guidelines for the right balance. This ensures safe, clean water for your adventures.
Always prioritize your health and safety. Happy and safe RVing!


