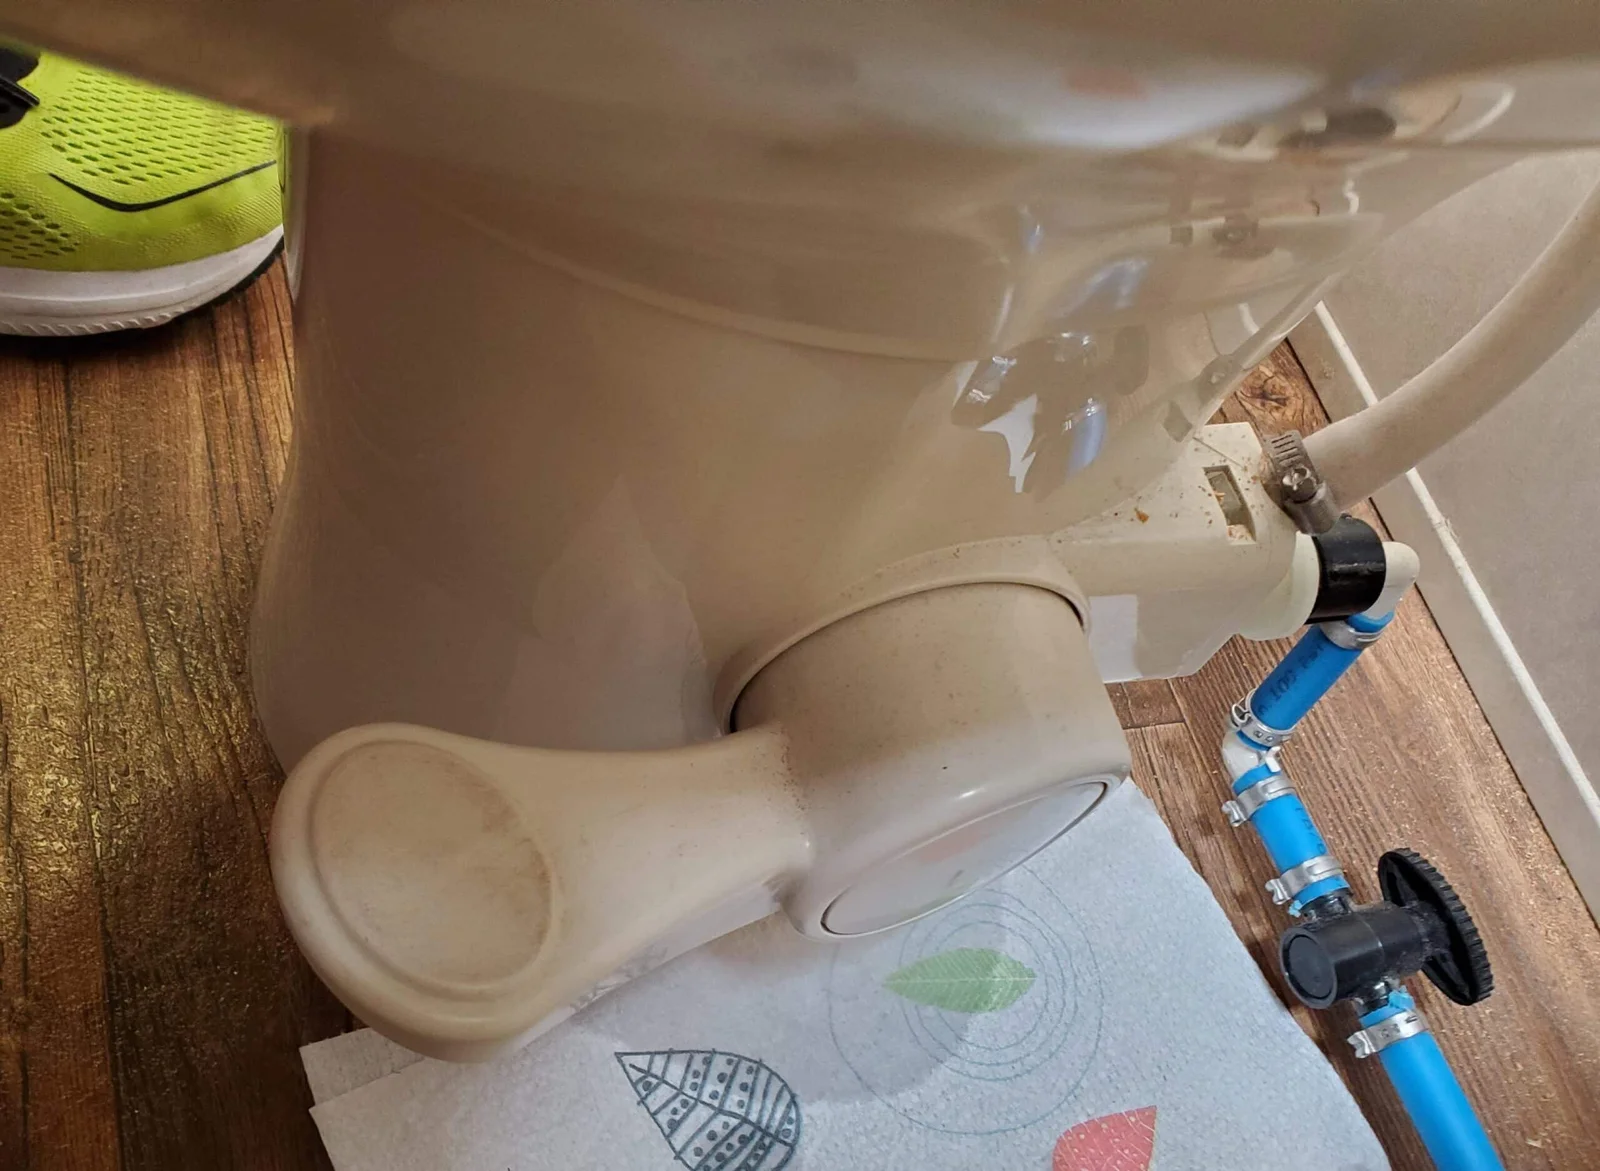
A leaking Dometic RV toilet can be a real hassle. Especially when the issue is at the foot pedal.
RVs are meant to provide comfort and convenience on the road. But a leaking toilet can turn any trip into a nightmare. If your Dometic RV toilet is leaking at the foot pedal, you’re not alone. This common issue can be frustrating, but it’s fixable.
In this blog post, we’ll explore why this happens and how you can address it. Understanding the problem is the first step towards fixing it. So, let’s dive in and get your RV bathroom back to its functional best.
Credit: www.youtube.com
Common Causes Of Foot Pedal Leaks
A leaking foot pedal on your Dometic RV toilet can be frustrating. Understanding the common causes can help you fix the problem quickly and easily. Here are the two main culprits: worn out seals and loose connections.
Worn Out Seals
Over time, the seals in your RV toilet can wear out. This happens because of regular use and exposure to water. When the seals break down, water can start to leak around the foot pedal.
Here are some signs of worn out seals:
- Water around the base of the toilet
- Difficulty flushing
- Unusual sounds when pressing the pedal
Replacing the seals can usually fix the leak. Check your RV toilet manual for the correct replacement parts. Keeping an eye on the condition of the seals can prevent future leaks.
Loose Connections
Loose connections are another common cause of foot pedal leaks. The connections between the foot pedal and the water supply can become loose over time. This can result in water leaking from the pedal area.
To check for loose connections:
- Turn off the water supply to the toilet
- Inspect the connections around the foot pedal
- Tighten any loose connections using a wrench
Sometimes, a simple tightening of connections can stop the leak. Regularly checking these connections can help maintain the function of your RV toilet.
Essential Tools And Materials
Fixing a leaking Dometic RV toilet at the foot pedal can seem daunting. But with the right tools and materials, you can tackle this issue effectively. This section will guide you on the essential tools and materials needed for the job.
Tools You Need
Having the right tools makes any repair job easier. Below is a list of tools you’ll need:
- Adjustable Wrench: Useful for loosening and tightening bolts.
- Screwdriver Set: A flathead and a Phillips screwdriver will be essential.
- Pliers: Handy for gripping and turning small parts.
- Bucket: To catch any water that might spill during the repair.
- Flashlight: Helps you see clearly in tight spaces.
Materials To Gather
Besides tools, you’ll also need certain materials to fix the leak. Here is a list of materials:
- Replacement Seals: These are crucial to stop the leak.
- Plumber’s Tape: Helps seal threaded connections.
- Cleaning Cloths: To wipe down any water or debris.
- Lubricant: For smooth operation of moving parts.
- Gloves: Keep your hands clean and protected.
Having these tools and materials on hand will prepare you for the task. It makes the repair process smoother and more efficient.
Step-by-step Repair Guide
Is your Dometic RV toilet leaking at the foot pedal? Don’t worry, fixing it can be simple. Follow this step-by-step repair guide to get your toilet back in working order. By following these steps, you can save money and enjoy a leak-free toilet.
Turn Off Water Supply
First, turn off the water supply to your RV. This prevents any water from flowing while you work. Locate the water valve near your toilet and turn it off. Double-check to ensure no water flows when you press the foot pedal.
Remove Toilet From Base
Next, remove the toilet from its base. Unscrew the bolts that hold the toilet in place. Lift the toilet carefully and place it on a flat surface. Keep all screws and bolts in a safe place for reassembly.
Inspect And Replace Seals
Inspect the seals around the foot pedal area. Look for any cracks or damage. Worn seals can cause leaks. Replace any damaged seals with new ones. Ensure the new seals fit snugly to prevent future leaks.
Reassemble The Toilet
Now, reassemble the toilet. Place it back on its base and secure it with the bolts. Tighten the bolts firmly, but don’t overdo it. Turn the water supply back on and test the foot pedal. Check for any leaks. If everything looks good, your repair is complete.
Preventive Maintenance Tips
Maintaining your Dometic RV toilet can prevent leaks at the foot pedal. Regular care helps the toilet function properly. It also extends its lifespan. Here are some preventive maintenance tips.
Regular Inspections
Check your toilet for leaks often. Look around the foot pedal. Small drips can lead to bigger problems. Inspect seals and connections. Tighten any loose parts. Early detection prevents severe damage.
Cleaning
Keep the toilet clean. Use mild soap and water. Avoid harsh chemicals. They can damage seals. Clean around the foot pedal. Dirt buildup can cause leaks. Regular cleaning keeps the toilet working well.
Lubrication
Lubricate the foot pedal parts. Use a silicone-based lubricant. Apply it to moving parts. This reduces friction. It also prevents wear and tear. Proper lubrication ensures smooth operation.
Troubleshooting Persistent Leaks
Dealing with a Dometic RV toilet leaking at the foot pedal can be frustrating. Persistent leaks are common but manageable with the right steps. This guide will help you identify and fix these issues.
Checking For Cracks
First, inspect the toilet for any visible cracks. Even small cracks can cause leaks. Pay close attention to the base and around the foot pedal area.
- Turn off the water supply to the toilet.
- Dry the area thoroughly to see cracks better.
- Use a flashlight to inspect hard-to-see spots.
If you find any cracks, you may need to replace the damaged parts. Sometimes, applying a waterproof sealant can provide a temporary fix. But replacement is usually the best long-term solution.
Evaluating Water Pressure
High water pressure can cause leaks in your Dometic RV toilet. It puts stress on the seals and connections. Check the water pressure to ensure it is within the recommended range.
- Use a water pressure gauge to check the pressure.
- Ensure the pressure is between 40 to 60 psi.
- If the pressure is too high, use a pressure regulator.
Consistent high pressure can wear out seals faster. So, keeping the water pressure within the recommended range is crucial.
By following these steps, you can address the common issues causing leaks. Keeping your RV toilet in good condition will ensure a pleasant travel experience.

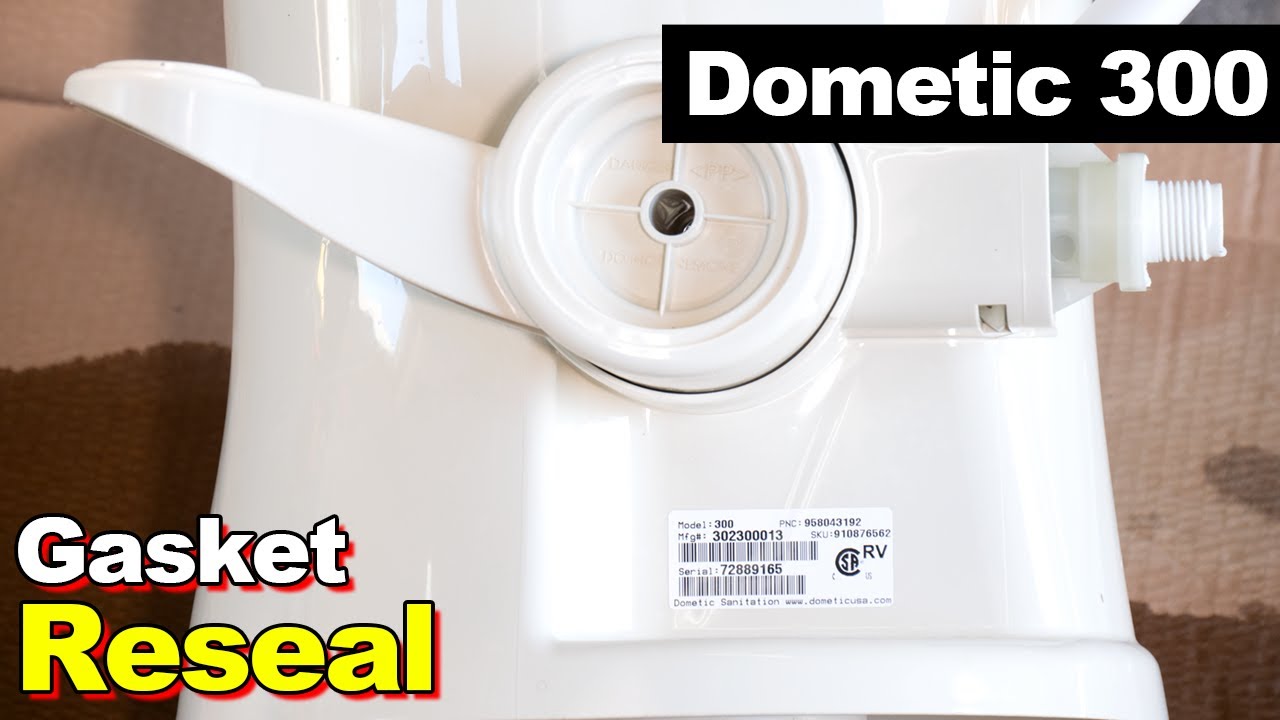
Credit: www.reddit.com
When To Call A Professional
Experiencing a Dometic RV toilet leaking at the foot pedal? Call a professional to prevent water damage. Quick action ensures proper repairs and maintains your RV’s functionality.
Having a leaking RV toilet at the foot pedal can be frustrating. You might try to fix it yourself, but sometimes the problem is too big. This is when you need professional help. Knowing when to call a technician can save you time and stress.
Signs You Need Help
Water pooling around the toilet is a bad sign. This could mean a serious leak. If the foot pedal feels loose or unresponsive, the problem could be more complex. You might also notice a bad smell. These issues often need a professional touch. If you hear strange sounds when you flush, it’s time to call for help. Unusual noises can signal deeper problems. Leaks that persist despite your efforts to fix them need expert attention. These signs mean the issue is beyond a simple DIY solution.
Finding A Reliable Technician
Finding the right technician is crucial. Start by asking fellow RV owners for recommendations. Look for technicians with good reviews. These can be found on RV forums or review sites. Check if the technician has experience with Dometic RV toilets. Specialized knowledge ensures better service. Ask about their certifications and training. This will give you peace of mind. Request a quote before agreeing to any work. This helps you avoid unexpected costs. Good technicians will provide a detailed estimate. They will also explain the steps they will take. In summary, knowing when to call a professional can make a big difference. Look for signs of serious issues and find a reliable technician. This will ensure your Dometic RV toilet gets the best care.
Cost Of Repairs And Replacements
Dealing with a leaking Dometic RV toilet can be frustrating. The costs for repairs and replacements can add up. Understanding these costs can help you make an informed decision.
Average Repair Costs
Repairing a leaking Dometic RV toilet at the foot pedal can vary. On average, repair costs range from $75 to $150. This includes labor and parts. The exact cost will depend on the extent of the leak. Minor leaks might cost less. Major issues can push costs to the higher end.
Cost Of Replacing The Toilet
Sometimes, repairs are not enough. You may need to replace the toilet. The cost of a new Dometic RV toilet can range from $200 to $400. Installation adds another $100 to $200. Therefore, the total cost for a replacement can be between $300 and $600. This ensures you have a fully functional toilet without leaks.
User Testimonials And Experiences
Reading user testimonials and experiences can provide valuable insights. People facing Dometic RV toilet leaking issues at the foot pedal often share their stories. These stories help others understand common problems. They also highlight successful solutions. Let’s dive into some user experiences.
Success Stories
Many users have successfully fixed their leaky Dometic RV toilets. Jane from Texas replaced the seal. Her toilet stopped leaking immediately. She couldn’t believe how simple it was. Another user, Mike, tightened a few screws. The leak stopped, and he felt relieved. These success stories show that common issues have easy fixes.
Common Challenges Faced
Some users face recurring problems. Leaks can return if the seal isn’t fitted correctly. John from Florida had to fix his toilet twice. The first time, he didn’t align the seal properly. Another challenge is finding the right parts. Sarah struggled to find the correct seal. She had to visit multiple stores. These common challenges can be frustrating. But knowing them helps in finding quicker solutions.
Frequently Asked Questions
Why Is My Dometic Rv Toilet Leaking At The Foot Pedal?
A Dometic RV toilet can leak at the foot pedal due to worn-out seals, loose connections, or damaged components. Regular maintenance can help prevent this issue.
How Do I Fix A Leaking Foot Pedal On My Rv Toilet?
To fix a leaking foot pedal on your RV toilet, check for worn seals, tighten connections, or replace damaged parts. Consult the user manual for guidance.
Can I Replace The Foot Pedal Seal Myself?
Yes, you can replace the foot pedal seal yourself. Follow the instructions in the user manual and use appropriate tools for the task.
What Tools Do I Need To Fix A Leaking Rv Toilet?
You will need basic tools like a screwdriver, pliers, and a wrench. Additionally, have a replacement seal or parts on hand.
Conclusion
Fixing a Dometic RV toilet leak at the foot pedal is essential. It helps prevent water damage and keeps your RV clean. Check for worn-out seals and replace them if needed. Regular maintenance ensures smooth operation. Don’t ignore small leaks, as they can worsen over time.
Addressing the issue promptly saves you time and money. Enjoy a stress-free RV experience with a properly working toilet. Safe travels and happy camping!


