Thinking about upgrading your RV toilet to a standard one? This can be a great move for comfort and convenience.
Replacing an RV toilet with a standard toilet can make a big difference in your travel experience. Standard toilets often offer better flushing power and comfort. They also give your RV a more home-like feel. But the process isn’t always straightforward.
You need to consider space, plumbing, and the weight of the new toilet. Understanding these factors will help you decide if this upgrade is right for you. Ready to learn more? Let’s dive into the details of replacing your RV toilet with a standard one.

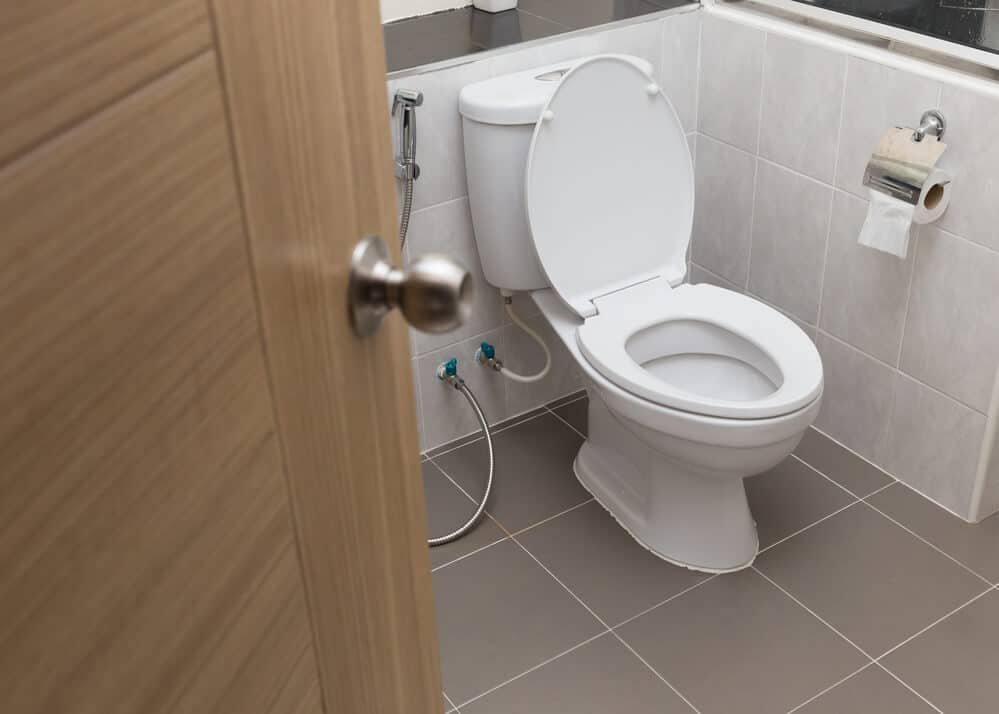
Credit: www.youtube.com
Preparation
Replacing an RV toilet with a standard toilet requires careful preparation. This ensures the process goes smoothly and your new toilet fits perfectly. Good preparation prevents issues later.
Gathering Tools And Materials
Start by gathering necessary tools and materials. You will need a wrench, a screwdriver, and a putty knife. Have plumber’s putty, rubber gloves, and a towel on hand. A bucket for water disposal is also essential. Make sure you have a new standard toilet and a wax ring.
Measuring Space
Measuring space is crucial. Measure the area where the RV toilet sits. Note the distance from the wall to the bolts. Measure the width and depth of the space. This ensures the new toilet fits well. Check the height of the RV toilet and compare it with the standard toilet. The new toilet should fit comfortably within the allocated space.
Removing The Old Rv Toilet
Replace your old RV toilet with a standard one for better comfort. Enjoy a more home-like experience on the road.
Replacing an RV toilet with a standard one can enhance comfort. Before installing the new toilet, removing the old one is necessary. This process involves a few steps, starting with turning off the water supply and detaching the RV toilet.
Turning Off Water Supply
Begin by turning off the water supply to the RV. Locate the water valve, usually found near the toilet. Turn the valve clockwise to shut off the water flow. Confirm the water is off by flushing the toilet. This step prevents leaks and water damage.
Detaching The Rv Toilet
Next, detach the RV toilet. Use a wrench to remove the bolts at the base. Carefully lift the toilet off the flange. Be cautious, as the toilet may still contain water. Empty any remaining water into a bucket. Place the old toilet aside for disposal. Removing the old RV toilet is a crucial step. It ensures a smooth installation of the new standard toilet. Follow these steps to prepare for the upgrade. “`
Choosing A Standard Toilet
Choosing a standard toilet for your RV is a significant decision. This change can greatly affect your comfort and convenience. Standard toilets come in many types and with various features. Understanding these options helps you make the best choice for your needs.
Types Of Standard Toilets
There are two main types: gravity-feed and pressure-assisted. Gravity-feed toilets use the force of gravity to flush. They are quieter and easier to maintain. Pressure-assisted toilets use compressed air. They provide a powerful flush but can be noisier. Both types have their pros and cons.
Features To Consider
When selecting a toilet, consider the bowl shape. Round bowls are more compact. They save space, which is crucial in an RV. Elongated bowls offer more comfort but take up more room. Think about your space and comfort needs.
Next, consider the toilet height. Standard heights work well for most people. Comfort height toilets are a bit taller. They make sitting and standing easier. This can be helpful for older adults or those with mobility issues.
Water usage is another key feature. Low-flow toilets conserve water. This is important for RVs with limited water supply. Look for a toilet with a WaterSense label. These use less water without sacrificing performance.
Lastly, check the flush system. Dual-flush systems offer two flush options. One for liquid waste and one for solid waste. This can save water and add convenience. A good flush system ensures waste is effectively removed.
Choosing the right standard toilet involves careful thought. Consider these features to find the best fit for your RV.
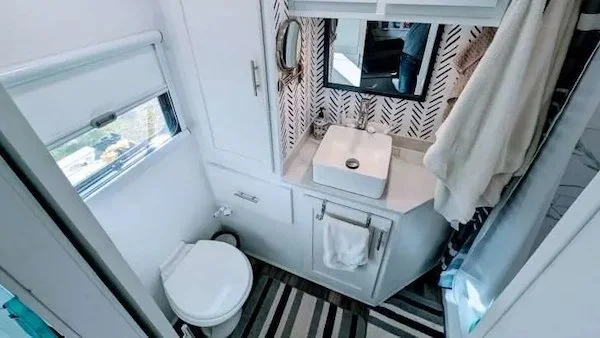
Credit: www.boundlessbakers.com
Installing The New Toilet
Replacing an RV toilet with a standard toilet is a manageable task. It requires careful positioning and securing of the new fixture. Here’s how to do it step by step.
Positioning The Toilet
First, remove the old RV toilet. Clean the area where the new toilet will sit. This ensures a proper seal and fit.
Next, place the new toilet flange on the floor. Align it with the waste pipe. The flange should sit flush with the floor. This prevents leaks and ensures stability.
Then, put the wax ring on the bottom of the new toilet. This ring creates a watertight seal. Carefully lower the toilet onto the flange. Make sure it is centered and level.
Securing The Toilet
Once the toilet is in position, insert the bolts through the base. Tighten the nuts onto the bolts. Do not over-tighten as this can crack the porcelain.
Next, attach the water supply line to the toilet tank. Turn on the water valve. Check for leaks at all connections.
Finally, test the toilet by flushing it several times. Ensure it is secure and functions properly. If any issues arise, adjust the bolts or check the seals.
Installing a standard toilet in an RV can enhance comfort. Follow these steps for a successful installation.
Connecting Water Supply
Connecting the water supply to your new RV toilet is a crucial step. Ensuring a proper connection prevents leaks and ensures efficient operation. This guide covers the essentials of connecting the water supply with easy-to-follow instructions.
Attaching Water Line
First, locate the water inlet on the new standard toilet. This is usually at the base. Use a flexible water supply line for easier installation. Attach one end to the toilet’s water inlet and the other end to the RV’s water supply valve. Tighten the connections with a pipe wrench to ensure a snug fit. Do not overtighten, as this could damage the fittings.
Checking For Leaks
After attaching the water line, turn on the water supply. Carefully observe the connections for any signs of leaks. Place a dry cloth under the connections to detect any small leaks. If you notice any leaks, turn off the water supply and retighten the fittings. Repeat the process until you are certain there are no leaks.
| Step | Description |
|---|---|
| 1 | Locate water inlet on the toilet |
| 2 | Attach flexible water supply line |
| 3 | Tighten connections with a pipe wrench |
| 4 | Turn on water supply and check for leaks |
Ensure there are no leaks before using the toilet. A proper connection ensures your RV toilet functions efficiently and reliably. These steps make the process simple and straightforward.
Testing The Installation
After successfully installing your new standard toilet in your RV, it’s crucial to test the installation. Proper testing ensures the toilet works correctly and avoids future issues. This section guides you through the steps to check the installation thoroughly.
Flushing The Toilet
Start by flushing the toilet. Ensure it flushes smoothly without any unusual noises. Check the water flow during the flush. The water should flow steadily and clear the bowl completely.
If the water flow seems weak, there might be a connection issue. Double-check the water supply line. Make sure it’s securely attached and free from kinks or blockages.
Ensuring Proper Function
Observe the toilet’s performance after flushing. The bowl should refill to the proper level. If the water level is too low or too high, adjust the float in the tank. Also, listen for any continuous running water. This might indicate a leak or a faulty valve.
Inspect the base of the toilet for any leaks. Water around the base can signal a seal problem. Tighten the bolts securing the toilet to the floor if necessary. Finally, test the flush handle. It should operate smoothly and return to its original position after flushing.
Maintenance Tips
Replacing an RV toilet with a standard toilet can bring comfort. But, it also means you need to take care of maintenance. Here are some key maintenance tips to keep your toilet in good shape.
Regular Cleaning
Regular cleaning keeps your toilet fresh and free from germs. Use a mild cleaner to avoid damage. Scrub the bowl and rim regularly. Don’t forget the outside of the toilet. Wipe it down to remove dust and grime.
Follow these steps for a thorough clean:
- Pour cleaner into the bowl.
- Scrub with a toilet brush.
- Wipe the seat and lid with disinfectant.
- Clean the outer surface with a damp cloth.
This routine will keep your toilet clean and hygienic.
Preventing Clogs
Clogs can be a hassle. Preventing them is easier than dealing with them. Use only RV-safe toilet paper. It dissolves quickly and reduces the risk of clogs. Avoid flushing non-toilet items. They can cause blockages and damage.
Here are some tips to prevent clogs:
- Use a modest amount of toilet paper.
- Flush only human waste and toilet paper.
- Dispose of wipes, feminine products, and other items in a trash can.
- Regularly check for leaks and fix them promptly.
By following these tips, you can keep your toilet functioning well and avoid costly repairs.
Troubleshooting
Replacing an RV toilet with a standard one is a unique challenge. To ensure success, you may face some common troubleshooting issues. Understanding these problems can save you time and frustration.
Common Issues
Switching to a standard toilet in an RV can lead to several common issues. One major problem is the weight difference. Standard toilets are heavier, which may affect your RV’s stability.
Another issue is the plumbing connections. RV toilets and standard toilets often have different pipe sizes and fittings. This mismatch can lead to leaks or improper flushing.
The space constraints in RVs are also a concern. Standard toilets require more room, so fitting one into a small RV bathroom can be tricky.
When To Seek Professional Help
Some problems may require expert assistance. If you face significant leakage issues, it is best to call a plumber. They can ensure all connections are secure.
If your RV’s structure seems unstable due to the new toilet’s weight, a professional can assess and reinforce it. This step is crucial for safety.
When dealing with complex plumbing adjustments, professional help can save time. They have the tools and knowledge to adapt fittings and pipes correctly.
Below is a table summarizing when to seek professional help:
| Issue | Professional Required |
|---|---|
| Significant leakage | Plumber |
| Structural instability | RV Specialist |
| Complex plumbing adjustments | Plumber |
Frequently Asked Questions
Can I Use A Standard Toilet In An Rv?
Yes, but it requires modifications. Standard toilets need more space and plumbing adjustments compared to RV toilets.
What Tools Are Needed For Toilet Replacement?
Basic tools like a wrench, screwdriver, and sealant are necessary. You might also need additional plumbing supplies.
How Do I Remove The Old Rv Toilet?
Turn off the water supply and disconnect it. Unscrew and lift the toilet off its base carefully.
What Are The Benefits Of A Standard Toilet In An Rv?
Standard toilets offer better comfort and flushing power. They are also easier to clean and maintain.
Conclusion
Switching your RV toilet to a standard one can enhance comfort. It offers a more familiar experience. The installation process is straightforward. With the right tools, you can do it yourself. You’ll enjoy better functionality and ease of use. Plus, it can make your RV feel like home.
Remember to check compatibility before starting the project. Happy travels with your upgraded bathroom!


