Installing an RV dump station can be a smart move for RV owners. It adds convenience and boosts property value.
Understanding the costs involved in installing an RV dump station is crucial. This blog post will break down the expenses you might face. We’ll cover everything from materials and permits to labor costs. Knowing these details helps you plan your budget better.
Whether you are a campground owner or a homeowner, this information is valuable. Dive in to learn what to expect and how to get started with your RV dump station project.
Credit: www.ci.waitepark.mn.us
Diy Installation
Installing an RV dump station yourself can save you money. It also gives you a sense of accomplishment. But it requires the right tools and steps. Below is a detailed guide on how to install an RV dump station by yourself.
Necessary Tools
To start your DIY RV dump station installation, you will need the following tools:
- Shovel – for digging the trench
- Pipe cutter – to cut the pipes to the required length
- Level – to ensure the pipes are installed correctly
- Measuring tape – for accurate measurement
- Pipe wrench – to tighten and secure connections
- Glue and primer – to secure PVC pipes
- Protective gloves – to keep your hands safe
Step-by-step Guide
Follow these steps to install your RV dump station:
- Plan the Location: Choose a convenient spot for your RV dump station. Make sure it’s accessible and close to existing sewer lines.
- Dig the Trench: Use the shovel to dig a trench. The trench should be deep enough to fit the pipes and allow for proper drainage.
- Lay the Pipes: Cut the pipes to the needed length with the pipe cutter. Lay them in the trench, ensuring they slope slightly towards the sewer connection.
- Connect the Pipes: Use glue and primer to connect the pipes. Ensure that all joints are secure and leak-free.
- Install the Dump Station: Attach the dump station fitting to the end of the pipe. Secure it with the pipe wrench.
- Backfill the Trench: Once all pipes are connected, fill the trench with soil. Pack it down to avoid any future sinking.
- Test the System: Run water through the system to check for leaks. Make adjustments if necessary.
By following these steps, you can install your RV dump station efficiently. It’s a rewarding project that enhances your RV experience.
Hiring Professionals
When considering an RV dump station installation, hiring professionals ensures the job is done right. You want experienced contractors who know the specifics of such installations. This section will help you understand how to find qualified contractors and the cost breakdown for their services.
Finding Qualified Contractors
Finding the right contractor is crucial for a successful RV dump station installation. Start by checking local listings and reviews. Look for contractors with high ratings and positive feedback. Ask for recommendations from friends or online communities of RV owners.
Ensure the contractor has experience with plumbing and waste management systems. Verify their licenses and certifications. A qualified contractor should provide a detailed quote and timeline for the project. Don’t hesitate to ask for references and past project examples.
Cost Breakdown
Understanding the cost breakdown helps you budget effectively. Here’s a table summarizing the typical costs involved:
| Item | Estimated Cost |
|---|---|
| Permits and Inspections | $200 – $500 |
| Labor Costs | $500 – $1,500 |
| Materials | $300 – $700 |
| Equipment Rental | $100 – $300 |
| Total Cost | $1,100 – $3,000 |
Permits and inspections ensure your installation complies with local regulations. Labor costs cover the work done by the contractors. Materials include pipes, fittings, and other necessary items. Equipment rental may be needed for digging and other tasks.
Having a clear cost breakdown helps avoid unexpected expenses. Always get multiple quotes to compare prices and services.
Material Costs
Understanding the material costs for an RV dump station installation is crucial. These costs can vary depending on the quality and quantity of materials needed. This section will explore the primary material expenses associated with pipes, fittings, and septic tanks.
Pipes And Fittings
Pipes and fittings form the backbone of your RV dump station. They ensure waste flows smoothly from the RV to the septic tank. PVC pipes are commonly used due to their durability and affordability. The cost of pipes can range from $1 to $3 per foot. Fittings like elbows, tees, and couplings are essential for directing and connecting pipes. They usually cost between $0.50 and $2 each. The total expense depends on the length and complexity of your setup.
Septic Tanks
Septic tanks are a critical component of an RV dump station. They store and treat waste before it is safely released into the ground. The size of the tank will affect the cost. Smaller tanks, around 500 gallons, can cost between $500 and $800. Larger tanks, up to 1,500 gallons, may cost $1,000 to $2,000. The material of the tank also impacts the price. Concrete tanks are more expensive but last longer. Plastic tanks are cheaper but may need replacement sooner.

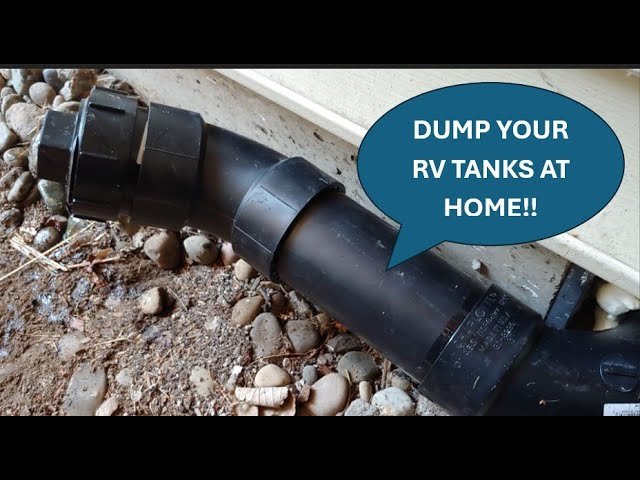
Credit: m.youtube.com
Permit Fees
Installing an RV dump station involves various costs. One of the essential costs is the permit fees. These fees ensure that the installation meets local standards and regulations. Let’s explore this further.
Local Regulations
Each area has its own rules for RV dump station installations. These rules are crucial for safety and environmental protection. Before starting, check your local regulations. This step helps avoid future issues and fines.
Application Process
Applying for a permit requires specific steps. First, gather all necessary documents. These may include site plans and project details. Next, submit the application to the local authority. There might be an application fee.
After submission, the review process begins. This period varies by location. Once approved, you can start the installation. Always follow the guidelines provided. Proper compliance ensures a smooth process.
Maintenance Expenses
Maintaining an RV dump station can be an ongoing expense. Regular upkeep ensures the station functions well and meets health standards. Proper maintenance can prevent costly repairs and extend the life of the equipment. Let’s explore some key maintenance expenses.
Routine Checks
Regular inspections are crucial for an RV dump station. Staff should check for leaks, blockages, and any wear and tear. These routine checks help identify minor issues before they become major problems. It’s essential to keep a maintenance log. This helps track all inspections and any actions taken.
Repair Costs
Repairs are part of maintaining an RV dump station. Common issues include pipe blockages, valve malfunctions, and tank damage. Repair costs can vary based on the problem. Quick repairs can prevent more severe damage. This saves money in the long run. Budgeting for unexpected repairs is wise. It ensures the station remains operational without financial strain.
Cost-saving Tips
Installing an RV dump station can be expensive. Cost-saving tips can help reduce expenses. Here are some effective tips to keep your budget in check.
Buying In Bulk
Buying in bulk can significantly lower costs. When you purchase materials in larger quantities, suppliers often give you a bulk discount.
Consider buying items like pipes, fittings, and concrete in bulk. This not only saves money but also ensures you have enough materials for the project.
| Material | Estimated Bulk Discount |
|---|---|
| Pipes | 10-15% |
| Fittings | 5-10% |
| Concrete | 10-20% |
Comparing Prices
Comparing prices from different suppliers can help you find the best deals. Do not settle for the first quote. Take the time to research and compare.
Use online tools and local resources to gather multiple quotes. Create a simple comparison table to easily see the differences.
- Check online marketplaces
- Visit local hardware stores
- Ask for recommendations
Here is an example comparison table to help you get started:
| Supplier | Price for Pipes | Price for Fittings | Price for Concrete |
|---|---|---|---|
| Supplier A | $200 | $50 | $300 |
| Supplier B | $180 | $45 | $290 |
| Supplier C | $210 | $55 | $310 |
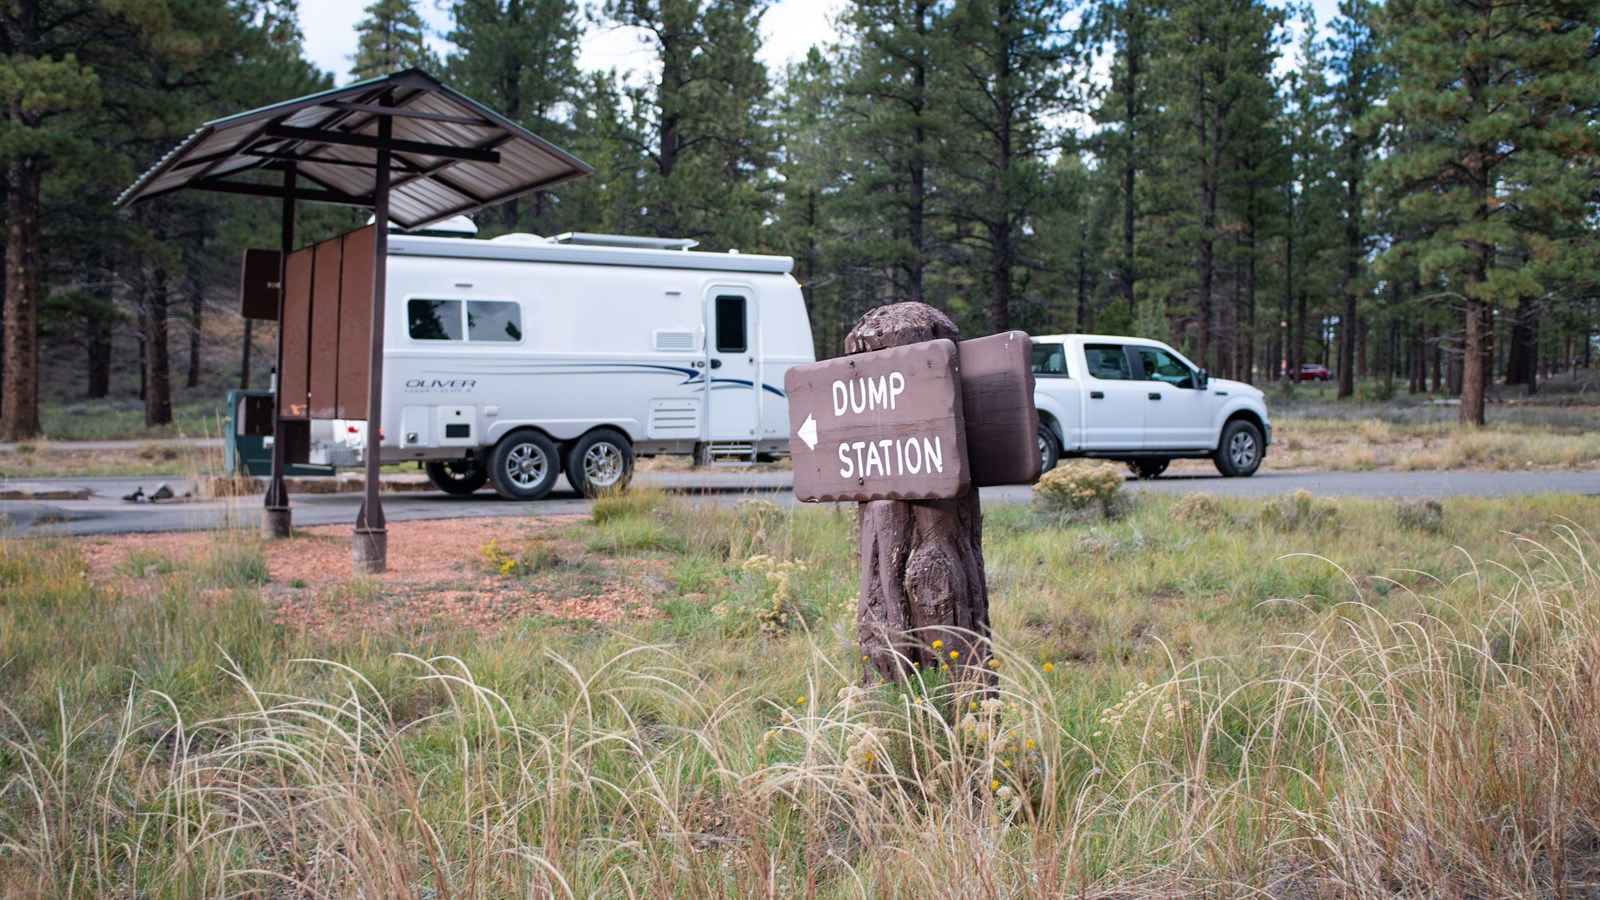
Credit: www.nps.gov
Frequently Asked Questions
How Much Does Rv Dump Station Installation Cost?
The cost varies widely, typically ranging from $1,000 to $5,000. Factors include location, labor, and materials. Always get multiple quotes.
What Factors Affect Rv Dump Station Installation Cost?
Several factors impact the cost. These include location, labor rates, materials, and any additional features. Always consider local regulations.
Is Diy Rv Dump Station Installation Possible?
DIY installation is possible but not recommended. It requires plumbing and electrical skills. Professional installation ensures safety and compliance.
How Long Does Rv Dump Station Installation Take?
Installation time varies but usually takes one to three days. Factors include complexity and weather conditions. Consult with your installer for specifics.
Conclusion
Installing an RV dump station has its costs, but it’s worth the investment. You gain convenience and can avoid the hassle of public dump stations. Budgeting for this project ensures a smooth process without unexpected expenses. Always compare quotes and choose reliable services.
With proper planning, you can enhance your RV experience significantly. Enjoy the freedom of the open road with ease and comfort. Make your travels more enjoyable and stress-free. Happy RVing!


