Resealing an RV roof can cost between $100 and $400. This price depends on factors like materials, labor, and the roof’s condition.
Maintaining your RV roof is crucial for preventing leaks and ensuring its longevity. Over time, exposure to elements like sun, rain, and wind can cause the sealant to wear down. This leads to potential water damage and costly repairs. Resealing the roof is a proactive step to protect your investment.
But how much should you expect to spend on this maintenance task? Various factors influence the cost, such as the type of sealant used and whether you hire a professional or do it yourself. Understanding these aspects can help you budget and make informed decisions for your RV’s upkeep.
Introduction To Rv Roof Resealing
RV roof resealing is essential for maintaining your vehicle. Over time, the roof of your RV faces various elements. These elements can cause wear and tear. Regular resealing protects your roof from damage and leaks. It keeps your RV in top condition and extends its lifespan.
Importance Of Resealing
Regular resealing of your RV roof is crucial. It prevents water from seeping into your RV. Water damage can cause mold and mildew. It can also rot the wood structure. Resealing ensures a strong, water-tight barrier. It saves you from costly repairs in the long run.
Resealing also helps in maintaining the value of your RV. A well-maintained roof is a sign of a well-kept RV. This is important if you ever decide to sell your RV. Buyers prefer an RV with a leak-free roof. Regular resealing can be a small investment with big returns.
Common Causes Of Roof Damage
Several factors can cause damage to your RV roof. Understanding these can help you take preventive measures.
- Weather: Sun, rain, and snow can damage the roof.
- Debris: Branches and leaves can cause scratches and punctures.
- Age: Older roofs are more prone to wear and tear.
- Poor Maintenance: Neglecting roof care can lead to serious damage.
Regular inspection and maintenance can help. It ensures your RV roof remains in good condition. Addressing minor issues early can prevent major problems. Always keep an eye on the state of your roof.

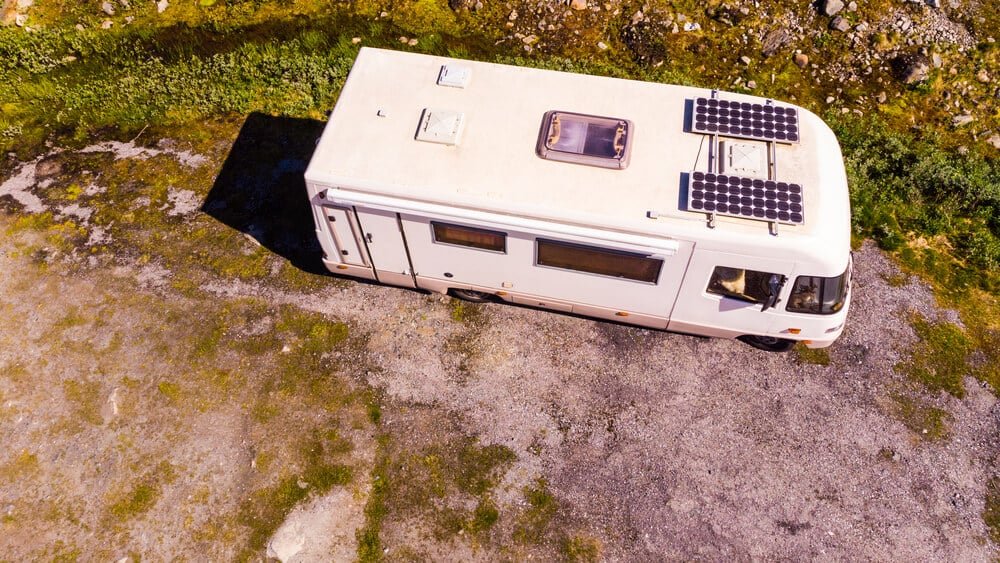
Credit: www.pinterest.com
Types Of Rv Roofs
Understanding the type of roof on your RV is crucial. It helps you estimate the cost of resealing. Different materials have unique properties. They also have different maintenance needs. Let’s dive into the common types of RV roofs.
Rubber Roofs
Rubber roofs are popular in the RV world. They are usually made of EPDM or TPO materials. These roofs are lightweight and flexible. They can resist UV rays. This makes them a good choice for many RV owners. EPDM is black and can absorb heat. TPO is white and reflects sunlight. Both need regular maintenance to prevent leaks. Resealing a rubber roof can cost between $300 to $500.
Fiberglass Roofs
Fiberglass roofs are strong and durable. They are often found on high-end RVs. These roofs can withstand harsh weather. They are also resistant to dents and scratches. Fiberglass roofs need less maintenance than rubber roofs. But they are more expensive to repair. The resealing cost for a fiberglass roof ranges from $700 to $1,200.
Aluminum Roofs
Aluminum roofs are less common but still used in some RVs. They are known for their durability and lightweight nature. These roofs can last for a long time with proper care. Aluminum roofs are also resistant to rust. They need regular inspections to catch any potential leaks. Resealing an aluminum roof usually costs between $500 to $1,000.
Factors Affecting Resealing Costs
Resealing an RV roof can be a significant expense. Understanding the factors that affect costs can help you budget better. The size of the roof, the material it is made from, and the extent of the damage all play a crucial role in determining the final cost.
Roof Size
The size of your RV’s roof is a major factor in resealing costs. A larger roof requires more materials and labor, leading to higher expenses. For instance, a 20-foot RV roof will be cheaper to reseal than a 40-foot roof. Measure your roof accurately to get a better estimate.
Roof Material
The type of material used for your RV roof also affects the cost. Different materials have different price points and durability. Common RV roof materials include rubber (EPDM), fiberglass, and aluminum. Each material has its advantages and disadvantages, which can influence the overall cost of resealing.
| Material | Cost per Square Foot | Durability |
|---|---|---|
| EPDM Rubber | $4 – $8 | Good |
| Fiberglass | $7 – $10 | Very Good |
| Aluminum | $5 – $9 | Excellent |
Extent Of Damage
The extent of the damage to your RV roof will significantly affect the resealing costs. Minor cracks and leaks are easier and cheaper to fix. Extensive damage may require more materials and labor, increasing the overall cost. Inspect your roof regularly to catch issues early and keep repair costs low.
In summary, the size of the roof, the material, and the extent of the damage are key factors in determining resealing costs. Understanding these factors can help you plan better and save money in the long run.
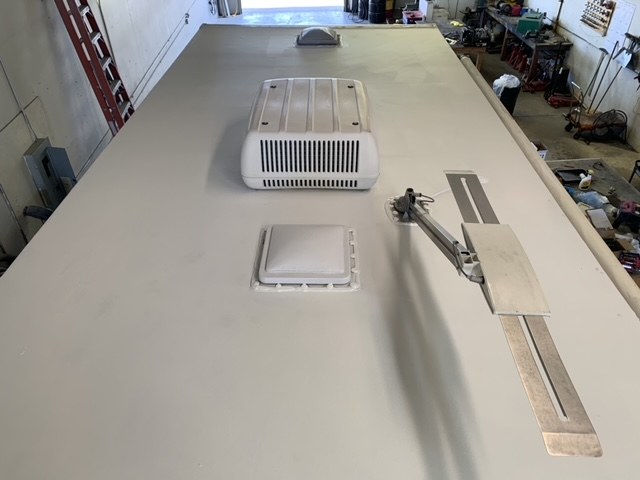
Credit: prorvprineville.com
Diy Vs Professional Resealing
Resealing an RV roof is essential for preventing leaks and damage. Deciding between DIY resealing and hiring professionals involves considering costs, effort, and results. Both options have their pros and cons. Let’s explore these aspects to help you make an informed decision.
Pros And Cons Of Diy
DIY resealing can save money. You buy materials and do the work yourself. This approach provides a sense of accomplishment. It allows you to work at your own pace.
On the downside, DIY resealing requires time and effort. If done incorrectly, it can lead to future leaks. You may lack the tools and expertise for a thorough job.
Benefits Of Hiring Professionals
Hiring professionals ensures a high-quality job. They have the right tools and materials. Professionals bring experience and knowledge to the task.
Although more costly, professional resealing saves time and reduces stress. It also includes warranties, providing peace of mind. You can trust that the job is done right.
Cost Breakdown For Resealing
Understanding the cost breakdown for resealing an RV roof helps in budgeting. Different factors contribute to the total cost. These include materials, supplies, and labor. Let’s explore these components in detail to get a clearer picture.
Materials And Supplies
The materials and supplies needed for resealing an RV roof vary. Common materials include sealant, primer, and a cleaning solution. The type of sealant used affects the overall cost. Silicone sealants are more expensive than acrylic ones. A gallon of silicone sealant can cost around $100. Acrylic sealants are cheaper, costing about $50 per gallon. You may also need a primer, which costs between $20 and $40. Don’t forget cleaning supplies. These can add another $10 to $30 to your total.
Labor Costs
Labor costs depend on whether you hire a professional or do it yourself. Hiring a professional ensures the job is done right. Labor costs range from $50 to $150 per hour. The resealing process can take 4 to 8 hours. This means you might spend between $200 and $1,200 on labor alone. DIY projects are cheaper but require your time and effort. If you have the skills and tools, you can save on labor costs.
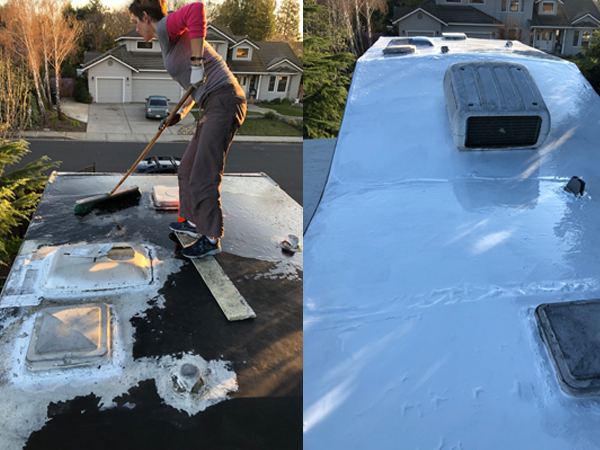
Credit: www.rvroofmagic.com
Budget-friendly Resealing Tips
Resealing an RV roof can be expensive. But there are ways to keep costs down without compromising quality. Budget-friendly resealing tips can help you save money and extend your RV’s roof life.
Choosing Affordable Materials
Not all resealing materials are costly. Some affordable options work just as well. For instance, silicone sealants provide excellent waterproofing at a lower price. Acrylic sealants also offer good protection without breaking the bank.
Another cost-effective choice is using a liquid rubber roof coating. It is easy to apply and durable. Check local hardware stores for sales and discounts. Sometimes, you can find high-quality materials at reduced prices.
Preventative Maintenance
Regular maintenance can prevent costly repairs. Inspect your RV roof every few months. Look for cracks, leaks, and other damage. Addressing small issues early saves money in the long run.
Clean the roof regularly. Dirt and debris can cause damage over time. Use a mild detergent and a soft brush. Avoid harsh chemicals that can damage the sealant.
Check the roof seals and seams. If they show signs of wear, reseal them promptly. This prevents water from entering and causing more significant damage.
Invest in a good RV cover. It protects the roof from the elements, reducing wear and tear. A cover is cheaper than frequent resealing.
Step-by-step Resealing Process
Resealing your RV roof can seem daunting. But with the right steps, you can handle it yourself. Let’s break down the process into easy steps for a successful reseal.
Preparation And Cleaning
First, gather all necessary tools and materials. You will need a sealant, a scraper, a brush, and a cleaner.
Next, clean the roof thoroughly. Remove any dirt, debris, and old sealant. Use a brush and a cleaner to scrub the roof surface. Make sure it is completely dry before moving to the next step.
Inspect the roof for any damage. Repair any cracks or holes before applying the new sealant. This will ensure a smooth and effective reseal.
Applying The Sealant
After the roof is clean and dry, it’s time to apply the sealant. Choose a high-quality RV roof sealant for the best results.
Using a caulking gun, apply the sealant evenly along the seams and edges. Make sure to cover all joints and potential leak points. Apply a generous amount to ensure a good seal.
For larger areas, use a roller to spread the sealant. This will help create a uniform layer. Allow the sealant to dry according to the manufacturer’s instructions.
Final Inspection
Once the sealant is dry, inspect the roof carefully. Look for any missed spots or areas that need more sealant. Touch up these areas as needed.
Check the entire roof to ensure a complete and thorough seal. Pay special attention to corners and edges.
A well-sealed roof will protect your RV from leaks and extend its lifespan. Regular inspections and maintenance will keep your RV in top condition.
Common Mistakes To Avoid
Resealing an RV roof is crucial for preventing leaks and damage. However, many RV owners make common mistakes that can lead to more problems and higher costs. Understanding these mistakes can help you avoid them and ensure your RV roof stays in good condition.
Ignoring Small Leaks
Small leaks may seem minor at first. Ignoring small leaks can lead to bigger issues over time. Water can seep into the RV, causing mold, rot, and structural damage. Always address small leaks promptly to avoid costly repairs.
Using Incorrect Sealant
Not all sealants are suitable for RV roofs. Using incorrect sealant can cause more harm than good. Make sure to use a sealant that is compatible with your RV roof material. Check the manufacturer’s recommendations to ensure you choose the right product.
Skipping Maintenance
Regular maintenance is key to a long-lasting RV roof. Skipping maintenance can result in undetected issues that worsen over time. Create a maintenance schedule and stick to it. Regular inspections can help you catch problems early and keep your RV roof in top shape.
Long-term Care For Rv Roofs
Proper long-term care of your RV roof saves you money and stress. An RV roof needs regular attention to stay in good shape. By following a few simple steps, you can extend its lifespan.
Regular Inspections
Inspect your RV roof regularly. Look for cracks, leaks, or any signs of damage. Check seals around vents and seams. Early detection of problems can prevent costly repairs. Use a ladder to get a close look at the roof’s surface.
Seasonal Maintenance
Seasonal maintenance is crucial for your RV roof. Clean it every three months. Remove dirt, debris, and mold. Apply a UV protectant to prevent sun damage. During winter, ensure the roof is free of snow and ice. This prevents weight strain and water damage.
Storage Tips
Proper storage extends your RV roof’s life. Store your RV under a cover or in a garage. Avoid parking under trees to prevent sap and falling branches. Use tire covers to protect from the sun. Ventilate the RV to reduce moisture buildup inside.
Frequently Asked Questions
How Much Does Resealing An Rv Roof Cost?
The cost to reseal an RV roof typically ranges from $300 to $1,000. Prices depend on the roof size, type of sealant, and labor costs.
How Often Should An Rv Roof Be Resealed?
An RV roof should be resealed every two to four years. Regular inspections can help identify any leaks or damage early on.
Can I Reseal My Rv Roof Myself?
Yes, you can reseal your RV roof yourself. However, it’s crucial to follow manufacturer guidelines and use the correct sealant for your roof type.
What Materials Are Needed To Reseal An Rv Roof?
Materials needed include a sealant compatible with your roof type, a cleaning solution, and application tools like brushes or rollers.
Conclusion
Resealing an RV roof varies in cost due to several factors. Consider materials, labor, and the roof’s condition. Do-it-yourself options can save money but require skills and time. Hiring professionals ensures quality but costs more. Regular maintenance helps avoid costly repairs.
Plan ahead and budget accordingly. Keeping your RV roof in good shape ensures a safe and enjoyable experience on the road. Research and compare options to find what fits your needs and budget.


