Replacing the carpet in an RV slide-out is simpler than you might think. With the right tools and steps, you can do it yourself.
An old or worn-out carpet can make your RV look tired. Installing new carpet can refresh the space and make it feel cozy again. Whether you’re a seasoned RV owner or a newbie, learning to replace the carpet is a valuable skill.
The process involves removing the old carpet, preparing the surface, and laying the new carpet. This guide will walk you through each step. By the end, you’ll have a fresh, clean look in your RV slide-out. Let’s get started on making your RV feel like new again!
Preparation
Preparation is key to successfully replace carpet in your RV slide out. Ensure you have a clear plan and all the necessary tools. This will make the process smoother and more efficient. Let’s break down the preparation into three main steps.
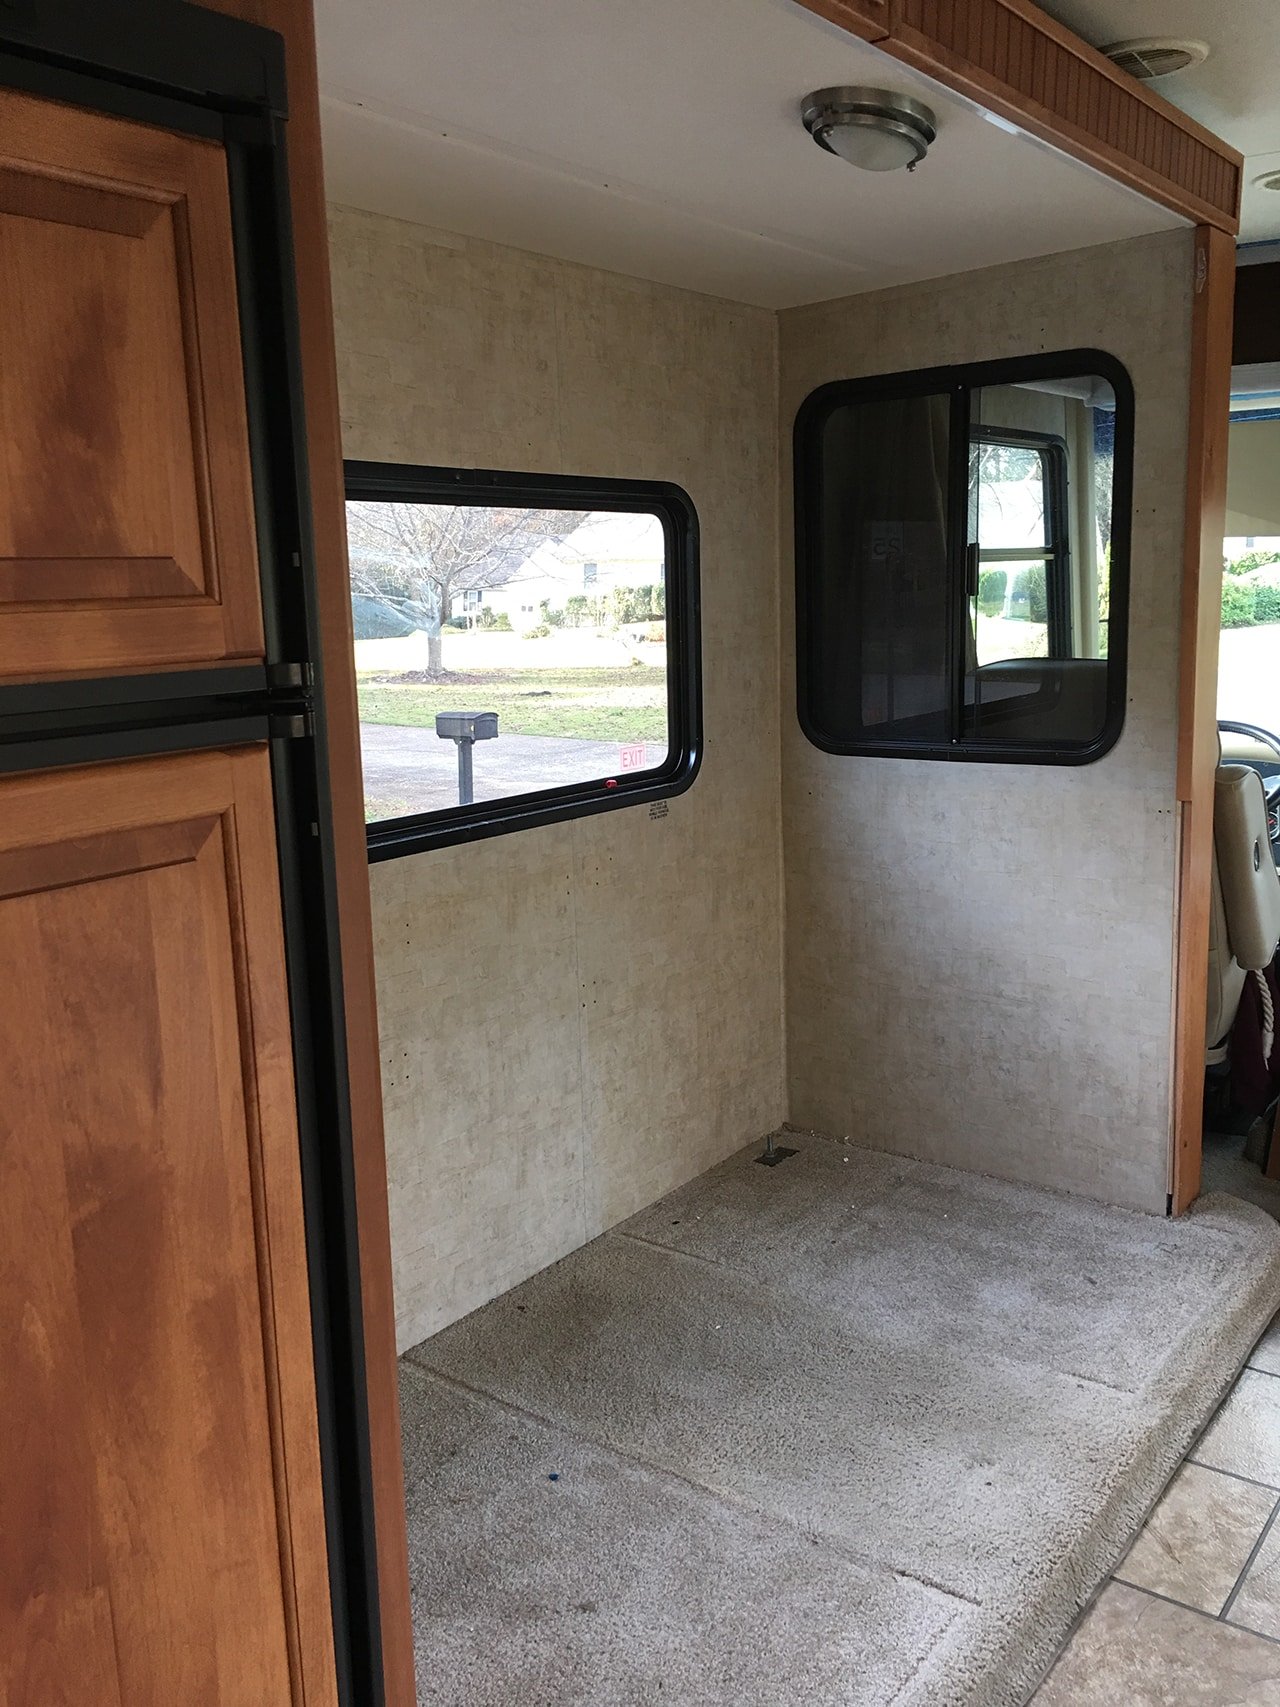
Clear The Area
Start by removing all furniture and items from the slide out. This will give you room to work and prevent damage to your belongings.
- Remove chairs, tables, and any loose items.
- Vacuum the area to remove dirt and debris.
- Inspect the slide out for any damage or repairs needed.
Ensuring the area is clear will help you focus on the task at hand.
Gather Tools And Supplies
Having all tools and supplies ready will save you time. Here’s a list of what you will need:
| Tools | Supplies |
|---|---|
| Utility Knife | New Carpet |
| Staple Remover | Carpet Adhesive |
| Measuring Tape | Staples |
| Staple Gun | Carpet Tack Strips |
| Putty Knife | Padding |
Ensure you have these items on hand before starting. This will make the replacement process efficient and stress-free.
Removing Old Carpet
Replacing the carpet in your RV slide out can be a rewarding DIY project. The first step is removing the old carpet. This process involves detaching molding and trim, and then peeling off the old carpet. Let’s break it down into manageable steps.
Detach Molding And Trim
Before removing the carpet, detach the molding and trim pieces. These pieces hold the carpet in place. Use a flathead screwdriver or pry bar to gently lift them off.
- Inspect the edges of the slide out.
- Locate the molding and trim.
- Carefully insert the screwdriver under the molding.
- Pry the molding away from the wall.
- Set the molding and trim aside for reuse.
Removing the molding and trim exposes the carpet edges. This makes it easier to peel off the old carpet.
Peel Off Carpet
With the molding and trim removed, it’s time to peel off the carpet. Start at one corner and work your way across.
- Find a loose edge or corner of the carpet.
- Use pliers if the edge is tight.
- Grip the carpet firmly and pull it up.
- Work slowly to avoid tearing the carpet.
- Roll the carpet as you go.
Some areas may have adhesive. Use a scraper to lift stubborn sections. Dispose of the old carpet properly.
With the old carpet removed, you’re ready for the next step: installing the new carpet. Stay tuned for our next guide on this process.
Cleaning The Surface
Cleaning the surface is a crucial step in replacing the carpet in your RV slide out. A clean surface ensures the new carpet adheres well and looks great. Let’s explore how to do this properly.
Remove Adhesive Residue
Start by removing any old adhesive residue. Use a scraper to peel off larger chunks. Apply a commercial adhesive remover to soften stubborn spots. Wipe the surface clean with a damp cloth.
Inspect For Damage
After cleaning, inspect the surface for damage. Look for cracks, holes, or uneven areas. Repair any damage with wood filler or appropriate materials. Smooth out the surface with sandpaper.
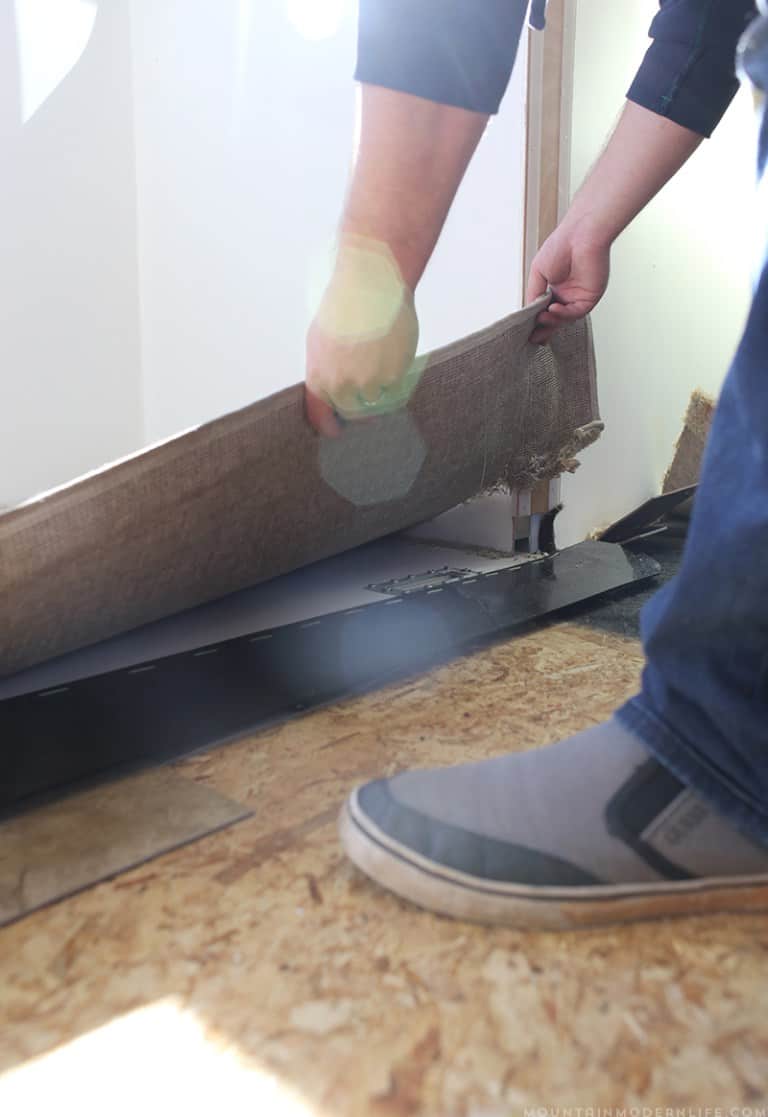
Credit: mountainmodernlife.com
Cutting New Carpet
Replacing carpet in an RV slide-out can refresh the interior. Start by removing old carpet and staples. Cut new carpet to fit, then secure with adhesive.
Replacing the carpet in your RV slide out can refresh its look. Cutting the new carpet correctly is essential. It ensures a snug fit and a professional finish. Follow these steps to achieve the best result.
Measure The Slide Out
First, measure the slide out area. Use a measuring tape for accurate dimensions. Measure the length and width of the space. Take note of any unique shapes or angles. Write down all measurements clearly.
Cut Carpet To Fit
Lay the new carpet on a flat surface. Mark the measured dimensions on the back of the carpet. Use a straightedge to draw cutting lines. Cut the carpet using a sharp utility knife. Follow the marked lines carefully. Double-check the cut piece against your measurements. Trim any excess for a perfect fit. “`
Installing New Carpet
Installing new carpet in your RV slide-out is a rewarding task. It gives your RV a fresh look and a cozy feel. Before you start, gather all the necessary tools and materials. This includes new carpet, adhesive, a utility knife, and a measuring tape. Follow these simple steps to complete the installation effectively.
Apply Adhesive
First, clean the slide-out floor thoroughly. Remove any old adhesive and dirt. This ensures the new adhesive sticks well. Choose a high-quality adhesive suitable for carpets. Read the instructions on the adhesive packaging. Apply the adhesive evenly across the floor. Use a trowel or a similar tool to spread it. Make sure to cover all areas, especially the edges and corners. Allow the adhesive to become tacky, as per the instructions.
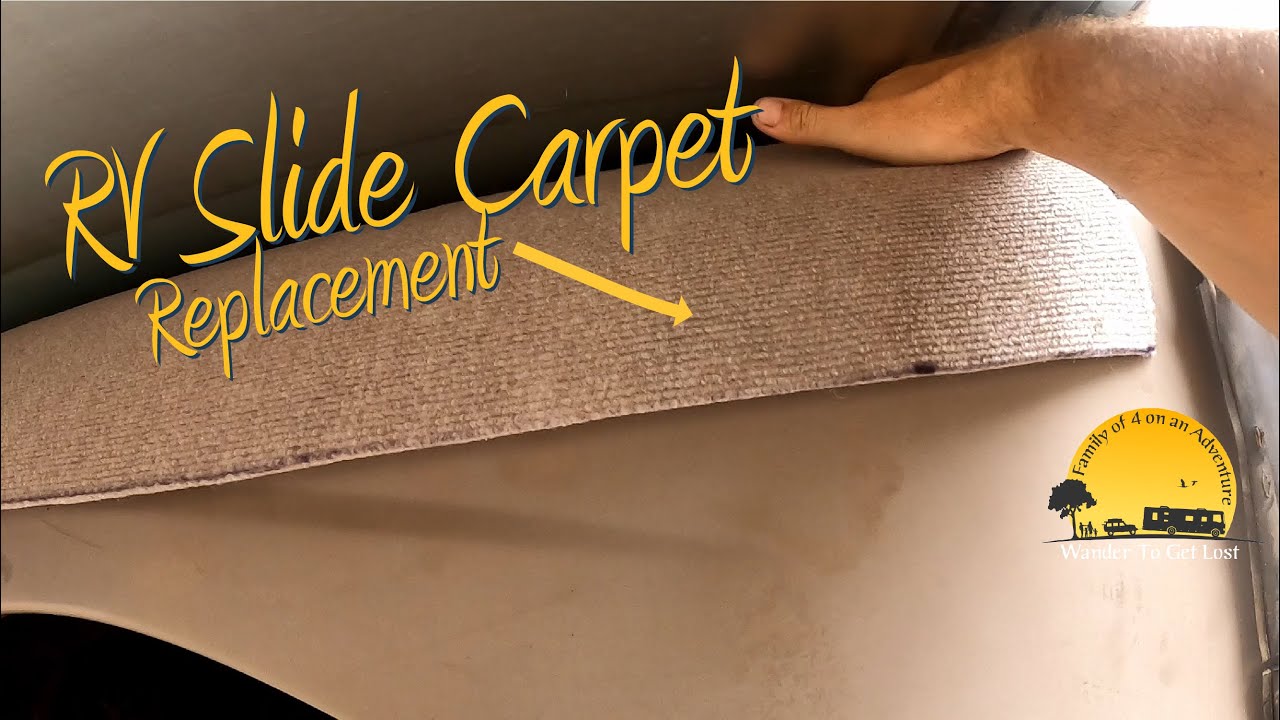
Lay Down Carpet
Now, unroll your new carpet. Measure the slide-out floor again to ensure a perfect fit. Cut the carpet slightly larger than the measurements. This helps to tuck the edges neatly. Start laying the carpet from one end of the slide-out. Press it firmly onto the adhesive. Smooth out any wrinkles or bubbles as you go. Use a carpet roller or similar tool for this.
Once the carpet is in place, trim the excess edges. Use a utility knife for clean cuts. Tuck the edges under any trims or moldings. Allow the adhesive to dry completely. This may take several hours. Check the carpet for any loose spots. Press them down firmly to ensure a secure fit. Your RV slide-out now has a fresh, new carpet.
Securing The Carpet
After laying down the new carpet in your RV slide out, securing it properly is essential. Properly securing the carpet ensures longevity and a polished look. This process involves reattaching molding and trim, and carefully tucking the carpet edges. Let’s explore these steps in detail.
Reattach Molding And Trim
First, locate the original molding and trim pieces. They play a crucial role in holding down the carpet edges. Align these pieces with their original positions. Use a nail gun or screws to secure them in place. Ensure they are flush with the walls and floor. This prevents the carpet from moving or bunching.
Tuck Carpet Edges
Tucking the carpet edges is the final step. Use a carpet tucker or a putty knife for this task. Carefully push the edges under the molding and trim. Make sure the carpet lies flat and even. This gives a neat and professional finish. Double-check for any loose edges. Retuck if necessary to ensure a secure fit.
Final Touches
You’ve done the hard part of replacing the carpet in your RV slide out. Now, it’s time to add those final touches. These steps will ensure your new carpet looks great and lasts longer. Let’s dive into the final touches to complete your project.
Trim Excess Carpet
Use a sharp utility knife to trim any excess carpet. Make sure to cut carefully along the edges for a clean finish. This prevents fraying and gives a professional look. Take your time with this step to avoid mistakes. Check all corners and edges for any loose threads or uneven cuts. Trim as needed.
Clean Up The Area
Once the carpet is trimmed, clean up the area. Use a vacuum to remove any loose fibers and debris. This helps keep your new carpet looking fresh. Wipe down nearby surfaces to remove dust and dirt. A clean area enhances the overall appearance of your RV slide out.
Inspect the carpet for any spots or stains. Use a carpet cleaner if needed. Keeping the area clean ensures the new carpet remains in good condition. Enjoy your refreshed RV slide out!

Credit: www.youtube.com
Maintenance Tips
Maintaining the new carpet in your RV slide out is vital. It ensures longevity and keeps your space looking fresh. Proper care will also prevent unnecessary wear and tear. Here are some essential maintenance tips.
Regular Cleaning
Regular cleaning is crucial. Vacuum the carpet at least once a week. This removes dirt and debris that can damage the fibers. Use a vacuum with a beater bar for better results. Clean the edges and corners well.
Steam clean the carpet every few months. This deep cleaning removes hidden dirt and kills bacteria. If you have pets, do it more often. Clean carpets also improve air quality inside your RV.
Handling Spills And Stains
Spills and stains can happen anytime. Act fast to prevent permanent damage. Blot the spill with a clean cloth. Do not rub, as this can spread the stain. Use water and mild detergent for most spills.
For tougher stains, use a carpet cleaner. Always test in a small area first. Follow the instructions on the cleaner. For oil-based stains, use a dry-cleaning solvent. Apply it carefully to avoid damage.
Credit: www.youtube.com
Frequently Asked Questions
How Do You Remove Old Carpet In An Rv?
First, remove any furniture or fixtures. Then, carefully cut and pull up the old carpet. Remove all staples and adhesive residue.
What Tools Are Needed To Replace Rv Carpet?
You will need a utility knife, staple remover, adhesive, measuring tape, and a carpet stretcher. These tools help ensure a smooth installation.
How Do You Measure For New Rv Carpet?
Measure the length and width of the slide out area. Add extra inches for trimming. Accurate measurements ensure a proper fit.
Can I Replace Rv Carpet Myself?
Yes, you can replace RV carpet yourself with basic tools and patience. Follow a step-by-step guide for best results.
Conclusion
Replacing carpet in an RV slide out can be straightforward. Following the steps carefully ensures a smooth process. Measure accurately and choose the right materials. Remove the old carpet and prepare the surface. Install the new carpet securely. Enjoy a refreshed and cozy RV space.
Practice makes perfect. Each attempt gets easier. Happy renovating!


