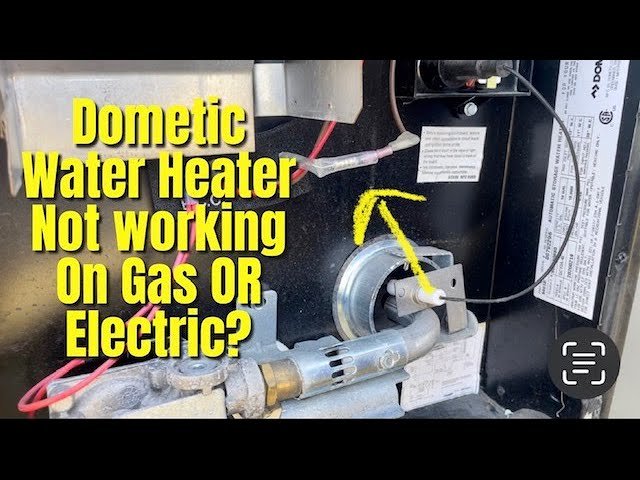
Having trouble with your RV water heater not working on gas? Don’t worry, you’re not alone.
Many RV owners face this issue, and it can be quite frustrating. RV adventures can quickly turn sour when you can’t get hot water. Imagine a cold shower after a long day on the road. Not fun, right? Fortunately, understanding why your RV water heater isn’t working on gas can help you fix it faster.
This guide will walk you through common problems and solutions. From checking the gas supply to inspecting the heater components, we’ve got you covered. By the end, you’ll have a clearer idea of what might be wrong and how to tackle it. So, let’s dive in and get your hot water flowing again!

Credit: www.homesteadde.com
Common Issues
RV water heaters sometimes face problems, especially when running on gas. Understanding common issues can help in diagnosing the problem quickly. This section will cover two frequent problems: Pilot Light Problems and Thermocouple Issues.
Pilot Light Problems
The pilot light is essential for your RV water heater to function on gas. If the pilot light goes out, the heater won’t work. Here are some common reasons why the pilot light might fail:
- Gas Supply: Ensure the gas supply is turned on. Check the gas valve and lines for any leaks or blockages.
- Dirty Pilot Orifice: A dirty orifice can block gas flow. Clean it gently with a needle or compressed air.
- Wind or Draft: Strong winds can blow out the pilot light. Shield the pilot light area from drafts if you are in a windy location.
- Faulty Thermocouple: A worn-out thermocouple can prevent the pilot light from staying lit. This will be discussed in the next section.
Thermocouple Issues
The thermocouple is a safety device that senses if the pilot light is lit. If it detects the pilot light is out, it shuts off the gas flow. Here are common thermocouple problems:
| Issue | Description |
|---|---|
| Dirty or Corroded: | Clean the thermocouple using sandpaper or a wire brush. Dirt or corrosion can affect its function. |
| Loose Connections: | Ensure the thermocouple is securely connected to the gas valve. Loose connections can cause the pilot light to go out. |
| Placement: | Check the thermocouple’s position. It should be close to the pilot flame, about 1/2 inch away. |
| Faulty Thermocouple: | If cleaning and adjusting don’t work, replace the thermocouple. They are relatively inexpensive and easy to replace. |
Understanding these common issues can make diagnosing and fixing your RV water heater much easier. Keeping your heater in top shape ensures hot water whenever you need it.
Safety Precautions
Ensuring the safety of your RV and its occupants is crucial when dealing with a malfunctioning water heater. Taking the right safety precautions can prevent accidents and keep everyone safe. Below are some critical safety measures you should follow.
Turn Off Gas Supply
Before you start any repair work, turn off the gas supply to your RV water heater. This step is vital to prevent gas leaks and potential fires. Locate the gas shut-off valve, usually found near the water heater, and turn it to the off position.
If you’re unsure where the shut-off valve is, consult your RV’s manual. It will guide you to the exact location. Make sure everyone in the RV knows how to turn off the gas in an emergency.
Check For Gas Leaks
After turning off the gas supply, you need to check for gas leaks. Gas leaks can be hazardous and lead to explosions or fires.
Follow these steps to check for gas leaks:
- Mix a solution of water and soap.
- Apply the soapy water to the gas connections and hoses.
- Look for bubbles forming at the connections.
If you see bubbles, you have a gas leak. Do not attempt to fix it yourself. Call a professional for help.
Always ensure there are no open flames or sparks nearby when checking for gas leaks. Keep your RV well-ventilated during this process.
Tools Needed
When your RV water heater is not working on gas, having the right tools is crucial. Without them, diagnosing and fixing the problem becomes challenging. In this section, we will discuss the basic tools and specialized equipment needed for the job.
Basic Tools
Before you start, gather some essential tools. These tools are usually found in most toolkits:
- Screwdrivers – Both flathead and Phillips.
- Adjustable Wrench – Useful for various nuts and bolts.
- Pliers – Needle-nose pliers are ideal.
- Multimeter – To check electrical connections.
- Work Gloves – Protect your hands from sharp edges and heat.
Specialized Equipment
In addition to basic tools, some specialized equipment might be necessary:
- Manometer – Measures gas pressure accurately.
- Propane Leak Detector – Ensures there are no gas leaks.
- Thermocouple Tester – Checks if the thermocouple is functioning.
- Ignitor Tester – Verifies the ignitor’s performance.
- Water Pressure Gauge – Monitors water pressure in the system.
Having these tools at hand can save time and effort. Proper preparation ensures a smoother repair process.
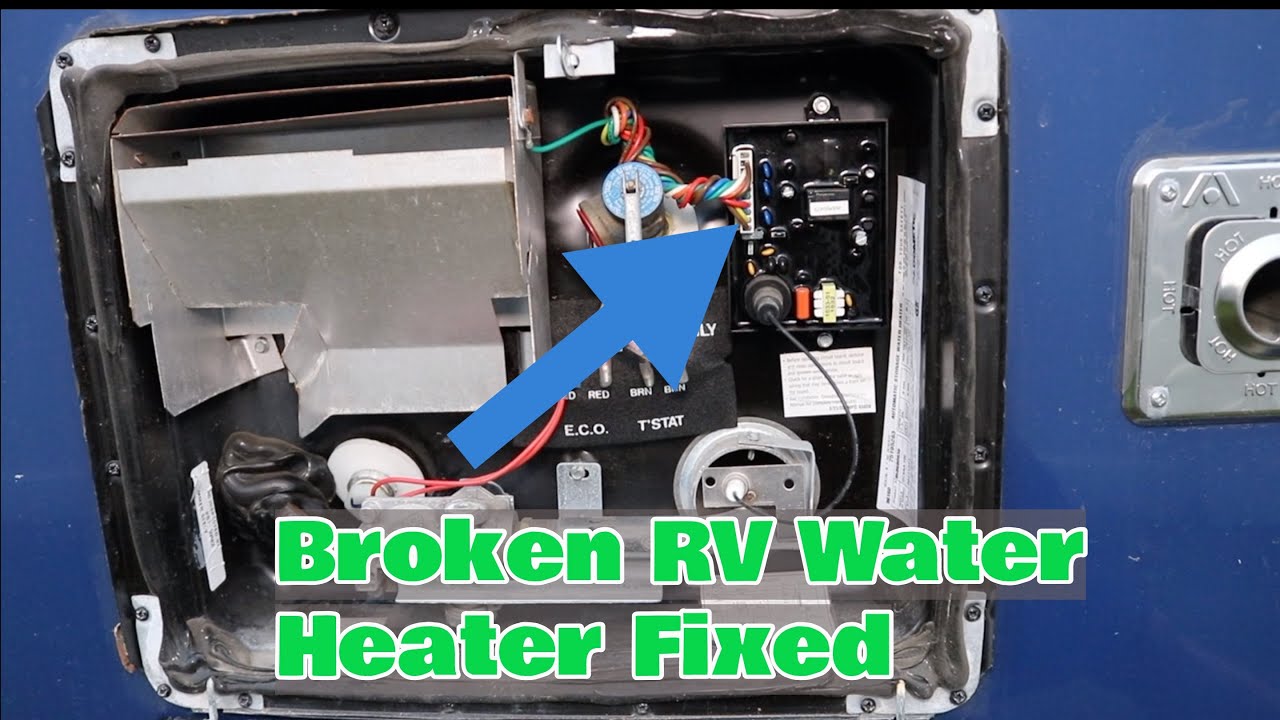
Credit: www.youtube.com
Inspecting The Pilot Light
If your RV water heater is not working on gas, it may be a pilot light issue. The pilot light is a small flame that ignites the gas burner. If it goes out, the water heater will not work. Inspecting the pilot light involves a few simple steps.
Locating The Pilot Light
First, find the pilot light. It is usually near the bottom of the water heater. Look for a small panel or door, which covers the pilot light. Remove this panel carefully.
Inside, you will see a small burner. The pilot light is a tiny flame at the end of a small tube. It is essential to know its exact location for the next steps.
Cleaning The Pilot Light
Dirt or debris can block the pilot light. Use a soft brush or compressed air to clean it. Be gentle to avoid damage.
Next, check the area around the pilot light for any blockages. Ensure nothing is obstructing the flame. Even small particles can cause problems.
After cleaning, try to relight the pilot light. Follow your RV water heater’s manual for specific instructions. Usually, you need to press and hold a button while lighting the flame.
If the pilot light stays on, your problem is solved. If not, further inspection may be needed.
By locating and cleaning the pilot light, you can often fix common issues. This simple inspection can save time and money.
Checking The Thermocouple
If your RV water heater is not working on gas, one of the key components to check is the thermocouple. The thermocouple is a safety device that detects if the pilot light is on. If it fails, the gas valve will not open, and your water heater will not work.
Testing The Thermocouple
First, locate the thermocouple near the pilot light. It looks like a small metal rod. Next, turn off the gas supply to your water heater. Wait for the unit to cool down. Then, disconnect the thermocouple from the gas control valve. Use a multimeter to test it.
Set the multimeter to the millivolt (mV) setting. Hold the thermocouple end in a flame. The reading should increase. A good thermocouple will produce about 25 to 35 millivolts. If the reading is lower, it might be faulty.
Replacing The Thermocouple
Before replacing the thermocouple, ensure the gas supply is off. Allow the water heater to cool completely. Remove the old thermocouple from its bracket. Take note of how it is positioned.
Insert the new thermocouple in the same position. Secure it in the bracket. Connect the other end to the gas control valve. Turn on the gas supply. Light the pilot light and check if the water heater works. If the issue persists, other components may need checking.
Cleaning The Burner
Is your RV water heater not working on gas? Cleaning the burner might solve the problem. Over time, debris can build up and block the burner. This can cause your water heater to malfunction. Follow these steps to clean the burner and get your water heater back in working order.
Removing Debris
First, turn off the gas supply to the water heater. Safety first. Next, locate the burner assembly. You might need a flashlight to see clearly. Carefully remove the burner assembly. Use a soft brush to clean off any dirt and debris. Make sure to clean the burner orifice as well. This small hole can easily get clogged.
Use compressed air to blow out any remaining debris. Hold the burner assembly firmly while doing this. Be gentle to avoid damaging any parts. Check the burner for any signs of rust or corrosion. Replace it if necessary.
Reassembling The Burner
Once the burner is clean, it’s time to reassemble it. Place the burner back in its original position. Make sure it’s secure. Reconnect any wires or parts you disconnected earlier. Turn the gas supply back on. Test the water heater to see if it’s working.
If it’s still not working, there might be another issue. Consider consulting a professional. Regular maintenance can prevent future problems. Keep your burner clean for efficient operation.
Gas Valve Inspection
When your RV water heater stops working on gas, the gas valve might be the issue. The gas valve controls the flow of gas to the burner. If it’s faulty, the heater won’t work. This section covers how to test and replace the gas valve in your RV water heater.
Testing The Gas Valve
First, ensure the gas supply is turned off. Safety first! Next, locate the gas valve. You can find it near the burner assembly. Use a multimeter to test for continuity. No continuity means the valve is faulty.
| Step | Action |
|---|---|
| 1 | Turn off the gas supply |
| 2 | Locate the gas valve |
| 3 | Disconnect the wires from the valve |
| 4 | Use a multimeter to test for continuity |
| 5 | If no continuity, replace the valve |
Replacing The Gas Valve
If the gas valve is faulty, replace it. Start by turning off the gas supply again. Remove the old valve by disconnecting the gas line and wires. Install the new valve by connecting the gas line and wires. Make sure connections are tight and secure.
- Turn off the gas supply
- Disconnect the gas line from the old valve
- Remove the wires from the old valve
- Install the new valve by connecting the gas line
- Reconnect the wires to the new valve
- Ensure all connections are tight
Test the new valve by turning on the gas supply. Light the burner and check for proper operation. If the burner ignites, the new valve works. If not, recheck your connections or consult a professional.
Regular Maintenance Tips
Regular maintenance of your RV water heater ensures it works efficiently on gas. Regular upkeep prevents unexpected breakdowns and extends the heater’s lifespan. Below are essential tips for maintaining your RV water heater.
Scheduled Inspections
Conduct regular inspections to spot issues early. Check the gas lines for leaks. Inspect the burner assembly for dirt and debris. Clean it if necessary. Ensure the flame is blue and steady. A yellow or flickering flame indicates a problem. Check the vent and exhaust for blockages. Clear any obstructions promptly.
Seasonal Checks
Perform seasonal checks before long trips or the start of a new season. Drain the water heater tank to remove sediment. Sediment buildup can affect performance. Inspect the anode rod and replace it if corroded. This prevents tank damage. Check all seals and connections for wear. Replace any damaged parts. Ensure the thermostat is set to the correct temperature.
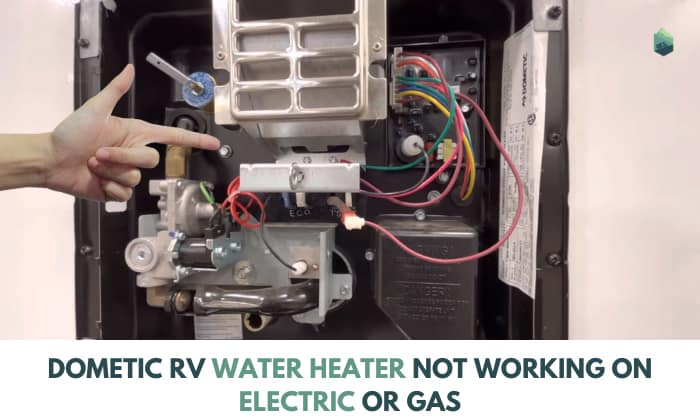
Credit: www.outdoorbits.com
Frequently Asked Questions
Why Is My Rv Water Heater Not Igniting?
Your RV water heater might not ignite due to a faulty igniter, gas supply issues, or thermostat problems. Check for loose connections and ensure the gas valve is open.
How Do I Fix My Rv Water Heater?
To fix your RV water heater, ensure proper gas supply, clean the burner, and check the igniter. Consult the manual for specific troubleshooting steps.
Can A Clogged Burner Affect My Rv Water Heater?
Yes, a clogged burner can prevent proper gas flow and ignition. Clean the burner regularly to maintain efficiency and prevent issues.
Is My Rv Water Heater’s Pilot Light Out?
If your RV water heater isn’t working, the pilot light might be out. Check and relight it following the manufacturer’s instructions.
Conclusion
Fixing your RV water heater can seem tricky. But, with the right steps, you can solve the issue. Check for common problems first. Clean the burner, check the gas supply, and inspect the igniter. Regular maintenance helps prevent future issues.
Always consult a professional for complex repairs. Your RV trips will be smoother with a functioning water heater. Stay proactive and enjoy your adventures. Keep your RV in top shape for a worry-free journey.


