Replacing your RV’s interior light covers can seem like a small task. But it can greatly improve your space.
RV interiors can get worn and outdated over time. Light covers can collect dust, discolor, or crack. Changing them can freshen up your RV’s look. It’s a simple way to make your space feel new again. Plus, it doesn’t take much time or money.
Whether you’re a seasoned RV owner or new to the lifestyle, this guide will help you with your RV interior light cover replacement. You’ll learn how to choose the right covers and how to install them. Let’s get started on making your RV brighter and more inviting.
Tools And Materials Needed
Replacing the interior light cover in your RV is a simple task. It can brighten up your space and improve visibility. But before you start, you need the right tools and materials. Below is a list to help you get ready.
Essential Tools
Having the right tools makes the job easier and faster. Here are the essentials:
- Screwdriver: You might need a Phillips or flathead screwdriver. Check the screws on your current light cover.
- Wire Strippers: If you need to deal with wiring, these are a must.
- Voltage Tester: Safety first. Ensure the power is off before you start.
- Drill: Sometimes, new covers require drilling new holes.
- Step Ladder: Helps reach ceiling lights without straining.
Recommended Materials
Along with tools, you’ll need some materials to get the job done right:
- Replacement Light Cover: Make sure it matches your RV’s light fixture.
- LED Light Bulbs: Consider upgrading to energy-efficient LEDs.
- Electrical Tape: For securing any exposed wires.
- Wire Connectors: Useful for joining wires safely.
- Cleaning Supplies: Clean the area before installing the new cover.

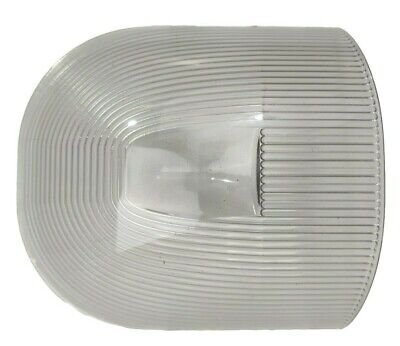
Credit: www.rvupgradestore.com
Safety Precautions
Replacing the RV interior light cover is a simple task. But safety is crucial. This guide will ensure you stay safe throughout the process.
Electrical Safety Tips
- Turn off the power: Always switch off the power source before starting.
- Unplug the appliance: Remove the RV from any power outlets.
- Use insulated tools: Always use tools with insulated handles.
- Avoid wet conditions: Ensure your hands and work area are dry.
- Check for faulty wires: Inspect wires for any damage or wear.
Proper Handling Of Light Covers
Handling light covers with care is important. Here are some tips:
- Wear gloves: Use gloves to protect your hands and the cover.
- Use both hands: Hold the cover with both hands to avoid dropping it.
- Avoid force: Do not apply excessive force while removing or installing.
- Place on a soft surface: Put the cover on a towel or soft cloth when not in use.
Following these safety measures will make your RV light cover replacement smooth and risk-free.
Removing The Old Light Cover
Replacing the interior light cover in your RV can be a simple task. It involves a few careful steps to ensure safety and efficiency. Below, we break down the process of removing the old light cover.
Turning Off Power
First, ensure your safety by turning off the power. Locate the main power switch or circuit breaker in your RV. Turn it off to prevent any electrical accidents. Verify the power is off by testing the light switch.
Detaching The Cover
Next, focus on detaching the light cover. Use a screwdriver or your hands, depending on the fixture type. Gently pry or unscrew the cover from the light fixture. Be careful not to damage the fixture or surrounding area. If the cover is stuck, apply slight pressure to loosen it. Once detached, set the old cover aside.
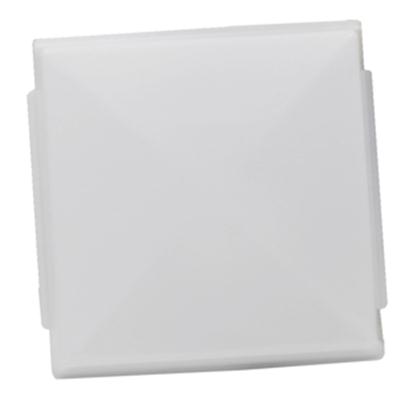
Credit: rvpartsexpress.com
Choosing The Right Replacement Cover
Choosing the right replacement cover for your RV interior lights is essential. The right cover not only enhances your RV’s look but also provides better lighting. It ensures safety and comfort during your travels.
Types Of Light Covers
Different types of light covers are available for RVs. Common ones include dome covers, flat panel covers, and decorative covers. Dome covers are popular for their wide light spread. Flat panel covers offer a sleek, modern look. Decorative covers add style to your RV’s interior.
Factors To Consider
Several factors help you choose the right light cover. First, check the size and shape of the existing light. Ensure the new cover fits perfectly. Second, consider the material. Plastic covers are lightweight and affordable. Glass covers are durable and offer a classic look.
Third, think about the light diffusion. Some covers diffuse light better, creating a softer glow. Lastly, consider the ease of installation. Some covers are easy to install, while others may need professional help.
Installing The New Light Cover
Replacing the interior light cover in your RV can instantly refresh its look. The process is straightforward and can be completed with minimal tools. Follow these steps to make the installation process smooth and hassle-free.
Aligning The Cover
To start, ensure you have the right light cover for your RV model. Check the compatibility to avoid any fitting issues. Hold the new cover close to the light fixture and align it carefully.
- Match the screw holes on the cover with those on the fixture.
- Ensure the cover sits flush against the base for a snug fit.
Proper alignment is key. Misalignment can cause the cover to fall or break.
Securing The Cover
Once the cover is aligned, it’s time to secure it. Use the screws that came with the new cover or repurpose the old ones.
- Insert the screws into the pre-drilled holes.
- Tighten them with a screwdriver.
Make sure not to overtighten. Overtightening can crack the cover or damage the fixture.
| Step | Action |
|---|---|
| 1 | Align the cover with the fixture |
| 2 | Insert screws into the holes |
| 3 | Tighten screws carefully |
After securing the cover, turn on the light to ensure it’s working properly. A secure fit prevents rattling and ensures safety while driving.
Testing The New Installation
Testing the new installation of your RV interior light cover is crucial. It ensures everything works properly and is safe. Here’s how to go about it:
Restoring Power
First, you need to restore power to the RV. Here’s a simple guide:
- Reconnect the RV to its power source.
- Turn on the main power switch.
- Check the fuse box for any tripped fuses.
If everything looks good, proceed to the next step.
Checking For Proper Function
Now, it’s time to check if your new light cover works as expected. Follow these steps:
- Turn on the light switch connected to the new cover.
- Observe the brightness and color of the light.
- Ensure there are no flickers or dim spots.
If the light functions smoothly, it means the installation is successful.
Here are a few additional checks to ensure everything is in order:
| Aspect | Check |
|---|---|
| Heat | Feel the light cover for excessive heat. |
| Fit | Ensure the cover fits snugly and securely. |
| Sound | Listen for any unusual sounds when the light is on. |
If all checks are positive, your new RV interior light cover is good to go. Enjoy the enhanced ambiance in your RV.
Maintenance Tips
Keeping your RV interior light covers in top condition ensures a well-lit and cozy space. Proper maintenance not only extends the life of your light covers but also enhances the overall ambiance of your RV. Below are essential tips to help you maintain your RV light covers effectively.
Cleaning The Light Cover
Regular cleaning keeps your light covers bright and clear. Dust and grime can build up, reducing the quality of light. Follow these simple steps:
- Turn off the lights and let them cool.
- Remove the light cover carefully.
- Use a soft cloth or sponge with mild soap and water.
- Gently clean the cover, avoiding harsh chemicals.
- Rinse with clean water and dry completely before reattaching.
Cleaning once a month helps maintain optimal lighting and appearance.
Regular Inspection
Regular inspection can prevent issues before they become serious. Check your light covers every few months:
- Look for cracks or discoloration.
- Ensure the cover fits snugly and securely.
- Check for signs of wear or damage on the light fixture.
- Replace any damaged covers promptly to avoid further issues.
Keeping an eye on these elements ensures your lights remain functional and safe.
By following these maintenance tips, your RV interior light covers will continue to provide bright and efficient lighting. Happy travels!
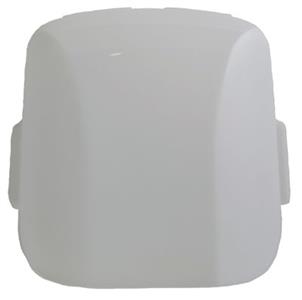
Credit: www.rvupgradestore.com
Frequently Asked Questions
How Do I Replace My Rv Interior Light Cover?
To replace your RV interior light cover, first, turn off the power. Remove the old cover by unscrewing it or unclipping it. Then, fit the new cover in place and secure it.
What Tools Do I Need For Light Cover Replacement?
For replacing an RV interior light cover, you typically need a screwdriver, a ladder, and possibly a pair of pliers. Always check the specific requirements for your light fixture.
Are Rv Light Covers Universal?
No, RV light covers are not universal. They come in various shapes and sizes. Always check the model and measurements of your existing light cover before purchasing a replacement.
Where Can I Buy Rv Light Covers?
You can buy RV light covers at RV supply stores, online retailers like Amazon, or specialized RV parts websites. Make sure to check the compatibility with your RV model.
Conclusion
Replacing your RV interior light cover is simple and rewarding. It improves lighting and enhances your RV’s look. Follow steps carefully for a smooth process. Gather your tools and double-check measurements. Enjoy the fresh, bright ambiance.


