Replacing your RV toilet with a regular toilet is possible. It’s a process that requires some adjustments and planning.
Switching your RV toilet to a regular one might seem daunting. But with the right guide, you can do it. Many RV owners want the comfort of a home toilet while on the road. This change can improve your RV experience.
You need to consider space, plumbing, and weight. It’s not a simple swap, but it’s doable. We’ll guide you through each step. Soon, you’ll enjoy the comfort of a regular toilet in your RV. Ready to start? Let’s dive in.

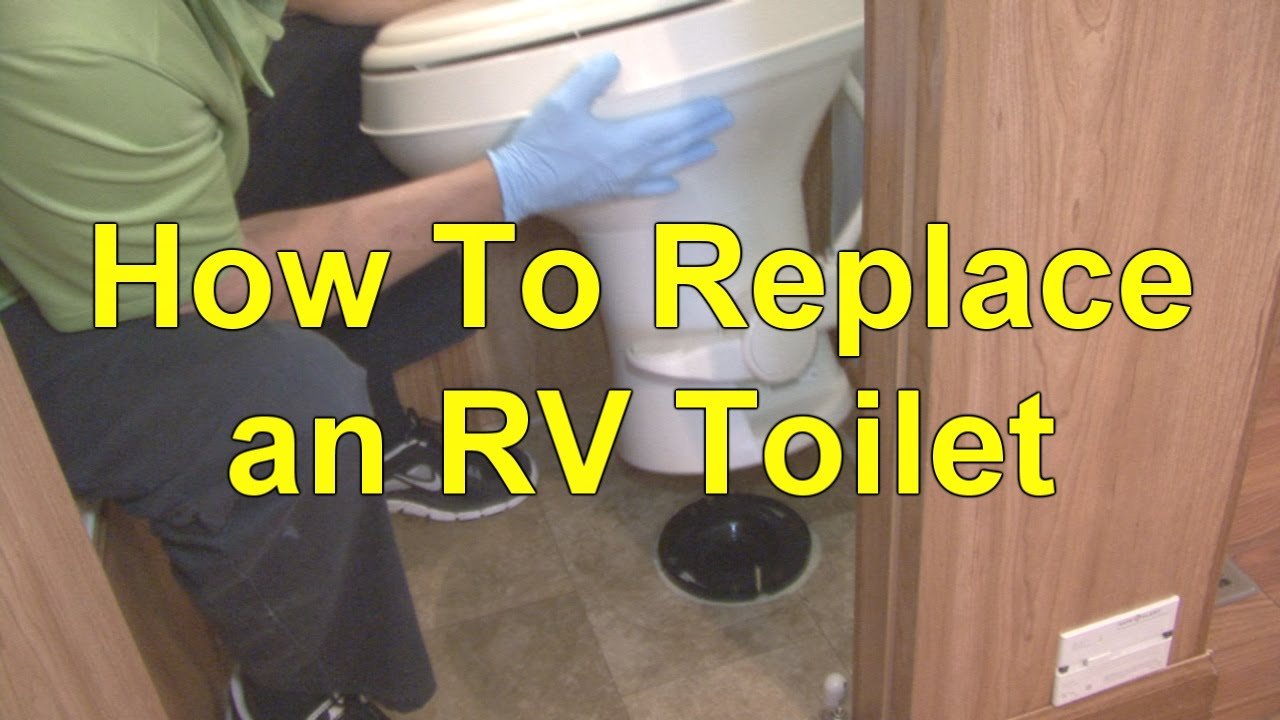
Credit: m.youtube.com
Gather Necessary Tools
Before you begin the process of replacing your RV toilet with a regular toilet, it is crucial to gather all the necessary tools. Having the right tools ready will make the replacement process smoother and more efficient.
List Of Required Tools
- Adjustable Wrench: Essential for loosening and tightening nuts and bolts.
- Flathead Screwdriver: Useful for prying and unscrewing various parts.
- Pliers: Handy for gripping and twisting.
- Pipe Wrench: Needed for working with plumbing pipes.
- Sealant Tape: Ensures a watertight seal on pipe threads.
- Measuring Tape: Helps in measuring space and fitting.
- Bucket and Towels: For cleaning up any spills.
Where To Purchase
You can easily find these tools at local hardware stores or online. Here are some popular options:
| Store | Website |
|---|---|
| Home Depot | www.homedepot.com |
| Lowe’s | www.lowes.com |
| Amazon | www.amazon.com |
Ensure you have all these tools before starting the replacement process. This will save you time and effort.
Choose The Right Toilet
Replacing an RV toilet with a regular toilet might seem daunting. But choosing the right toilet can simplify the process. This section will help you understand the different types of regular toilets. You will also learn about the key factors to consider.
Types Of Regular Toilets
There are various types of regular toilets available. The most common type is the gravity-fed toilet. This type uses the force of gravity to flush. It is simple and reliable. Another type is the pressure-assisted toilet. This type uses pressurized air to enhance the flushing power. It is more efficient but can be louder. There are also dual-flush toilets. These allow you to choose between a low or high flush. They save water and are environmentally friendly.
Factors To Consider
Several factors should influence your choice. First, consider the size of the toilet. Make sure it fits in your RV bathroom. Measure the space carefully. Next, think about the water consumption. Opt for a toilet that uses less water. This is crucial for RV living. Also, consider the weight of the toilet. RVs have weight limits, and you do not want to exceed them. Lastly, look at the ease of installation. Some toilets are easier to install than others. Choose one that matches your skills and tools.
Prepare The Rv
Before you start replacing your RV toilet with a regular one, you need to prepare your RV. This step is crucial to ensure a smooth and successful installation. Proper preparation will save you time and prevent potential issues. Below are the essential steps you need to follow to prepare your RV.
Turn Off Water Supply
The first step is to turn off the water supply. Locate the main water valve in your RV. Turn it to the off position. This will prevent water from flowing into the toilet. Make sure the water is completely off before proceeding to the next step. This step is vital to avoid any water damage.
Drain The Toilet
Next, you need to drain the toilet. Flush the toilet to remove any remaining water. Use a sponge or towel to soak up any leftover water in the bowl. Make sure the toilet is completely dry. This will make the removal process easier and cleaner. By draining the toilet, you ensure a smooth transition to the new one.
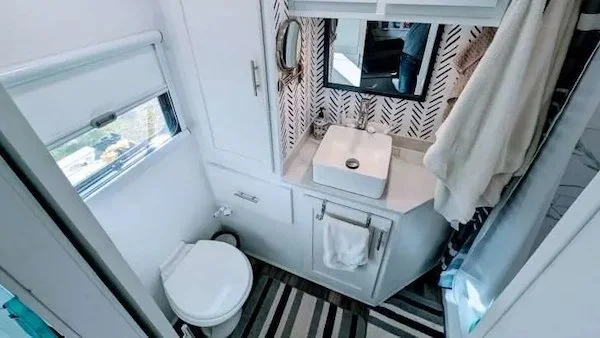
Credit: www.boundlessbakers.com
Remove The Old Rv Toilet
Removing the old RV toilet is the first step in upgrading to a regular toilet. This process involves a few straightforward steps. Follow these instructions to ensure a smooth and hassle-free removal.
Disconnect Water Lines
First, shut off the water supply to your RV. Locate the water valve behind or near the toilet. Turn it clockwise to stop the water flow.
Next, disconnect the water lines. Use a wrench to loosen the nut connecting the water line to the toilet. Place a towel or bucket underneath to catch any remaining water.
Unscrew And Lift Toilet
Find the bolts securing the toilet to the floor. Typically, there are two bolts on either side of the toilet base.
Use a wrench to remove these bolts. Keep them in a safe place as you may need them later.
Once the bolts are removed, gently rock the toilet back and forth. This will help break the seal between the toilet and the floor. Lift the toilet straight up and off the flange.
Place the old toilet on a towel or in a plastic bag to prevent messes.
With the old toilet removed, you are ready for the next steps in installing your new regular toilet.
Install The New Regular Toilet
Replacing an RV toilet with a regular toilet can be a great upgrade. It can provide more comfort and reliability. This section will guide you through the installation process. Follow these steps to ensure a smooth and secure fit.
Positioning The Toilet
First, place the new toilet in the desired location. Ensure the toilet is centered over the flange. Mark the bolt holes with a pencil. This will guide you during installation.
Check the alignment of the toilet. Make sure it is parallel to the walls. This step is crucial for a proper fit. Adjust as needed before moving on.
Securing The Toilet
Now, insert the bolts into the flange. Place the wax ring on the bottom of the toilet. Position the toilet over the flange and bolts. Press down firmly to set the wax ring.
Next, tighten the nuts onto the bolts. Use a wrench to ensure they are secure. Do not overtighten, as this can crack the toilet base. Make sure the toilet is stable and does not wobble.
Finally, connect the water supply line to the toilet. Turn on the water and check for leaks. If there are any, tighten the connections. Now your new regular toilet is installed and ready to use.
Connect Water Supply
Connecting the water supply is a crucial step when replacing your RV toilet with a regular one. Properly attaching the water lines ensures your new toilet will function smoothly without any leaks or issues.
Attach Water Lines
First, turn off the water supply to your RV. This prevents any water from spilling out. Next, locate the water inlet on the new toilet. Use a flexible water line to connect the RV’s water supply to the toilet. Ensure the connection is tight to avoid leaks. Use a wrench to secure the fittings if needed.
Check For Leaks
After attaching the water lines, turn the water supply back on. Observe the connections closely. Look for any drips or wet spots around the fittings. If you see any leaks, turn the water off. Tighten the connections and check again. Ensure everything is dry before using the toilet.
Test The New Toilet
After replacing your RV toilet with a regular toilet, testing it is crucial. This ensures everything works correctly and prevents future issues. Let’s discuss the key steps for testing your new toilet.
Flushing Test
First, perform a flushing test. Fill the tank with water. Then, flush the toilet. Check if the water flows smoothly. Observe the bowl to see if it clears completely. Repeat the process a few times. Ensure there are no leaks around the base or the tank. A proper flush is vital for avoiding blockages.
Ensuring Stability
Next, make sure the toilet is stable. Sit on the toilet and gently rock it. It should not move or wobble. If it does, tighten the bolts at the base. Check the flooring around the toilet. It should be firm and even. Stability is key for safety and comfort.
By following these steps, you can ensure your new toilet works well. This will provide a hassle-free experience in your RV.
Maintenance Tips
Maintaining your RV toilet is crucial for a comfortable and hassle-free trip. Good maintenance ensures your toilet works efficiently and lasts longer. Here are some key maintenance tips to keep your RV toilet in top shape.
Cleaning Advice
Regular cleaning prevents odors and keeps the toilet fresh. Use mild, non-abrasive cleaners to avoid damaging the toilet surface. Clean the bowl weekly and wipe down the exterior with a damp cloth. Don’t forget the seal around the toilet base.
Preventing Issues
Address small issues before they become big problems. Check for leaks around the base and connections. Tighten any loose bolts or screws. Ensure the seal is intact and replace it if necessary. Use RV-friendly toilet paper to prevent clogs.
Frequently Asked Questions
Can I Use A Regular Toilet In An Rv?
Yes, you can use a regular toilet in an RV. However, it requires modifications to the plumbing and waste system.
What Tools Do I Need To Replace An Rv Toilet?
You will need a wrench, screwdriver, sealant, and possibly additional plumbing parts. Ensure you have all necessary tools before starting.
How Do I Remove The Old Rv Toilet?
Turn off the water supply, disconnect the water line, and remove mounting bolts. Lift the toilet out carefully.
Are There Size Restrictions For Regular Toilets In Rvs?
Yes, RVs have limited space. Measure the area to ensure the regular toilet will fit properly.
Conclusion
Replacing your RV toilet with a regular one is possible. It requires some tools and basic plumbing skills. First, measure the space available. Ensure the new toilet fits. Next, turn off the water supply. Remove the old toilet carefully. Install the new one, following the manufacturer’s instructions.
Make sure all connections are tight. Turn the water back on and test for leaks. Enjoy the comfort of a regular toilet in your RV. Always consult a professional if unsure.


